To get Maria Makes updates delivered to your inbox, subscribe via email here.

Where to even start with this pizza crust!? I know, I know, I've been teasing you with this recipe on my Insta for at least a solid 3 weeks now. Things have been SO crazy busy at work and outside of work and I just haven't had enough time to devote to #bloglife. Just know that more recipes are always on the way, and I'm so thankful you are here!
This one took a bit of trial and error, but truly, where we have ended up is so much better than I ever thought a flourless, gluten-free, squeaky clean sweet potato pizza crust could even BE.
And if you make homemade almond milk and then you're always wondering, "What can I make with this leftover almond pulp?," then THIS crust is your answer! If you're not yet on the homemade-nut-milk-train but you'd LIKE to be, get your very own Nut Milk Bag from Ellie's Best, and use code MARIA10 for 10% off!
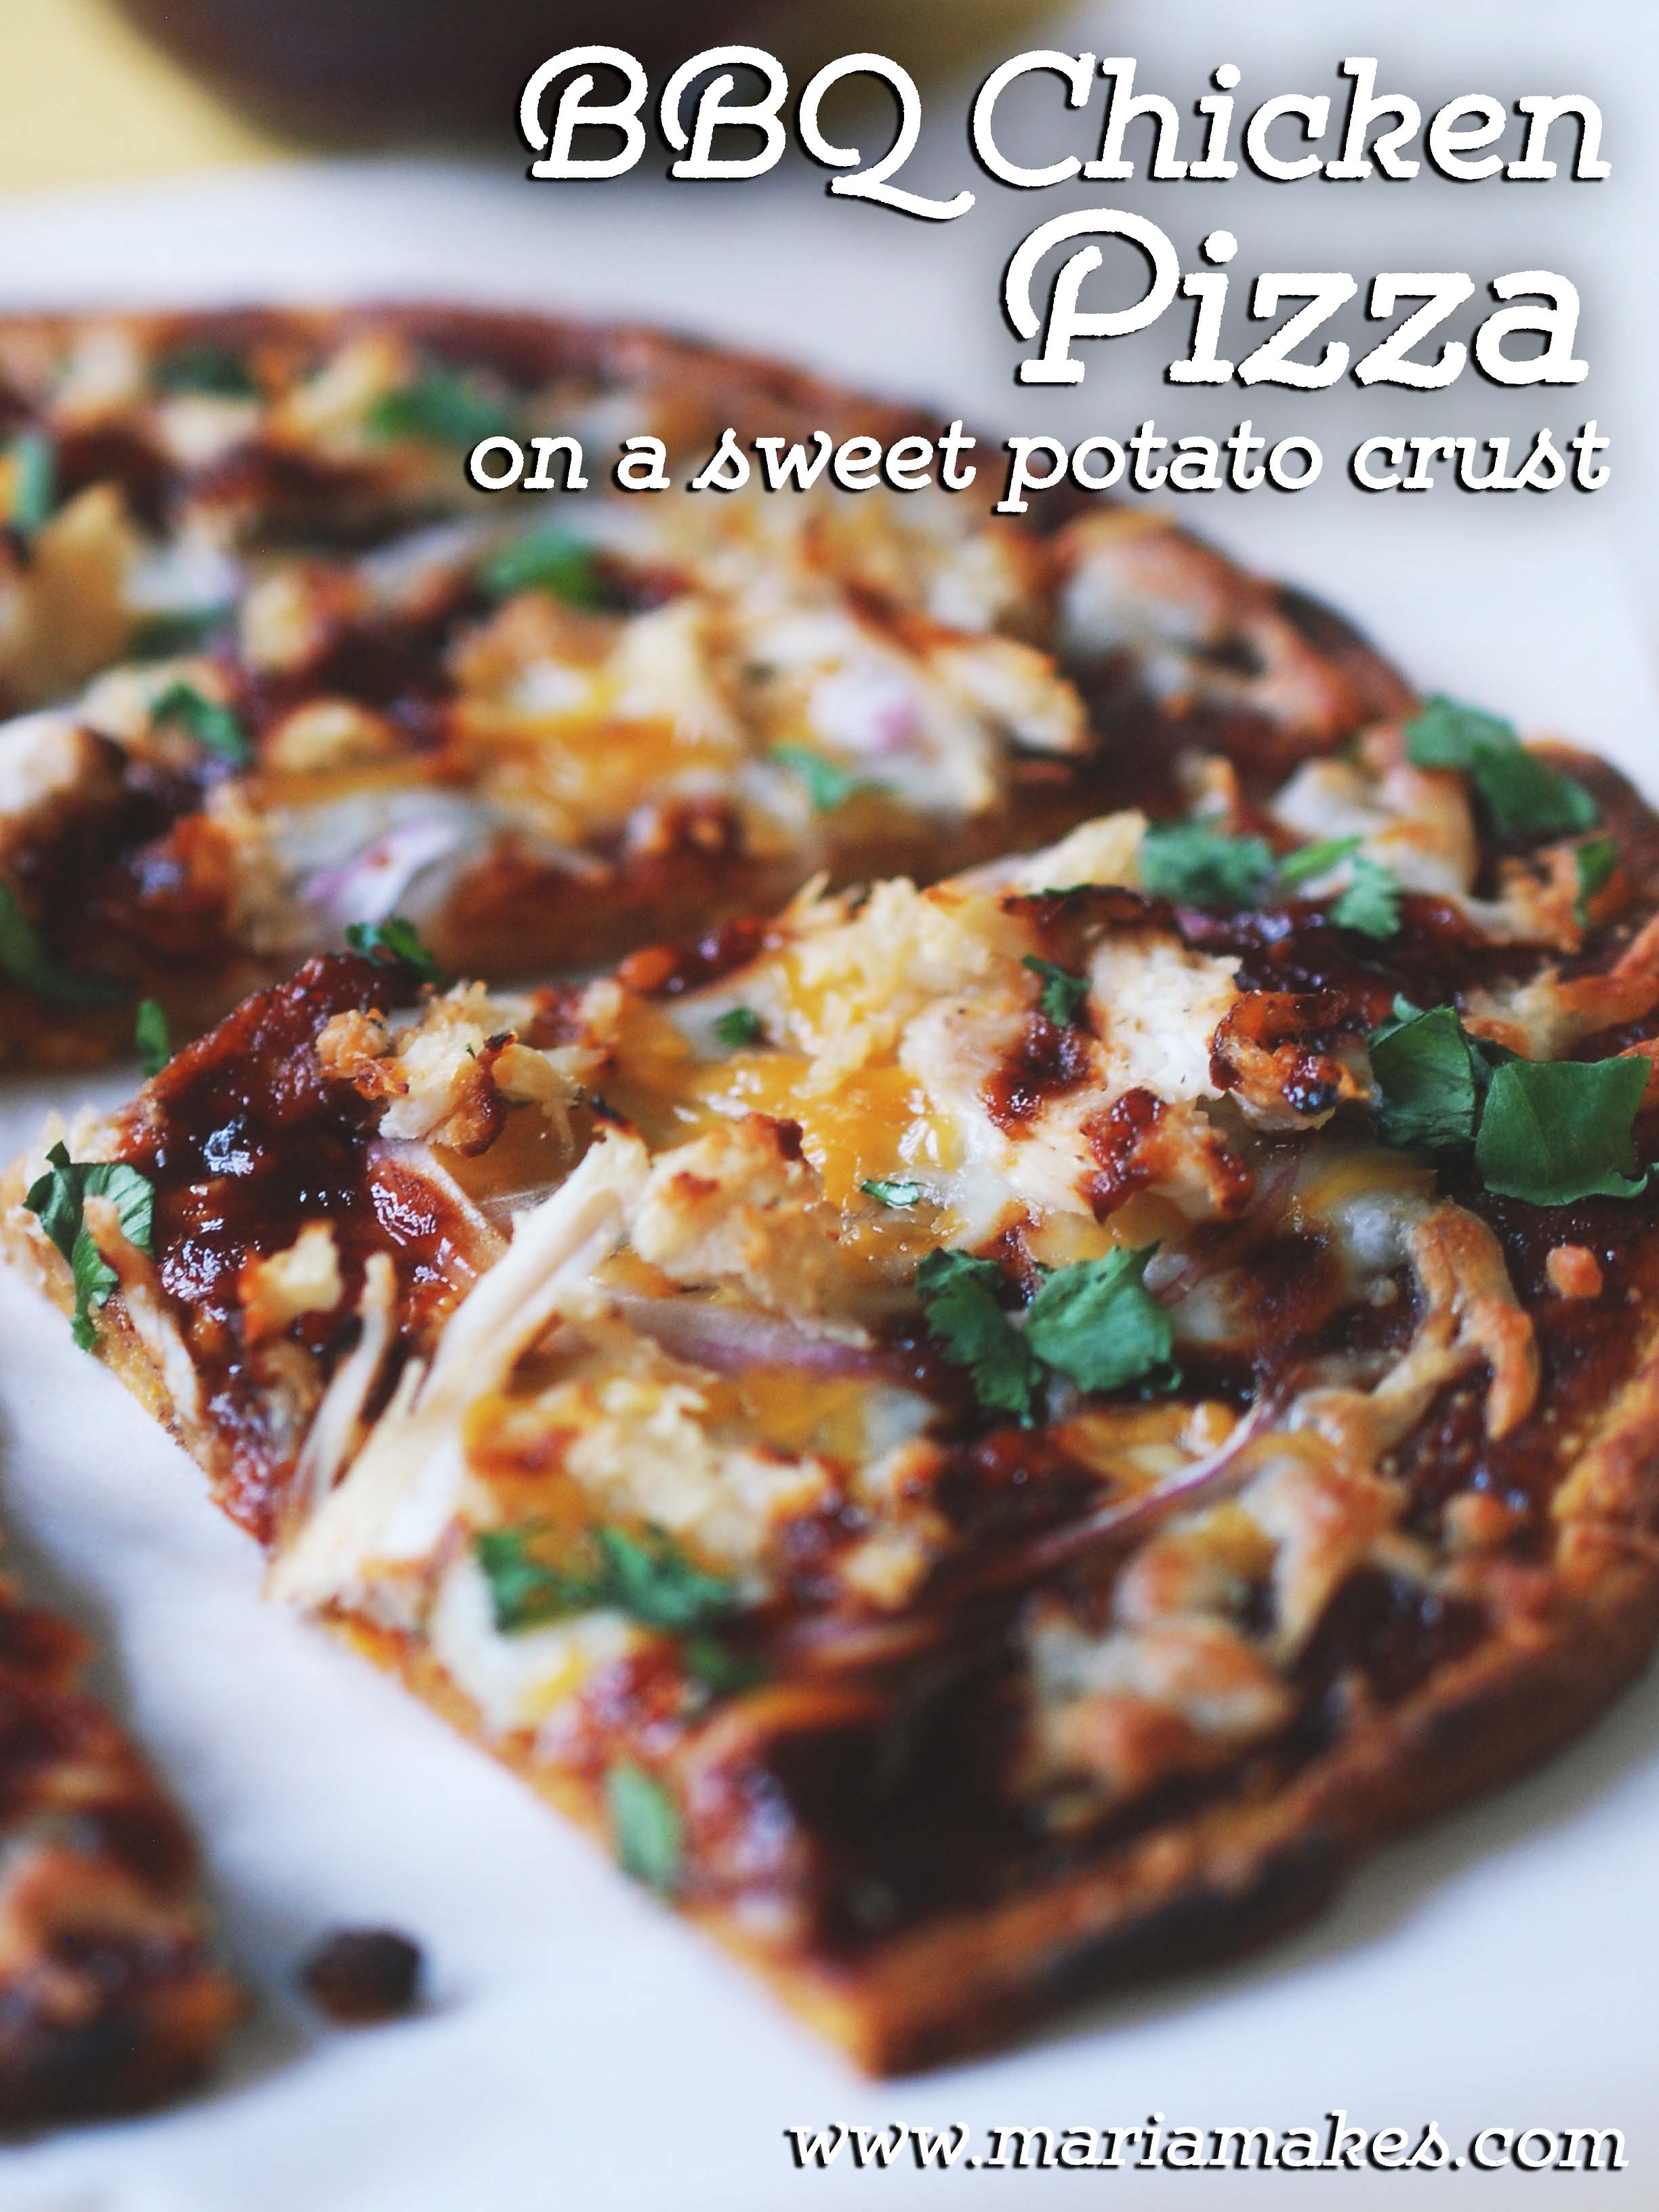
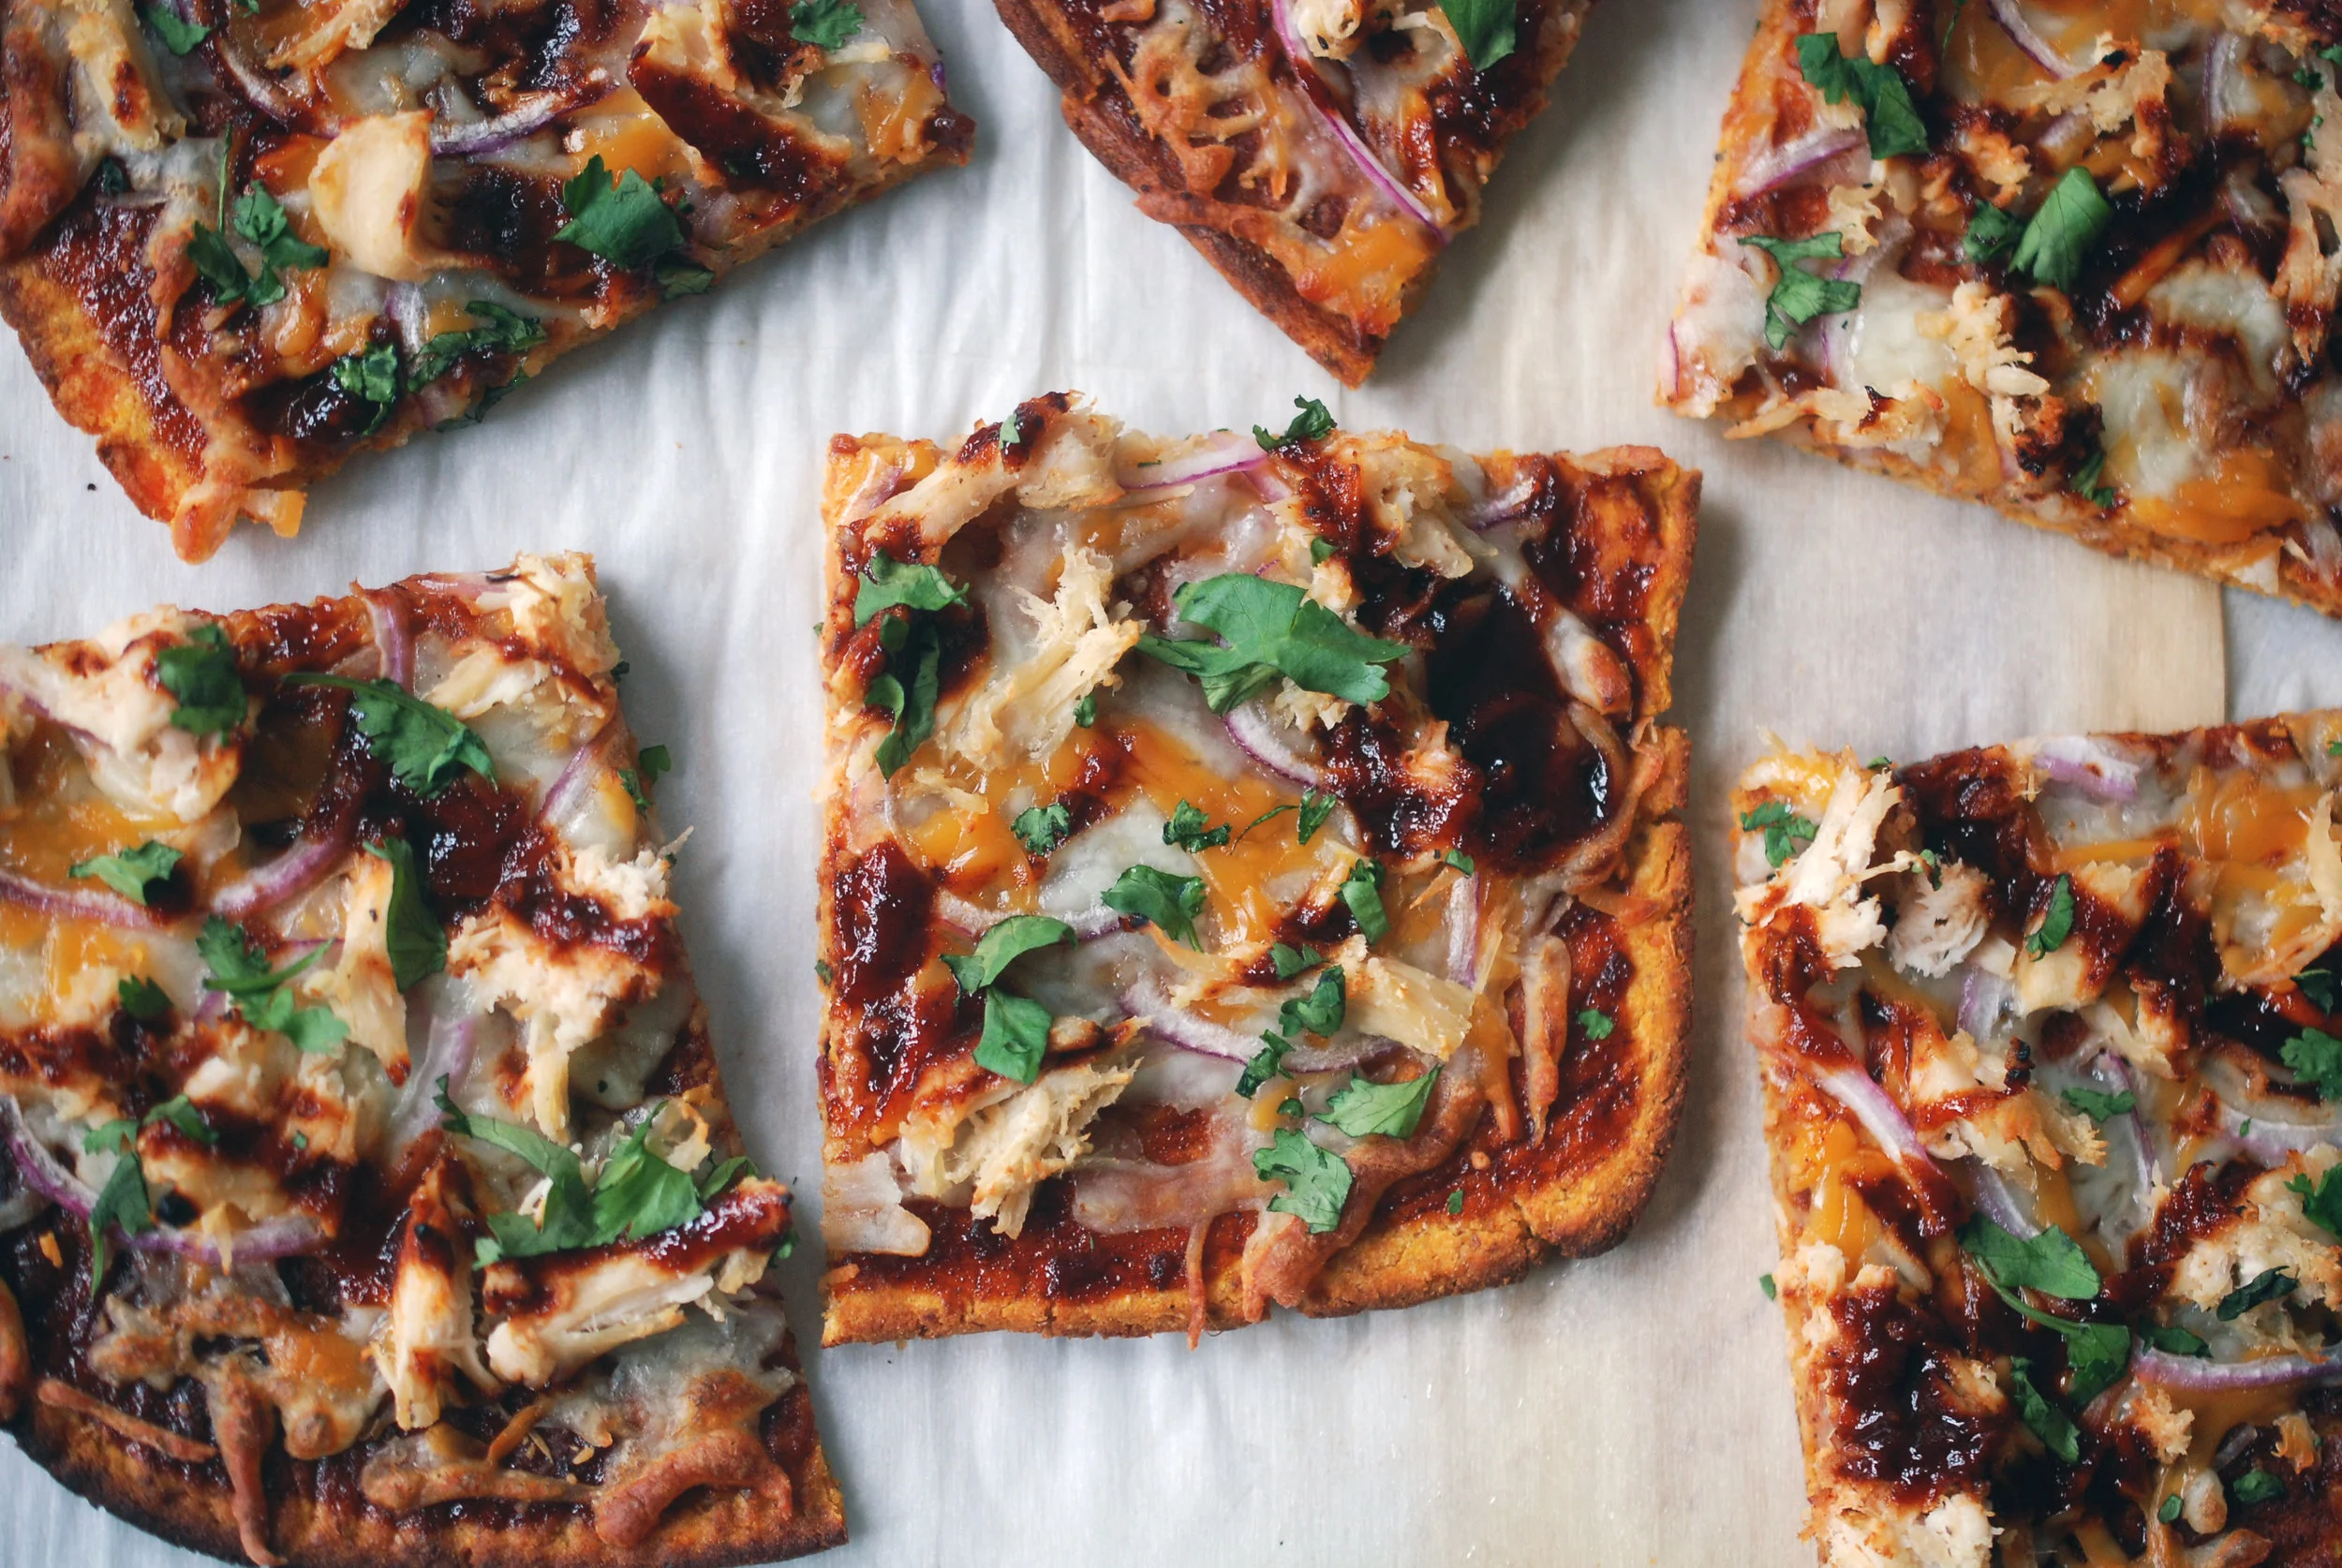
I thought the sweet potato crust would pair PERFECTLY with the smoky/savory flavors of a barbecue chicken pizza, but really, I think this crust could hold up to any flavor combo! Buffalo chicken is DEFINITELY on the "must try" list. The first time I made this crust, I topped it with crushed tomatoes, grilled zucchini and red bell peppers, and GOAT CHEESE. Srsly, you can't go wrong.
My love for this crust runs DEEP; here are just a few of the reasons why:
- It's the perfect way to use up almond pulp leftover from making homemade almond milk! I assume you could also use regular ol' almond flour, but I need to experiment with this!
- I tried it with both arrowroot starch AND a combo of arrowroot and coconut flour, and both were really good! Versatility is key - use what you have; experiment!
- This crust is STURDY. Keep the thickness right in the middle between 1/4" and 1/2" (not too thin, not too thick) and it can hold up to some serious toppings!
- For the first one I made, I baked it THEN grilled it, but the second one, I just finished it totally in the oven, and both were BOMB. The better news, it held up to the grill like a champ; didn't stick, didn't fall apart!
- The ingredients are so super clean. Like it would be Whole30 approved IF you were allowed to recreate things like pizza crust on a Whole30 (which you are NOT - SWYPO ALERT). It's paleo, it's gluten free, it's dairy free ('til you top it with CHEEEESE).
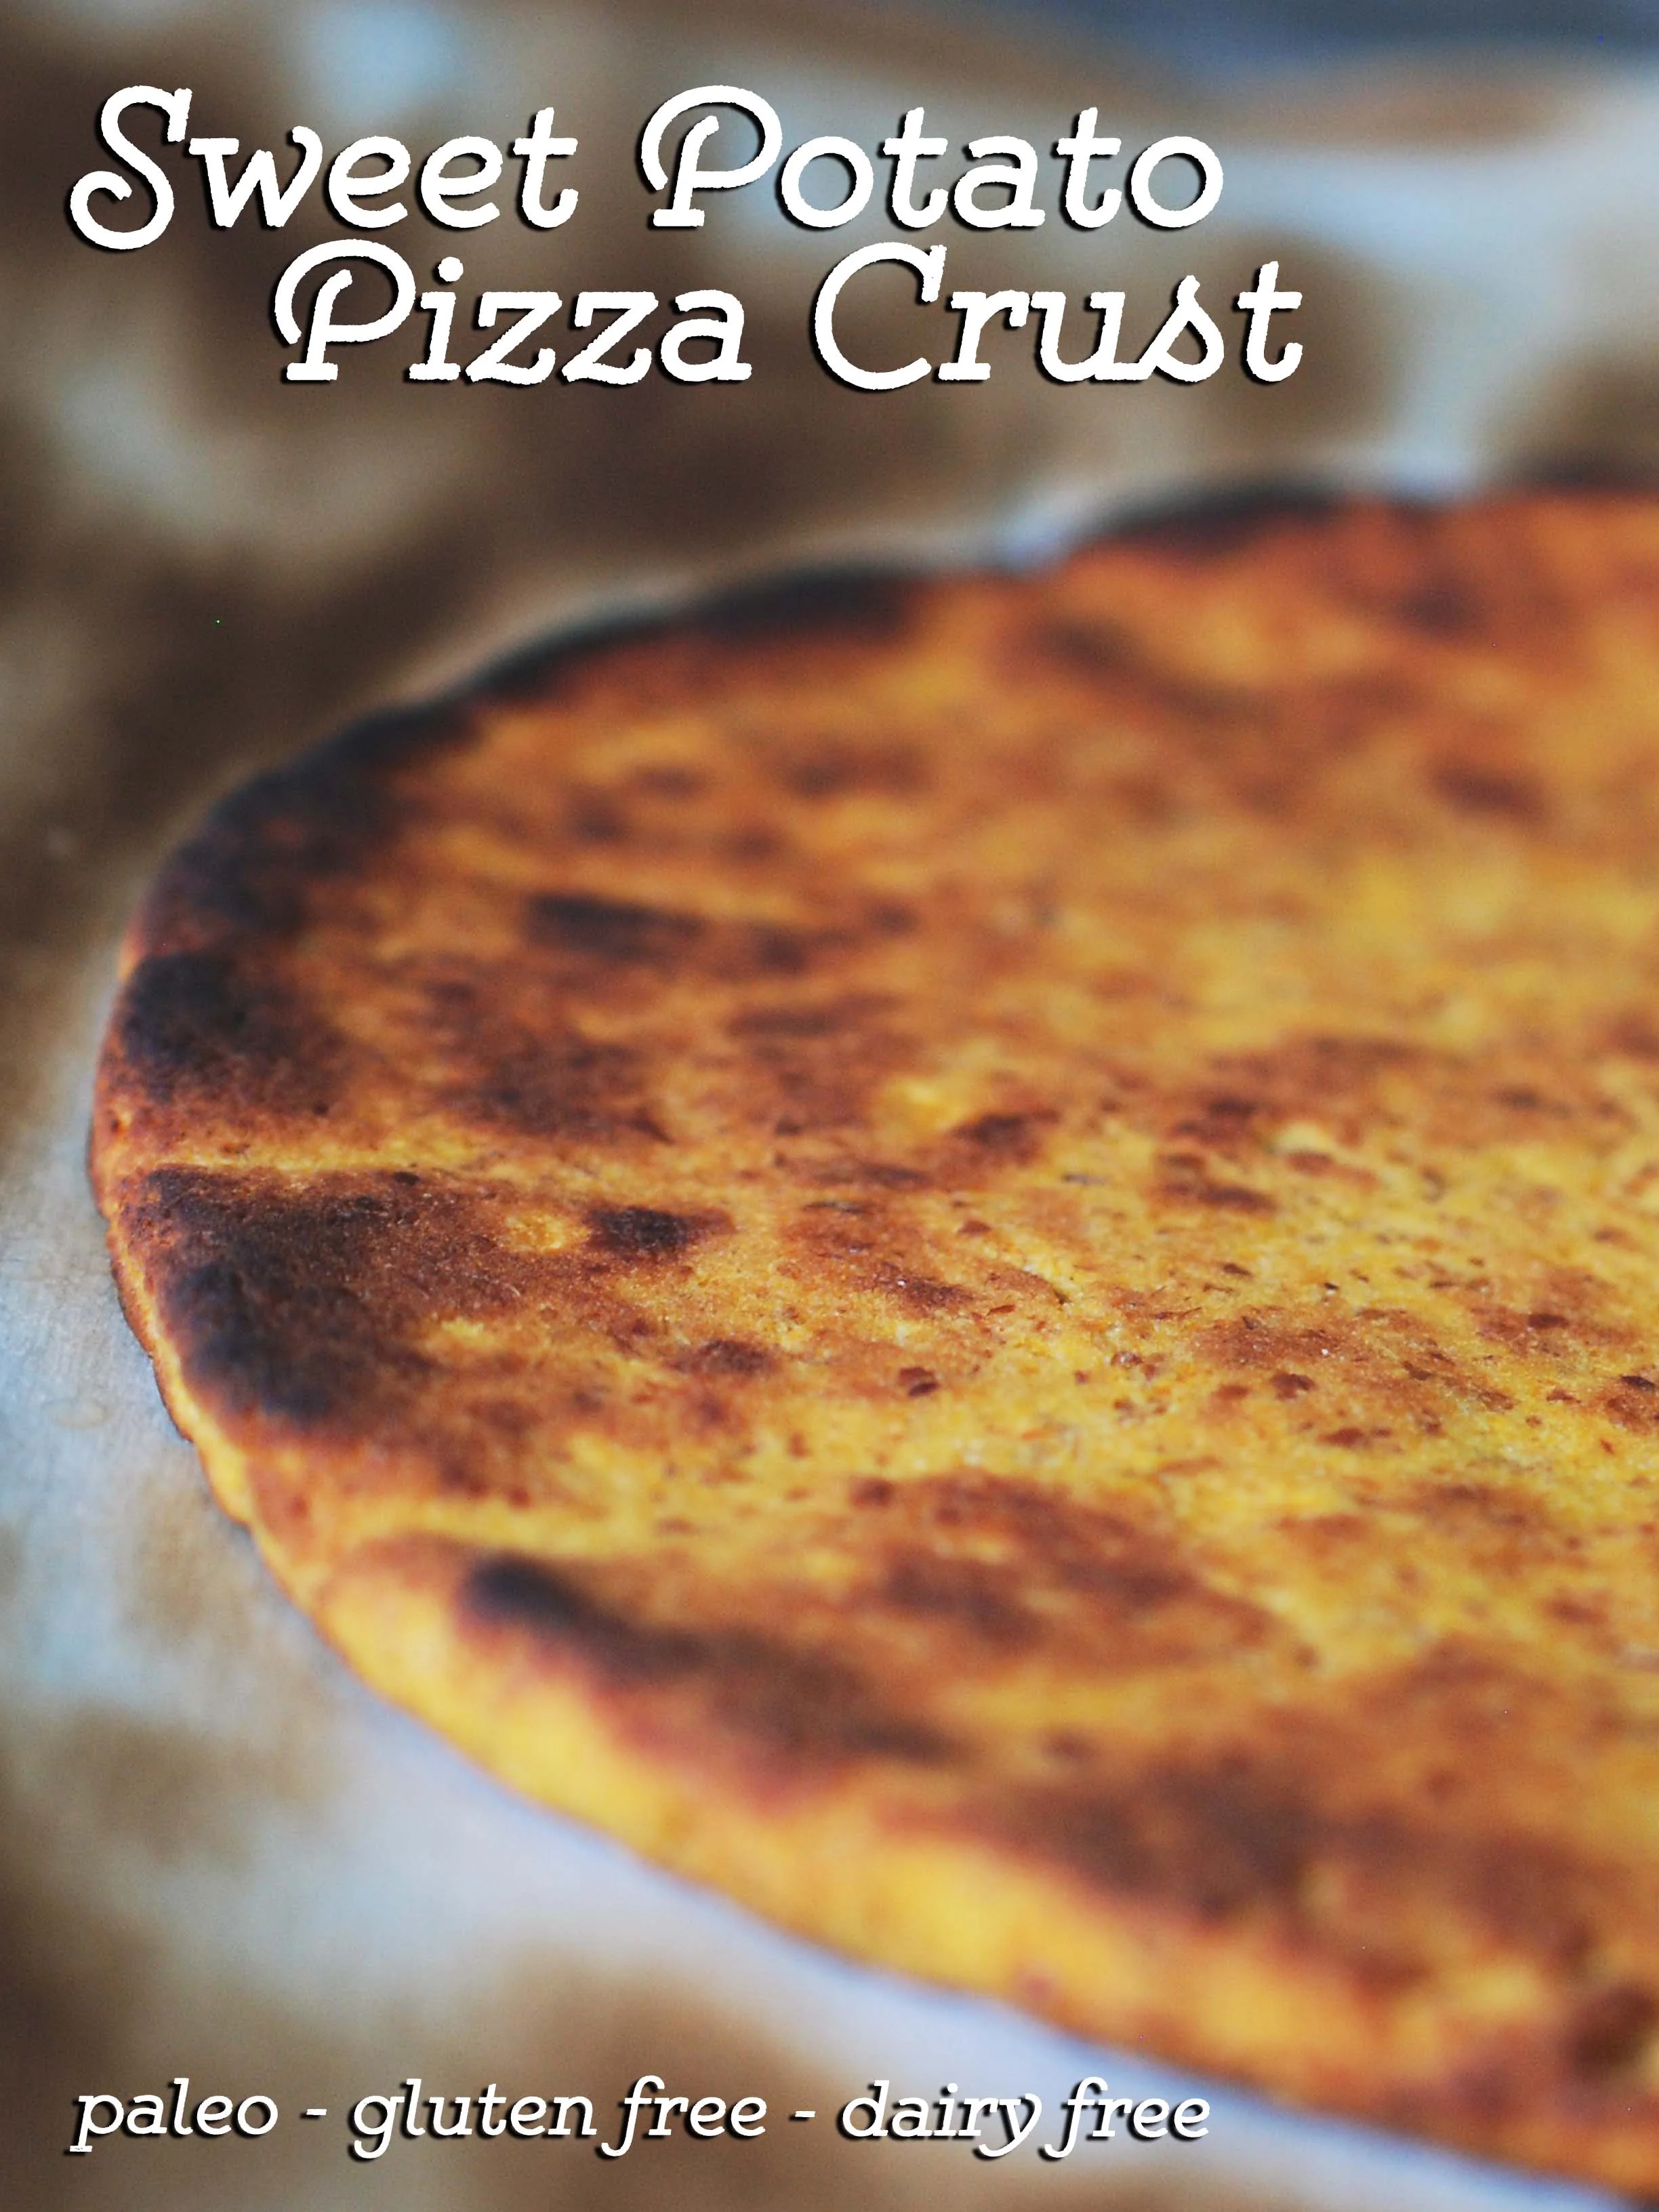
- The texture is amazing. It somehow gets kind of crispy on the outside, and it's a little chewy, but like soft on the inside, and it has all of this sweet potato goodness. I could go on....
BUT, ALAS.... I won't make you wait any longer.
Sweet Potato Pizza Crust
[Paleo - Gluten Free - Dairy Free - Grain Free]

Ingredients:
1 cup almond pulp (leftover from making almond milk). I will experiment with using almond flour and let you know how that goes!
1 cup mashed sweet potato (I always just microwave mine)
1/2 cup arrowroot starch OR 1/4 cup arrowroot starch + 1/4 cup coconut flour
1 egg
1 Tbsp olive oil
1.5 tsp baking powder
1/2 tsp sea salt
Instructions:
- Pre-heat oven to 425 degrees Fahrenheit and line 2 cookie sheets with parchment paper.
- In a medium bowl, combine almond pulp, mashed sweet potato, and egg. Drizzle with 1 Tbsp olive oil and combine until you reach a uniform consistency.
- Add in the arrowroot starch (or combination of arrowroot starch and coconut flour). Combine again until a soft "dough" forms.
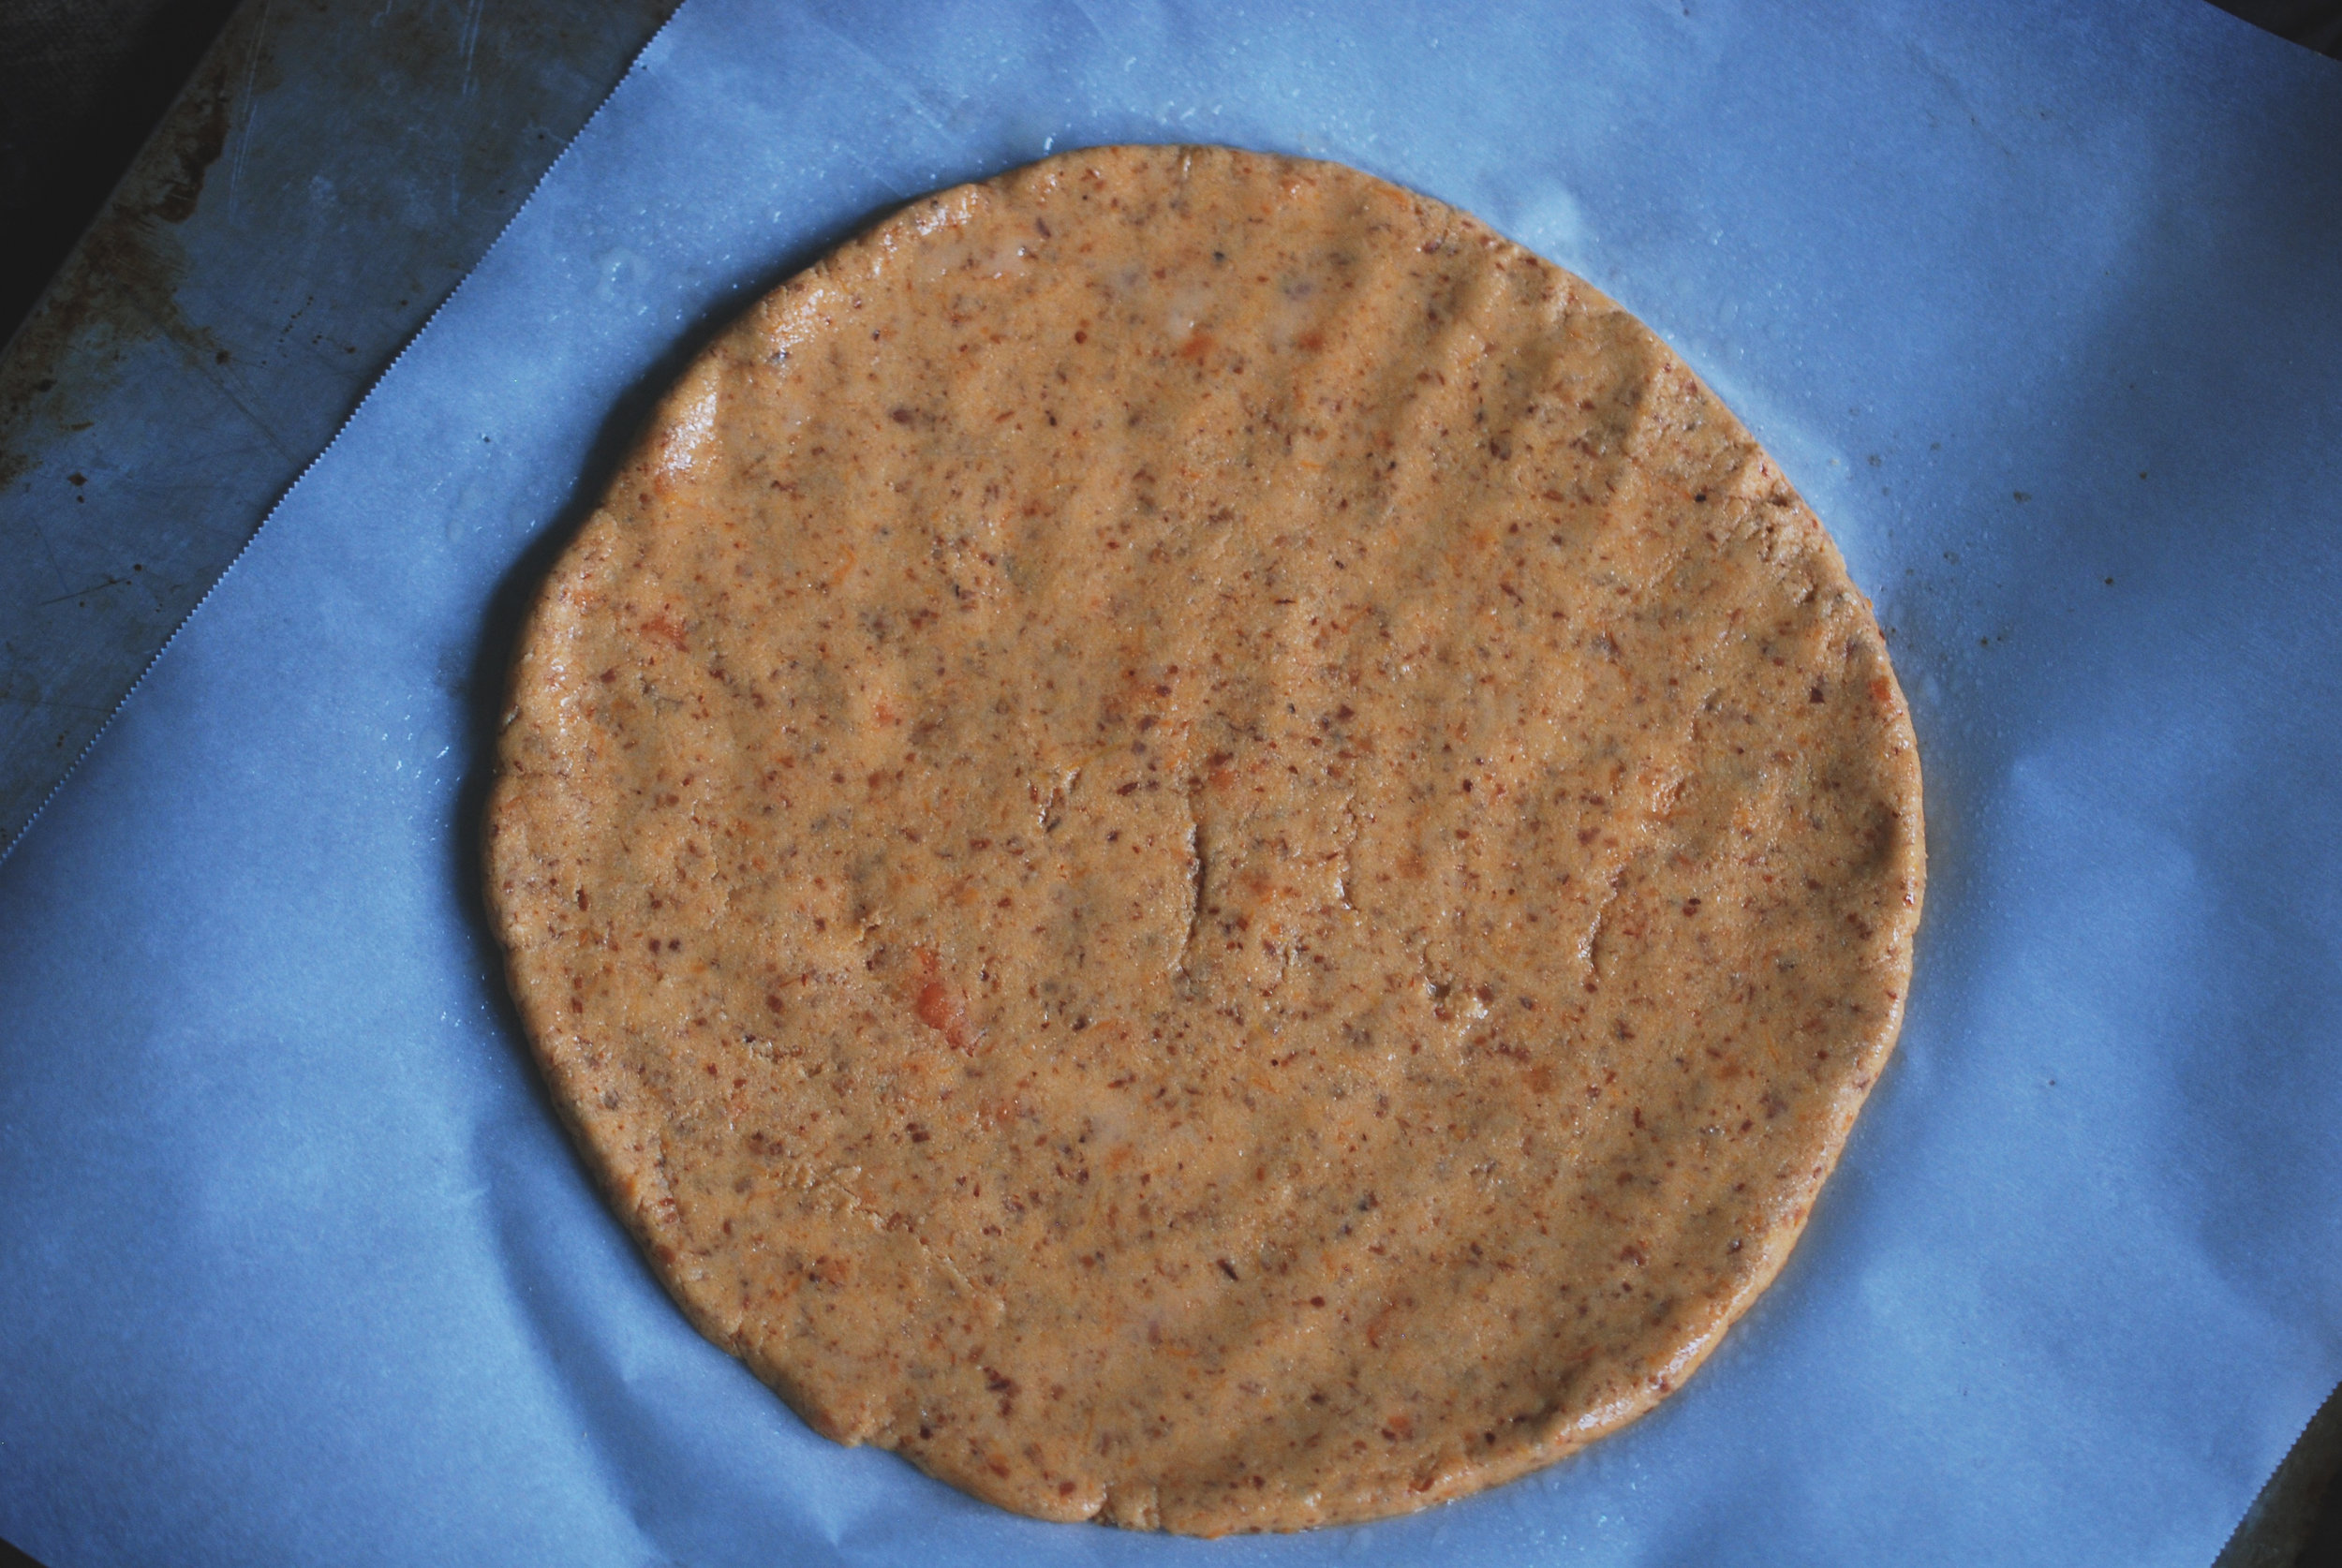
- Press the dough out onto the parchment paper-lined cookie sheet into whatever shape you want - I did one square and one round! You want the crust to be kind of in the middle between 1/4" and 1/2" thick. Spray the crust lightly with olive oil. (I LOVE my Misto for this).
- Bake for 15 minutes, then you are going to need to FLIP the crust, which can get a bit tricky. The best way to do it is to take the cookie sheet out of the oven, then invert another cookie sheet on TOP of the crust. Using pot holders (since the original pan just came out of the oven), flip the crust over onto the new pan, holding it securely in between the two pans for support as you flip it. It really sounds more difficult than it is! Trust me, flipping is the key to cooking it evenly and getting the chewy texture you want!
- Spray lightly with olive oil then bake for another 5-10 minutes.
- TO FINISH IN THE OVEN: Turn oven to broil, and keeping a close eye on it, let it brown up for 2-5 minutes. It might get a bit toasty, so just keep an eye on it! Add toppings and return to oven until they are heated through.
- TO FINISH ON THE GRILL: After step 6, transfer crust to a med-hot grill, grill for 2-3 minutes, then flip, reduce heat, top, and cook until toppings are heated through.
- Check out the recipe for the BBQ Chicken version HERE.