
To get Maria Makes updates delivered to your inbox, subscribe via email here.

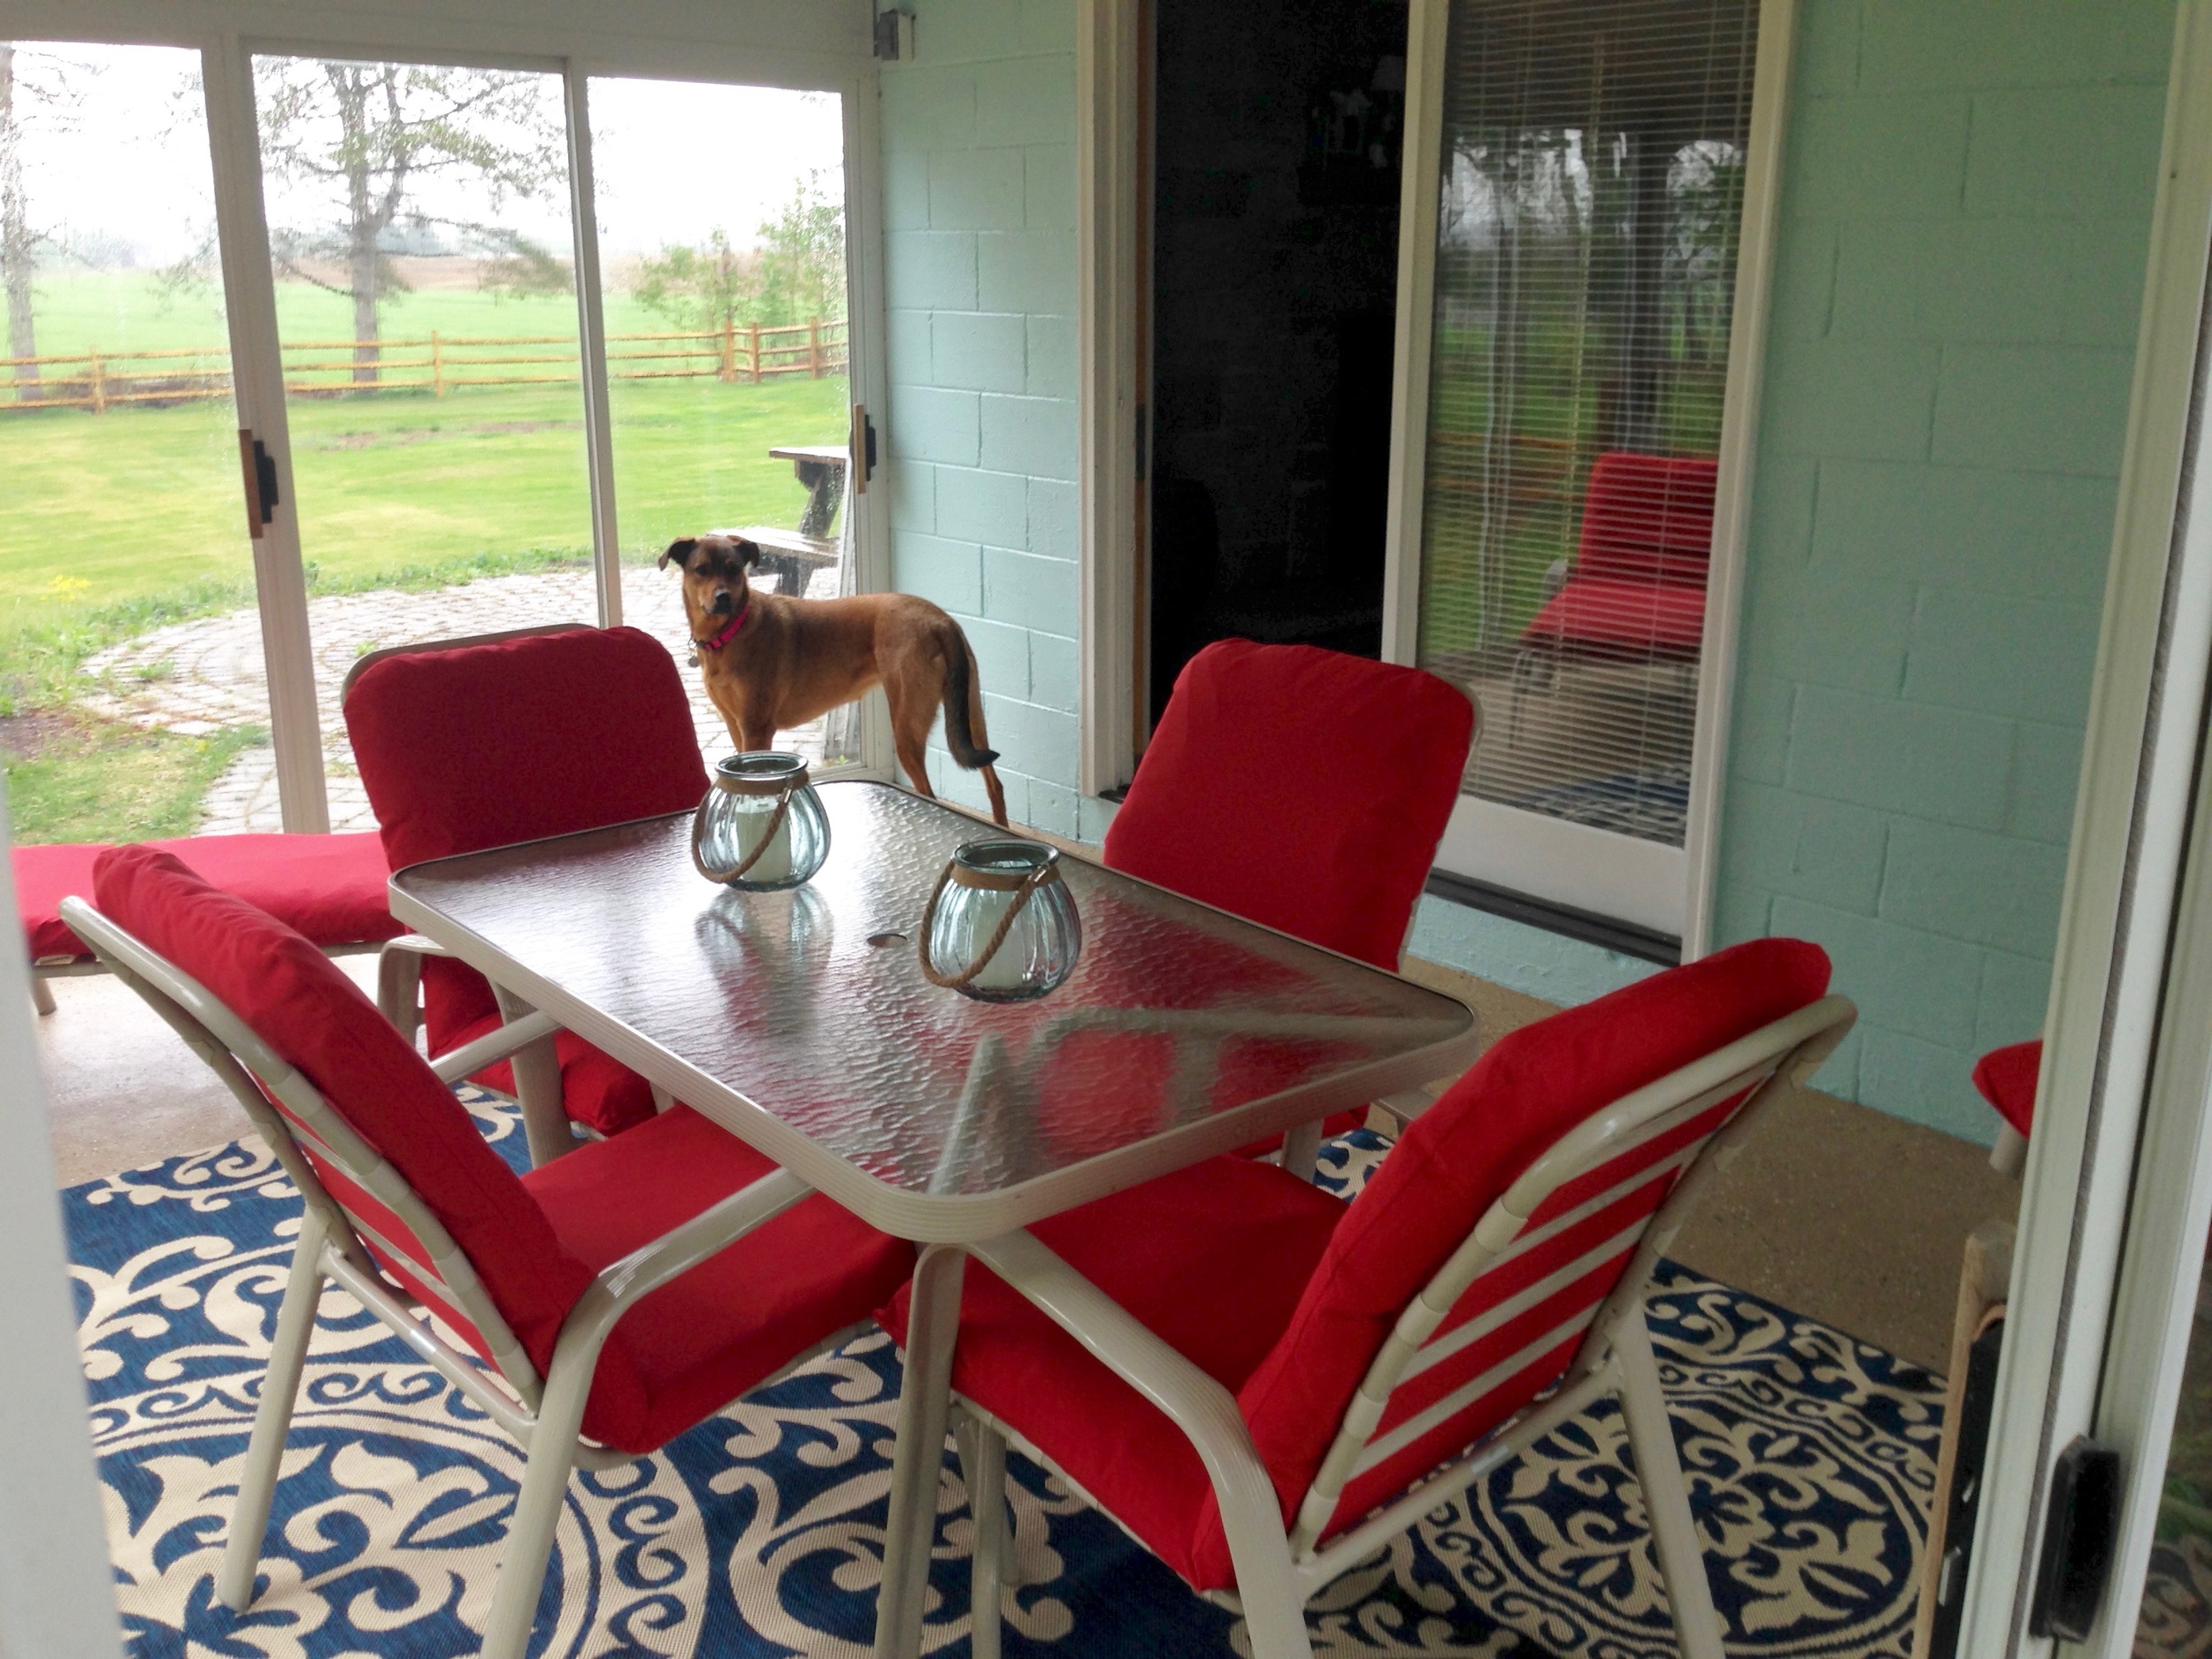
We finally finished our sun room, and as you can see since you're here, I FINALLY finished my project recap post! Though it was originally planned as a weekend project, it took us over a month (and longer than that once we finally hung up the lights)! But it turned out PERFECT!
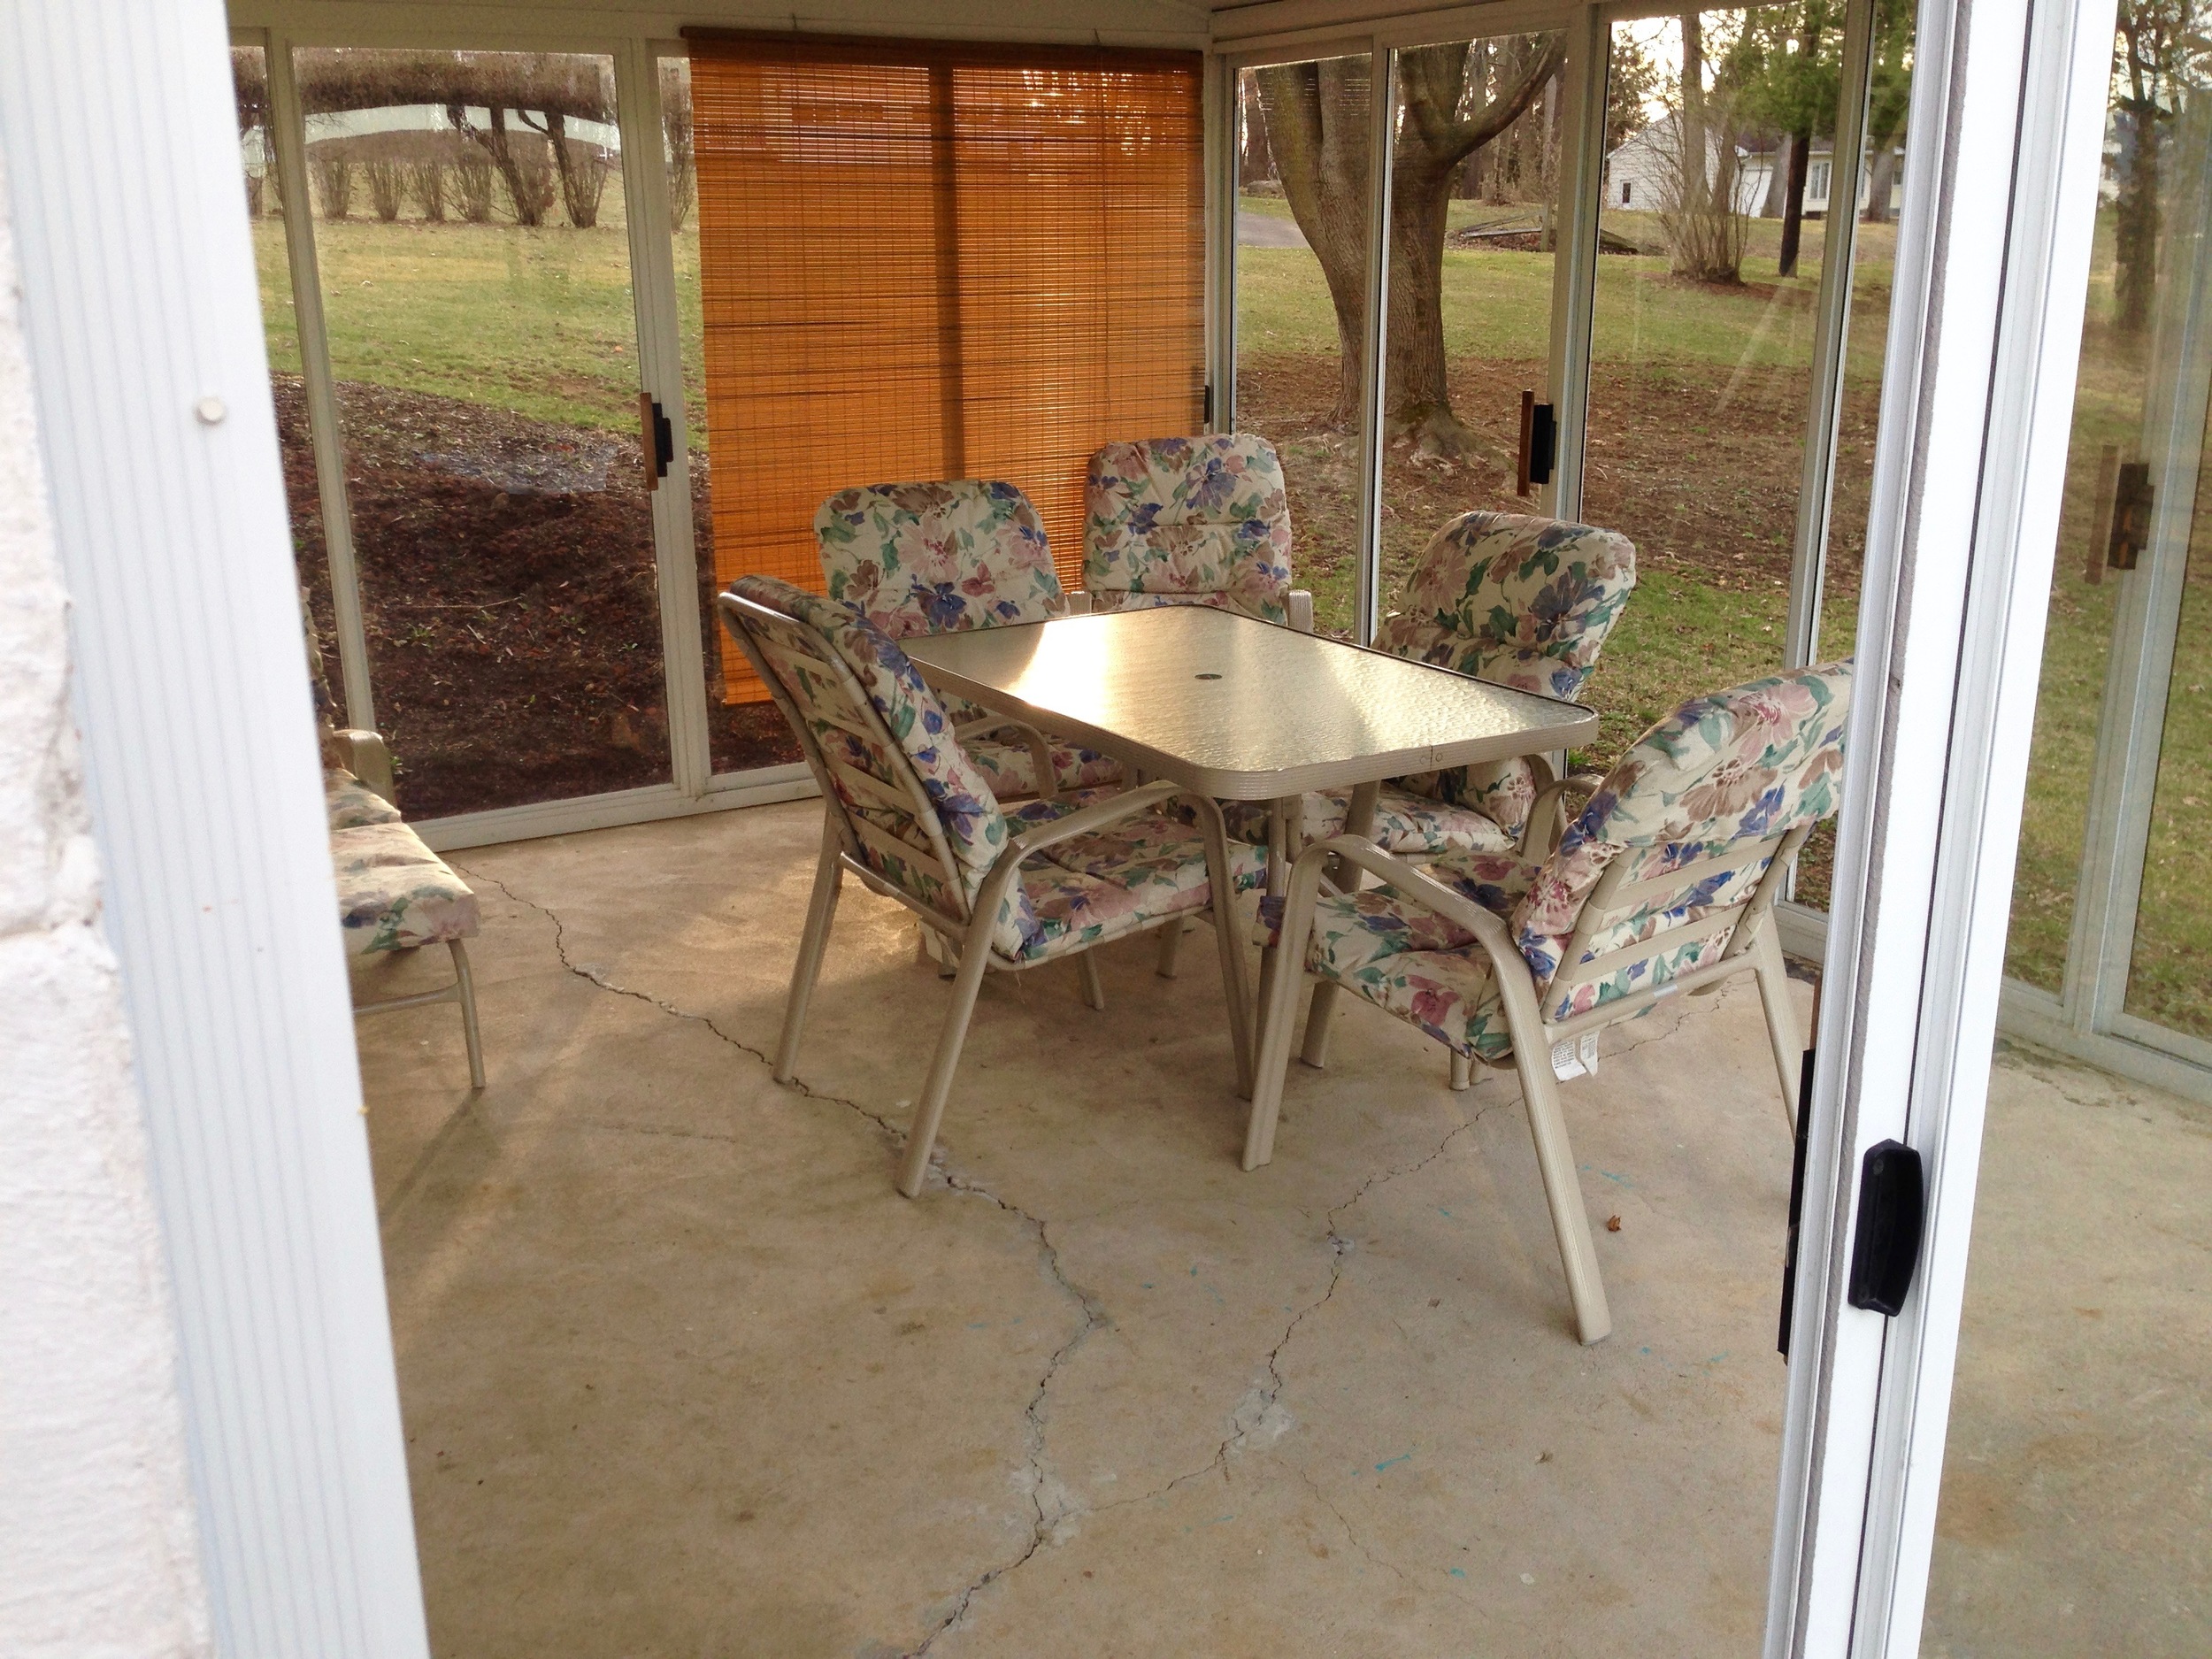
I'll list (somewhat) detailed instructions / recap of what we did below, but if you're just interested in the pics, here you go! Enjoy this little before/after slideshow!


Sun Room Update
SUPPLIES:
Walls:
Spackling putty
Putty knife
Sandpaper
Paint brushes
Artist brush
Wet rag
Paint roller
Paint roller cover
Paint roller tray & liner
Valspar Bonding Primer
Exterior paint
Floor:
Liquid Cement Crack Filler
Razor scraper
Goof Off Pro Strength Remover
Valspar Porch and Floor Paint (we used the color "Sand")
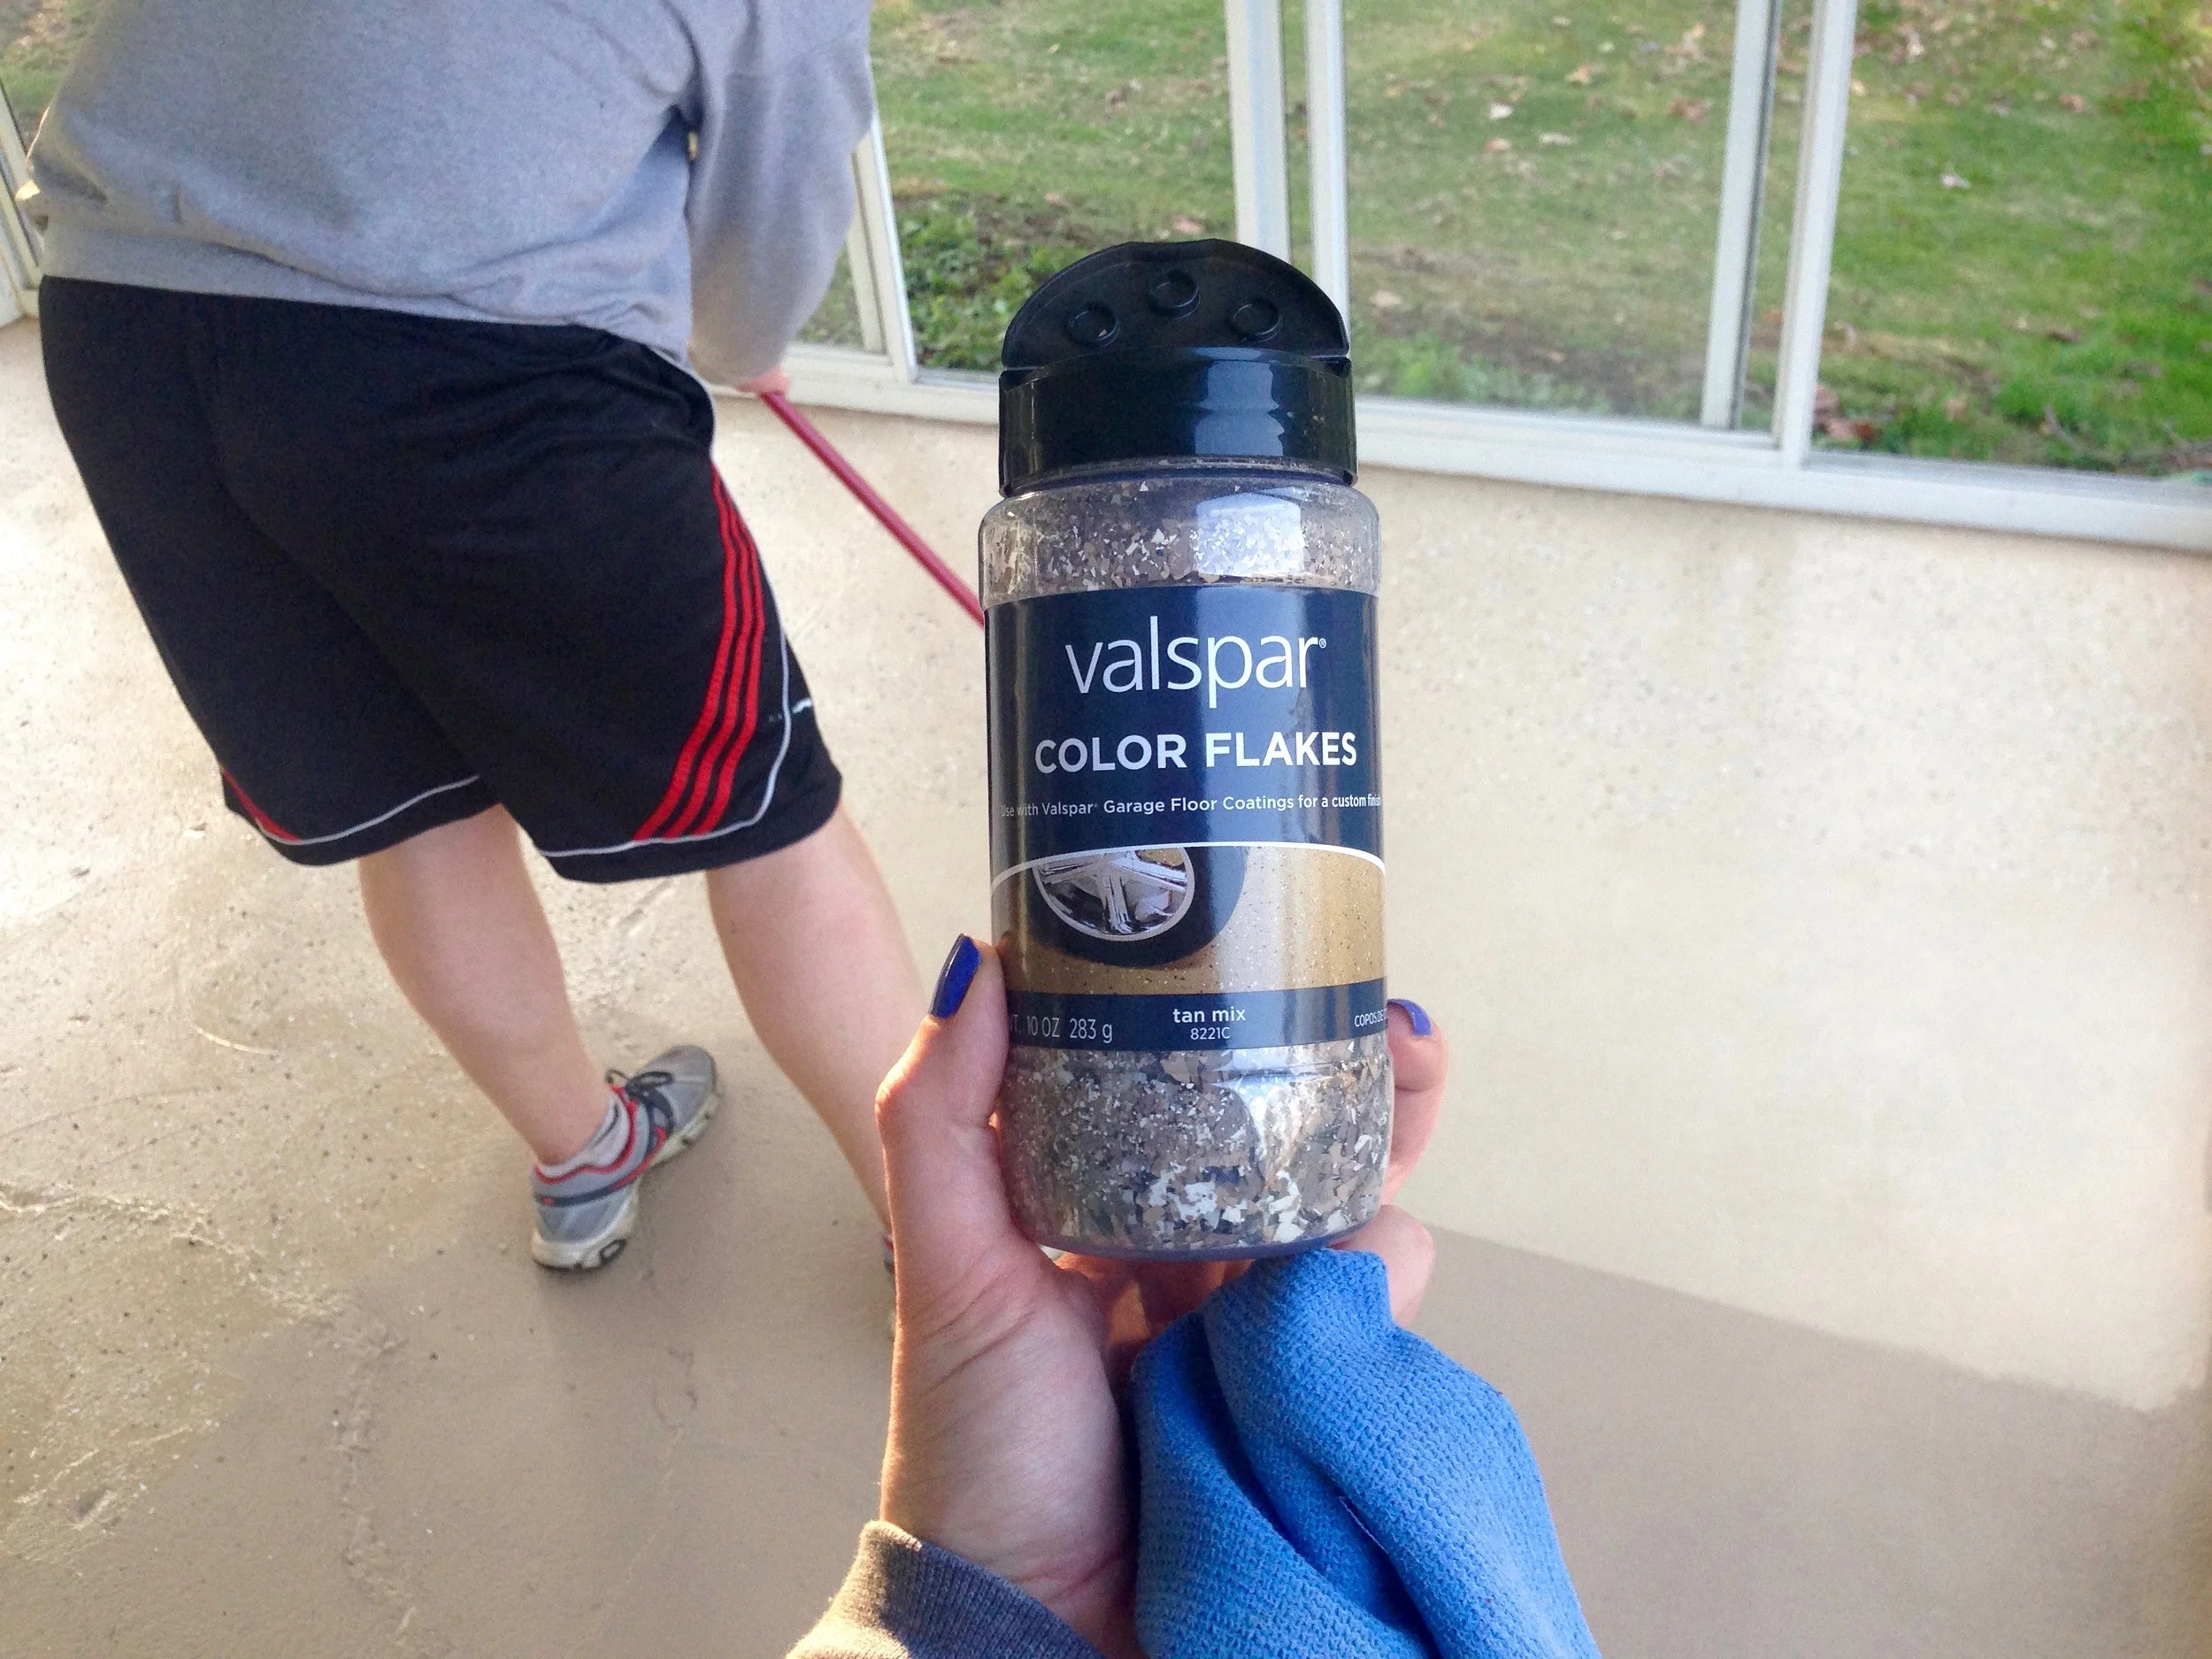
Valspar Color Flakes
2 paint roller covers
Paint roller with extender stick
Seal Krete Clear-Seal
Chair Cushions:
Cushions to re-cover
Outdoor fabric
Thread
Fabric scissors
Decorations:
Lanterns & Citronella Candles
String lights
HOW WE DID IT:
PAINTING THE WALL:

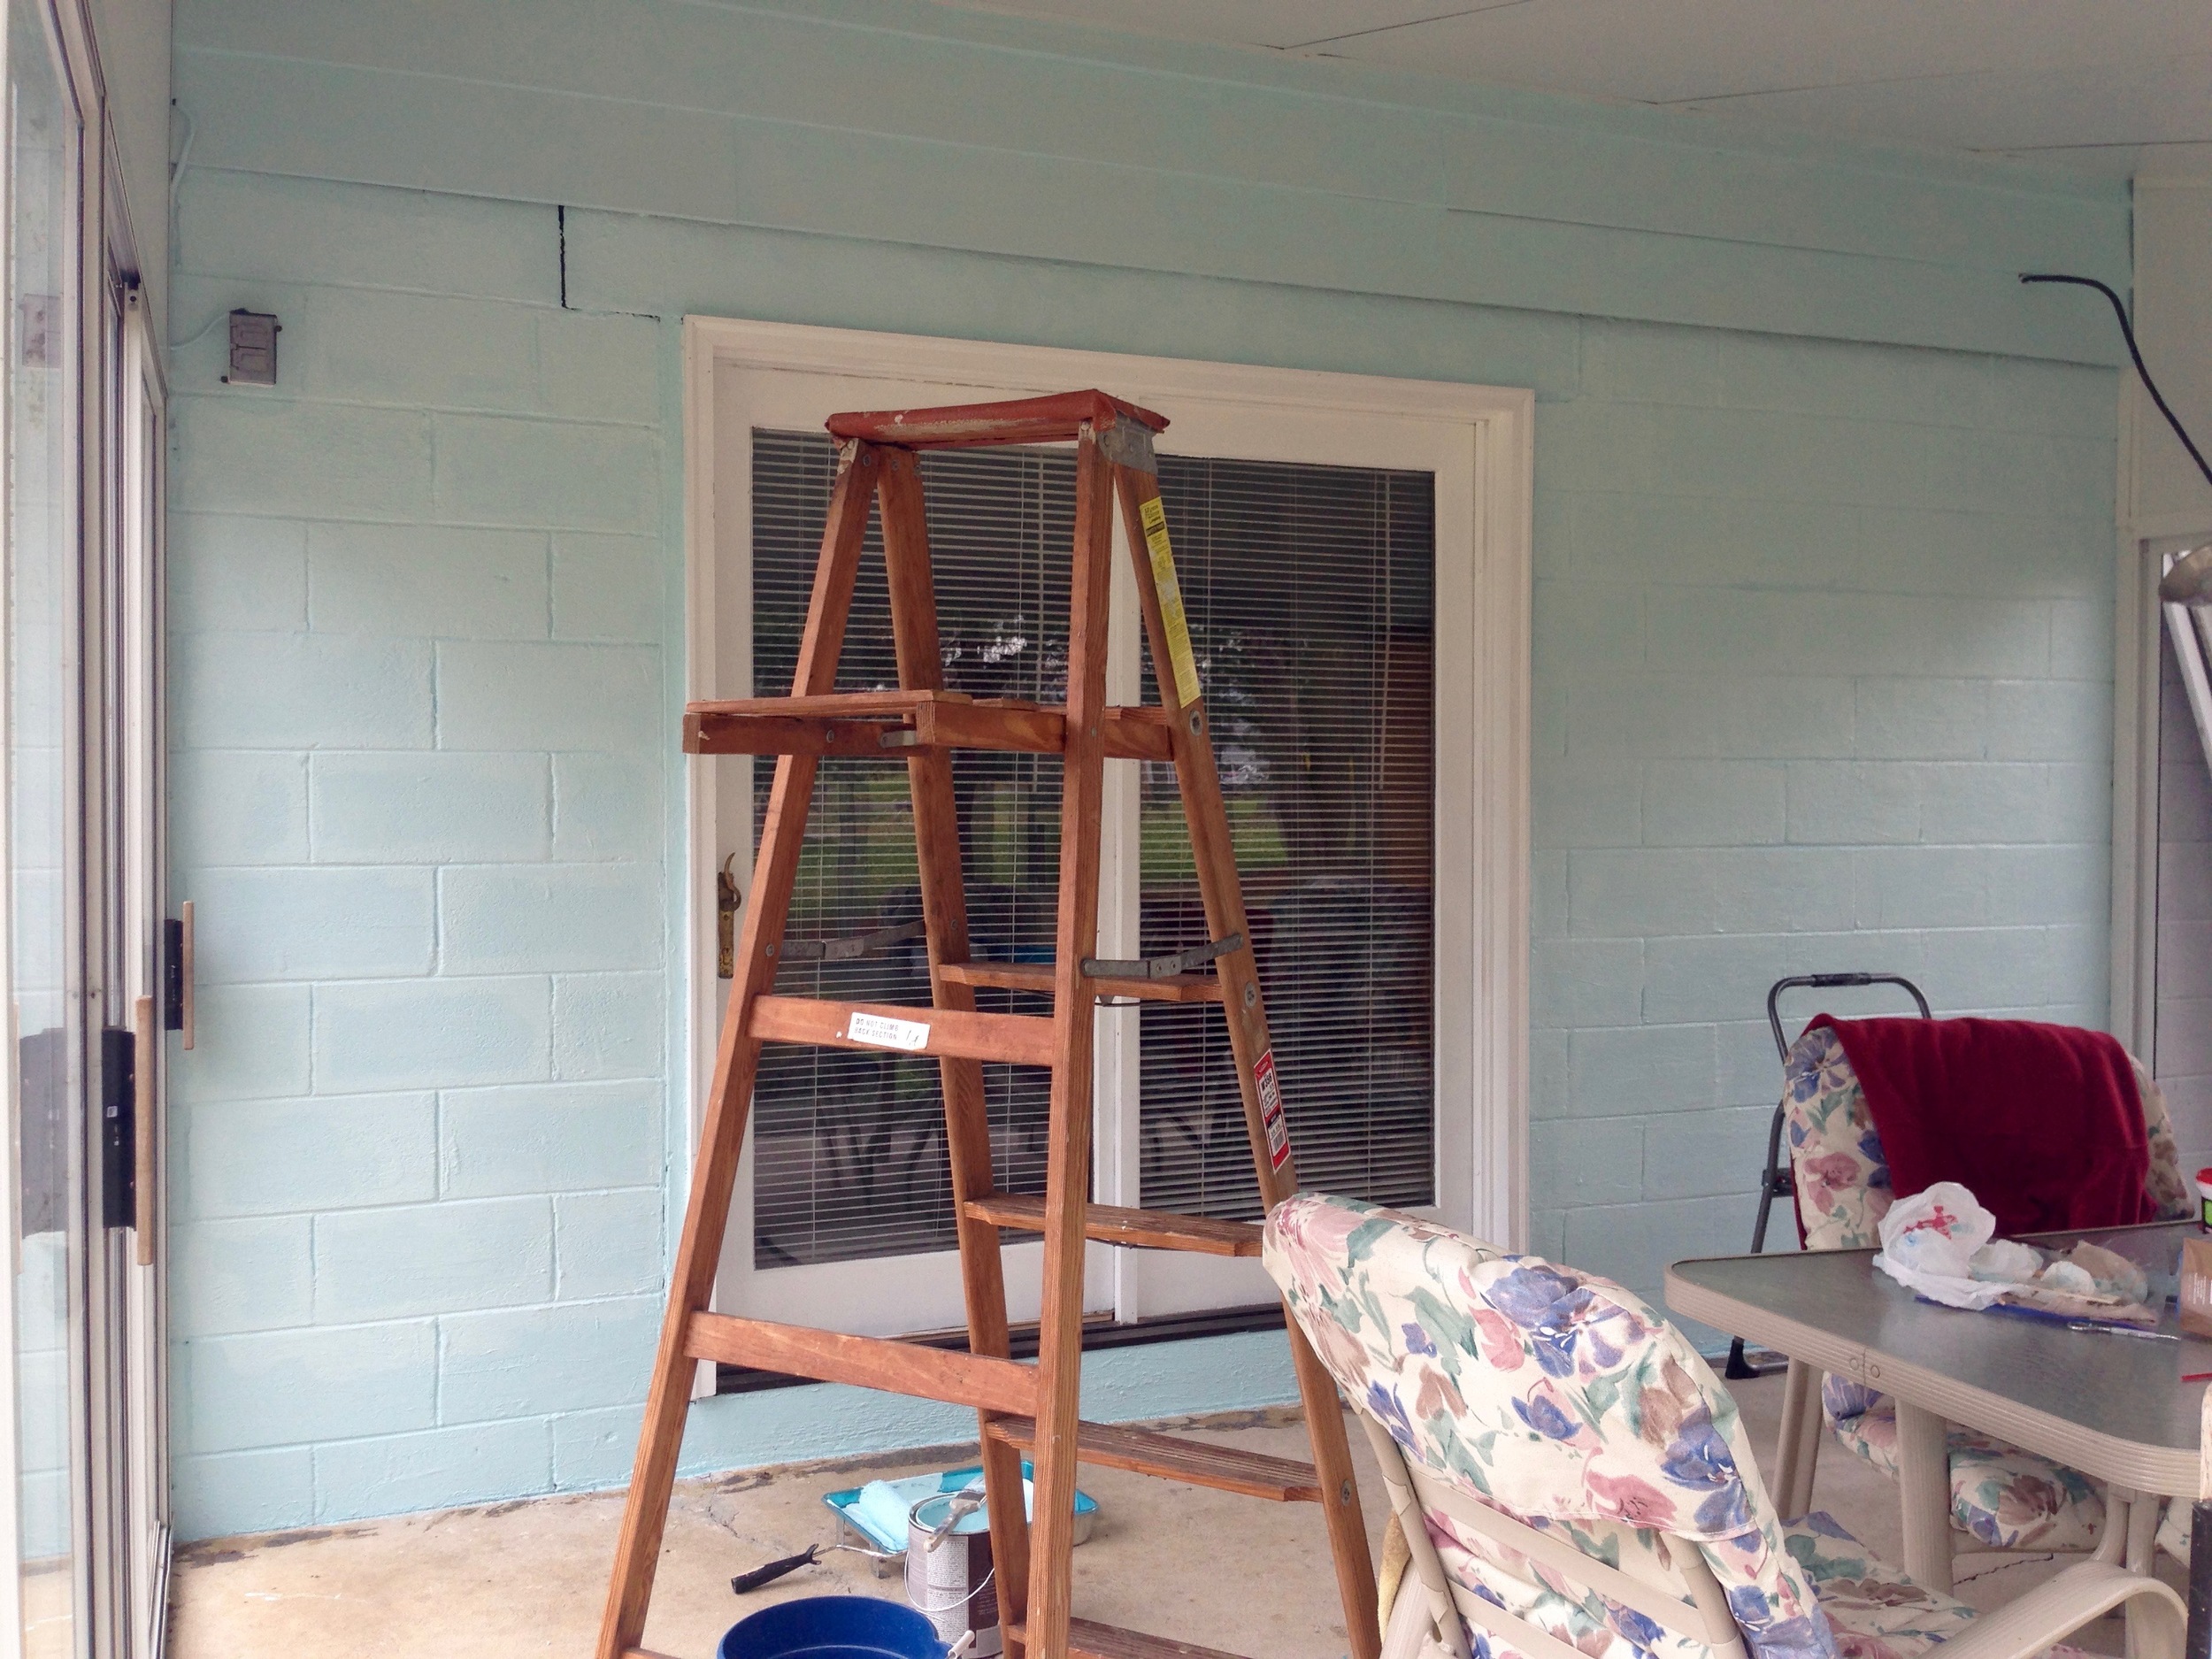
- Our sun room is made up of 3 walls of sliding glass doors, and one wall that is a combo of siding and cider block. So great news, I only had one wall to paint!
- I started by patching up some holes leftover from some sketchy hot-tub wiring, filling them with spackling putty and sanding them.
- Then I primed the whole wall (except for the white trim around the double doors, which I decided was "good enough."
- I let the primer dry overnight, then started in with the paint! We went with this pretty light blue color -- and I'm sorry but I can't remember the name of it!
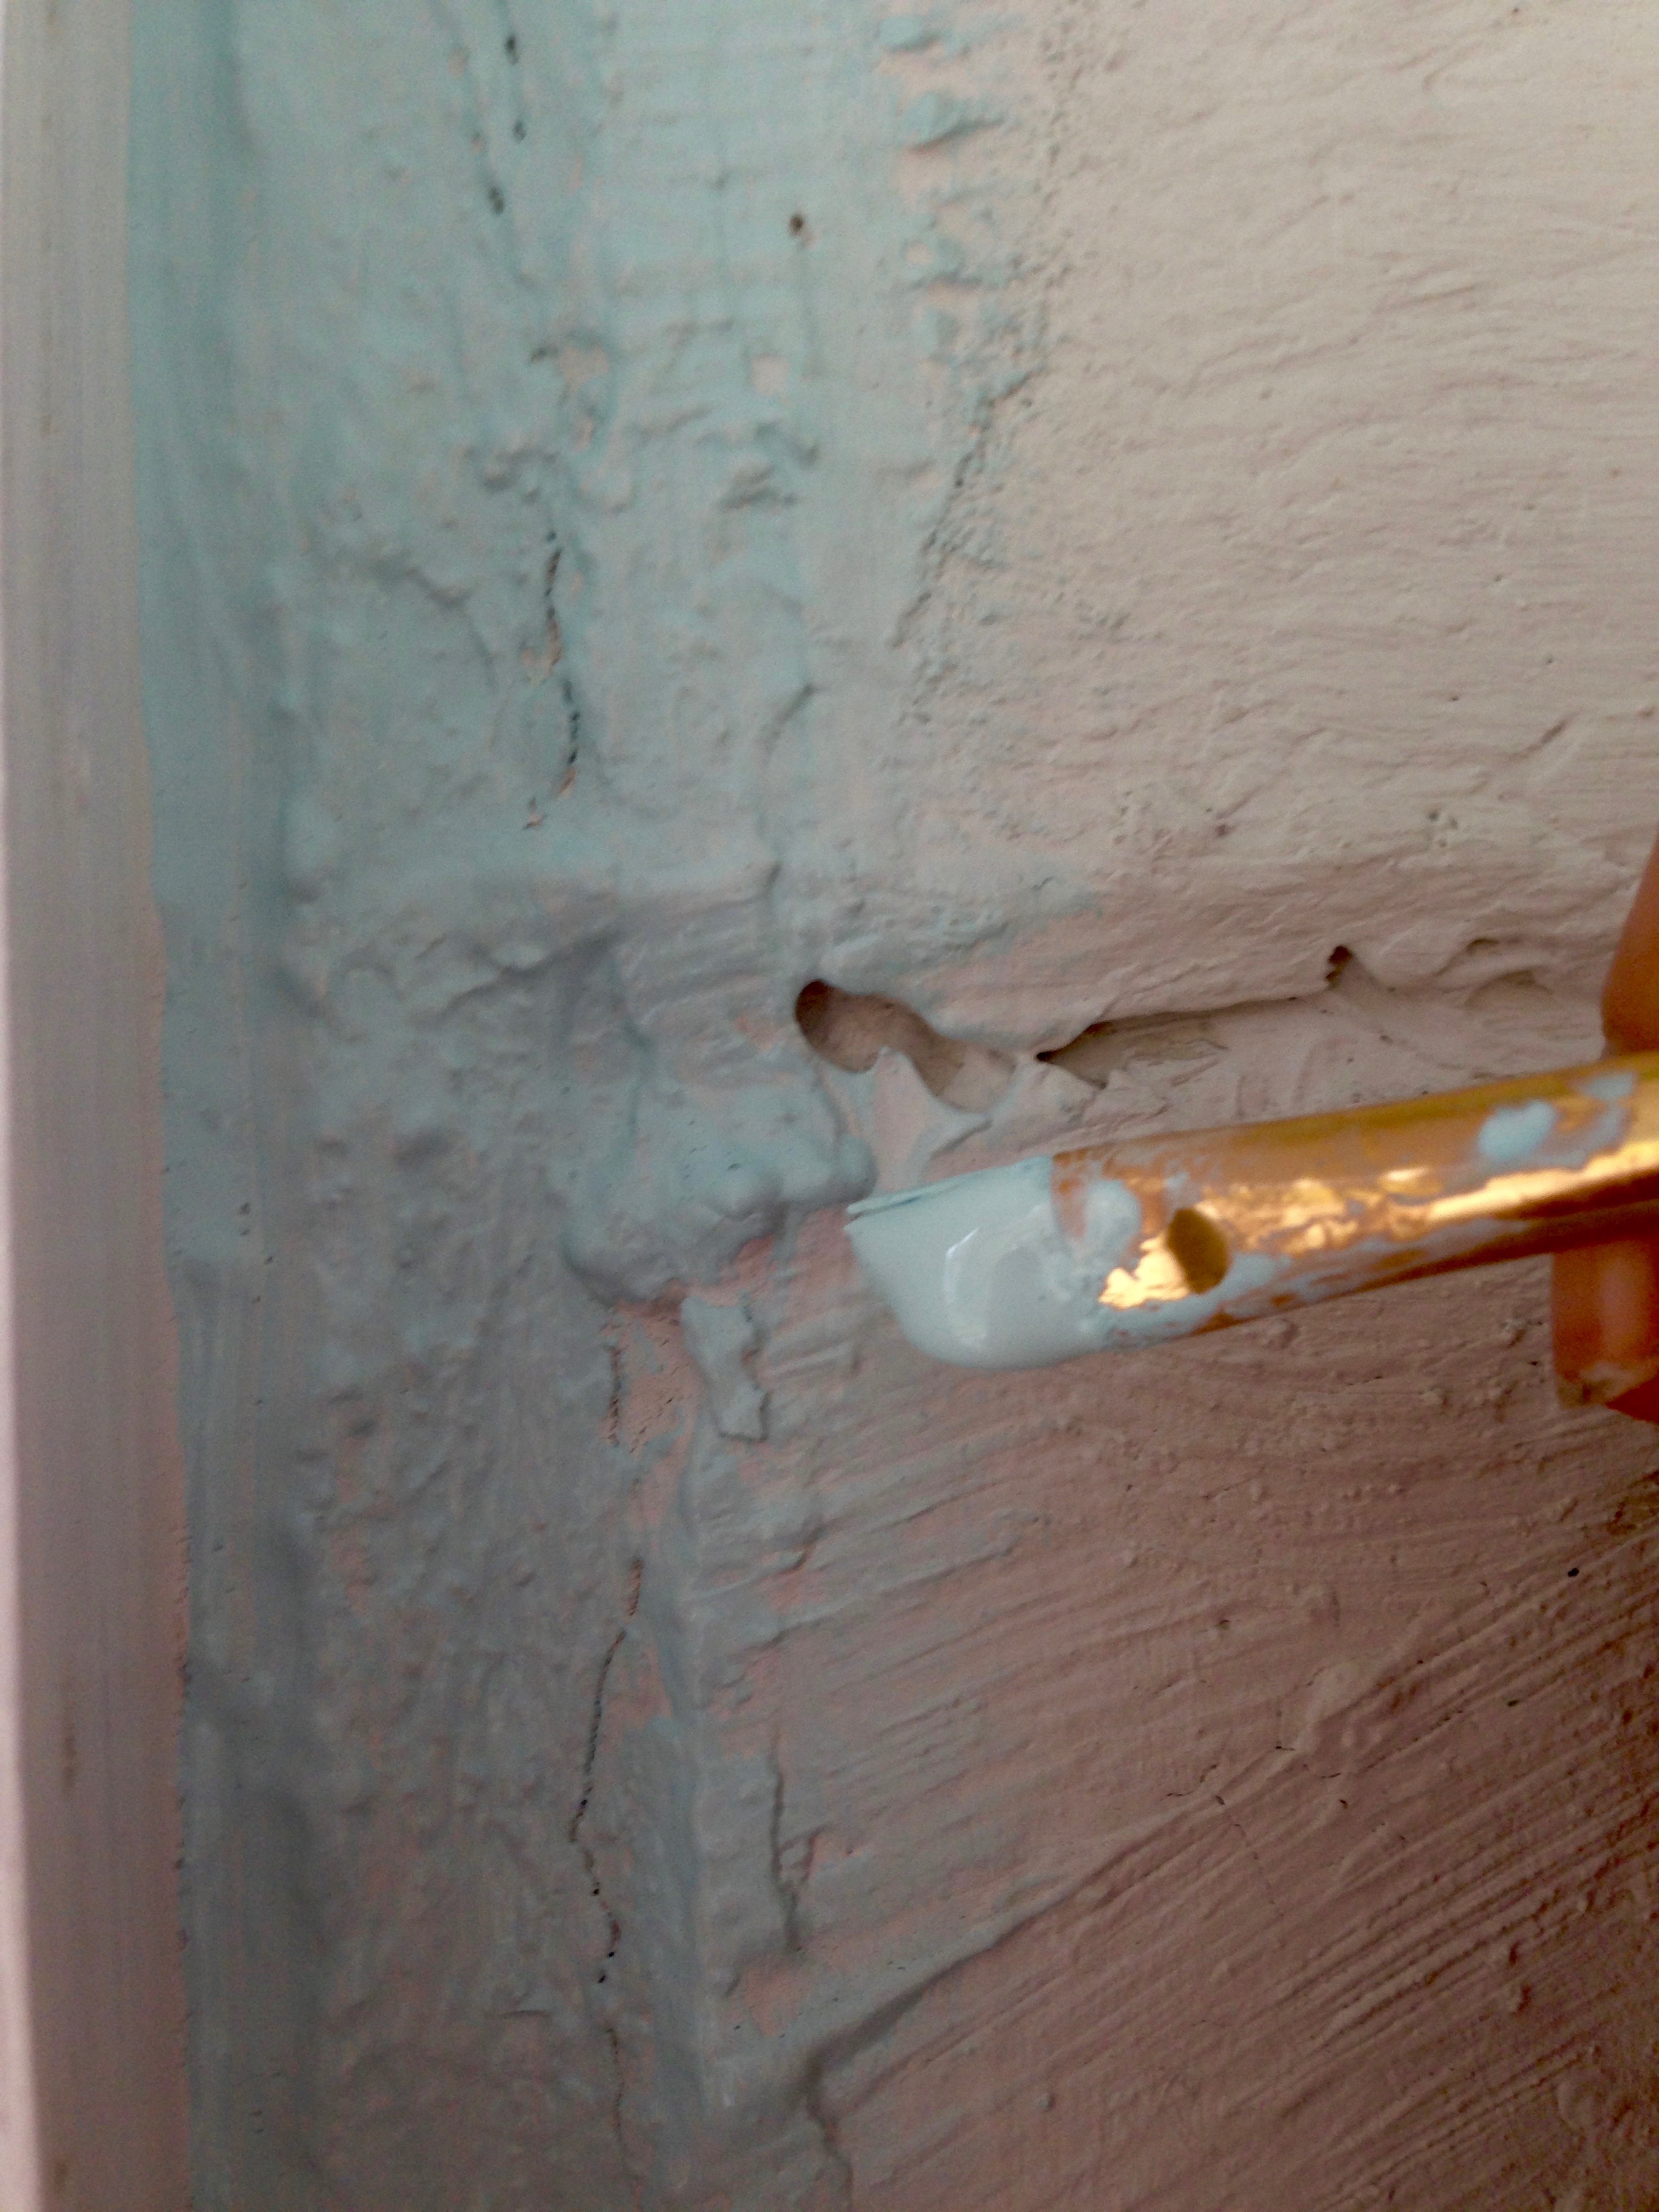
- When painting a cinder block wall, start by cutting in along the walls, floor, and ceiling. I used an angled brush to start, then went back in with a small artist's brush to fill in any holes.
- Then use a well-loaded brush to paint all of the grout lines first. This is a pain in the ass, but I found that I got the best coverage this way.
- Once the grout lines are all filled in, you can get the rest of the blocks with a roller. Keep a brush and artist's brush (small art brush) handy for any deep holes that the roller can't get to.
- I ended up doing one coat of the grout lines, then 2 roller coats to cover the whole wall. For the siding up above the blocks, I just painted those with a brush -- 1 coat of primer, 2 coats of paint.
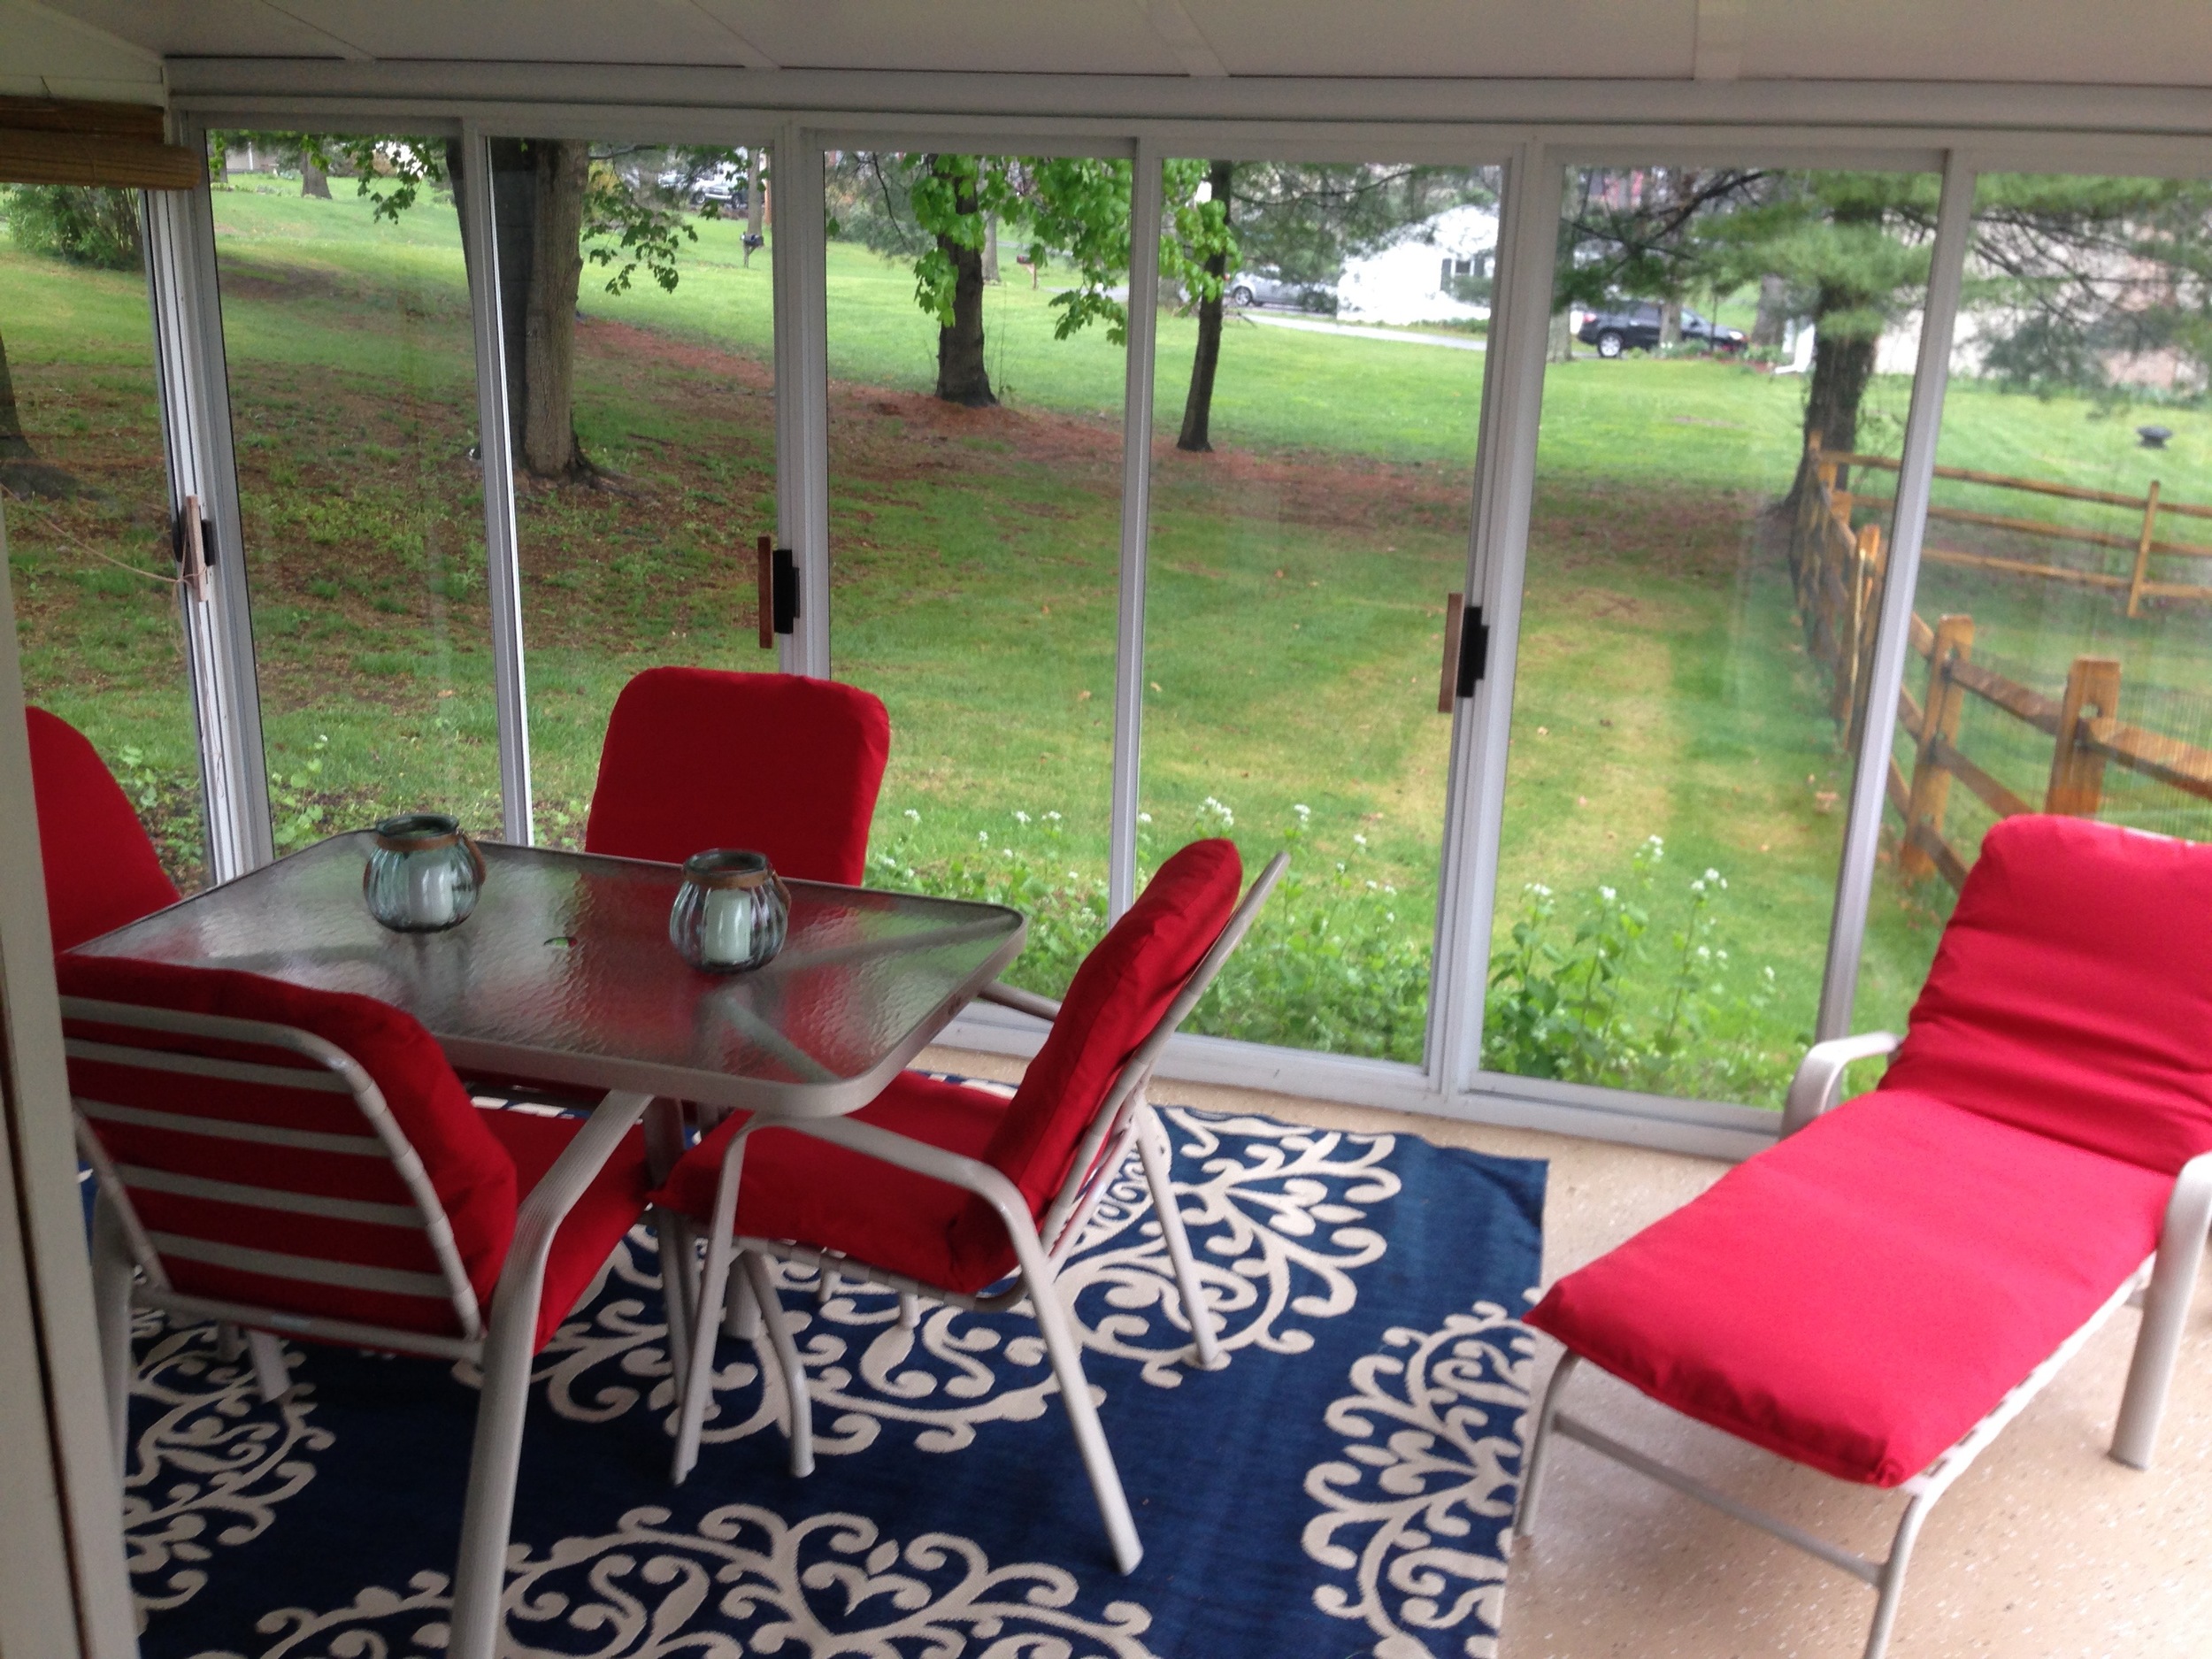
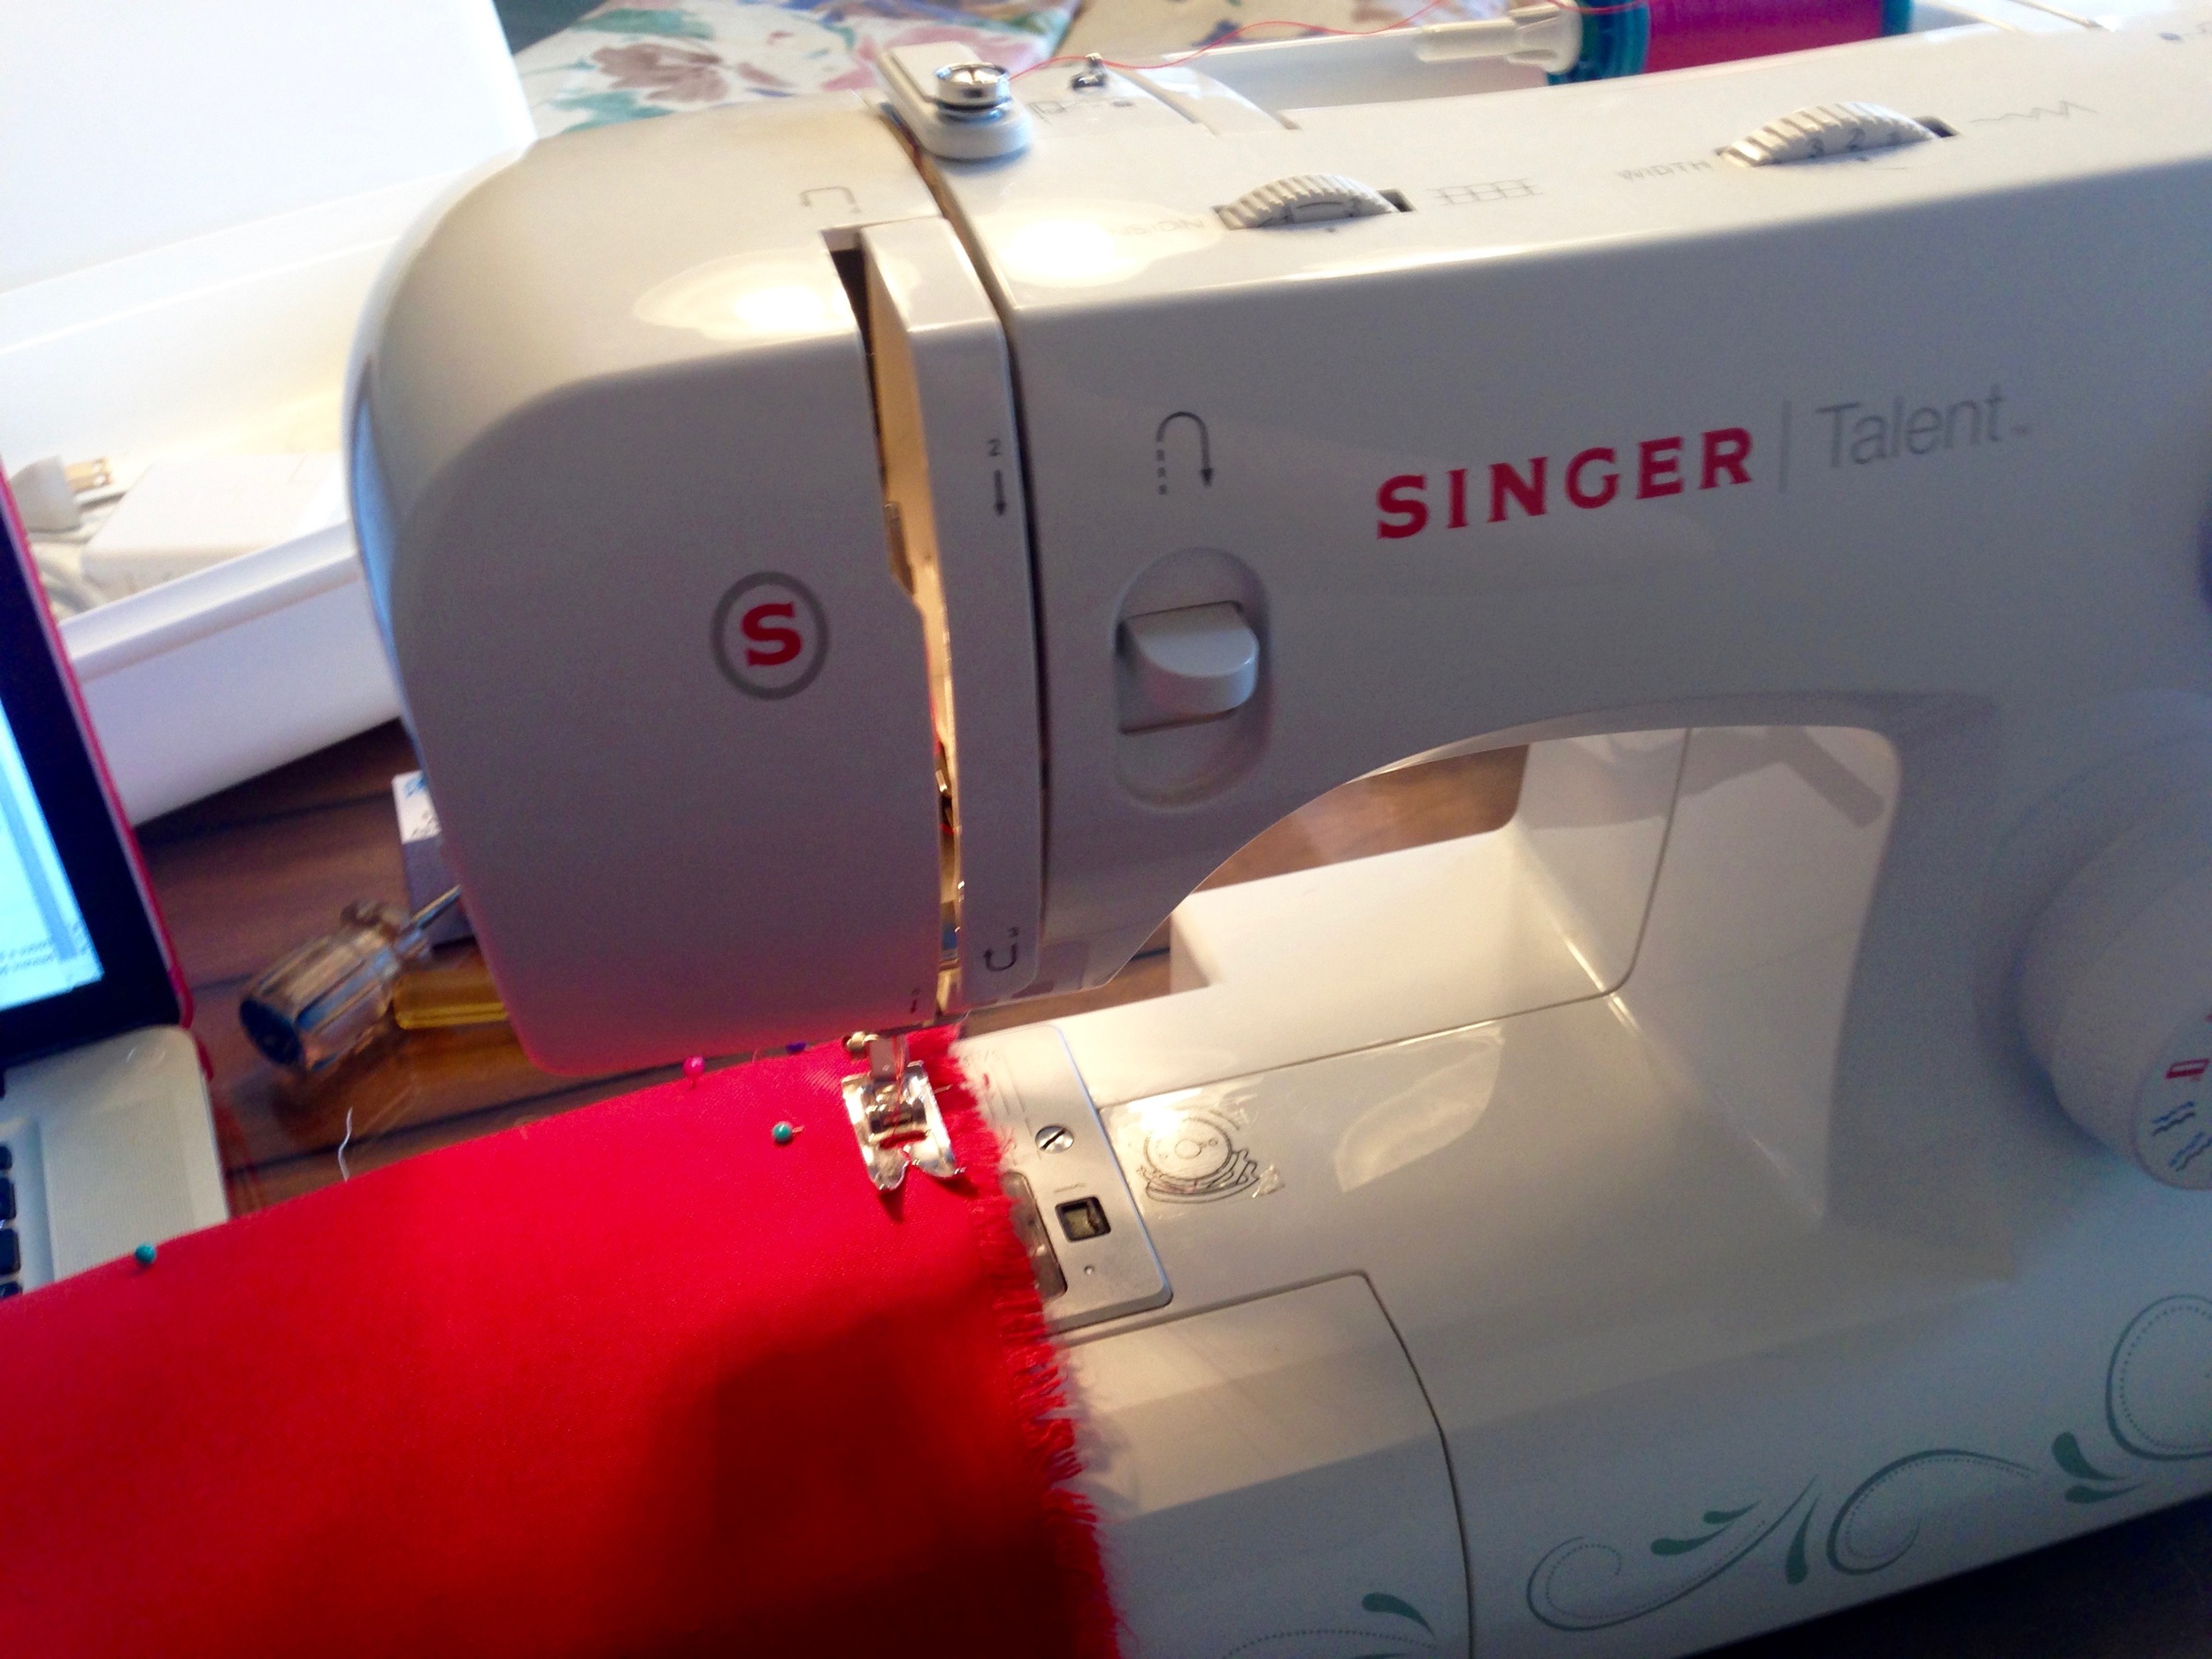
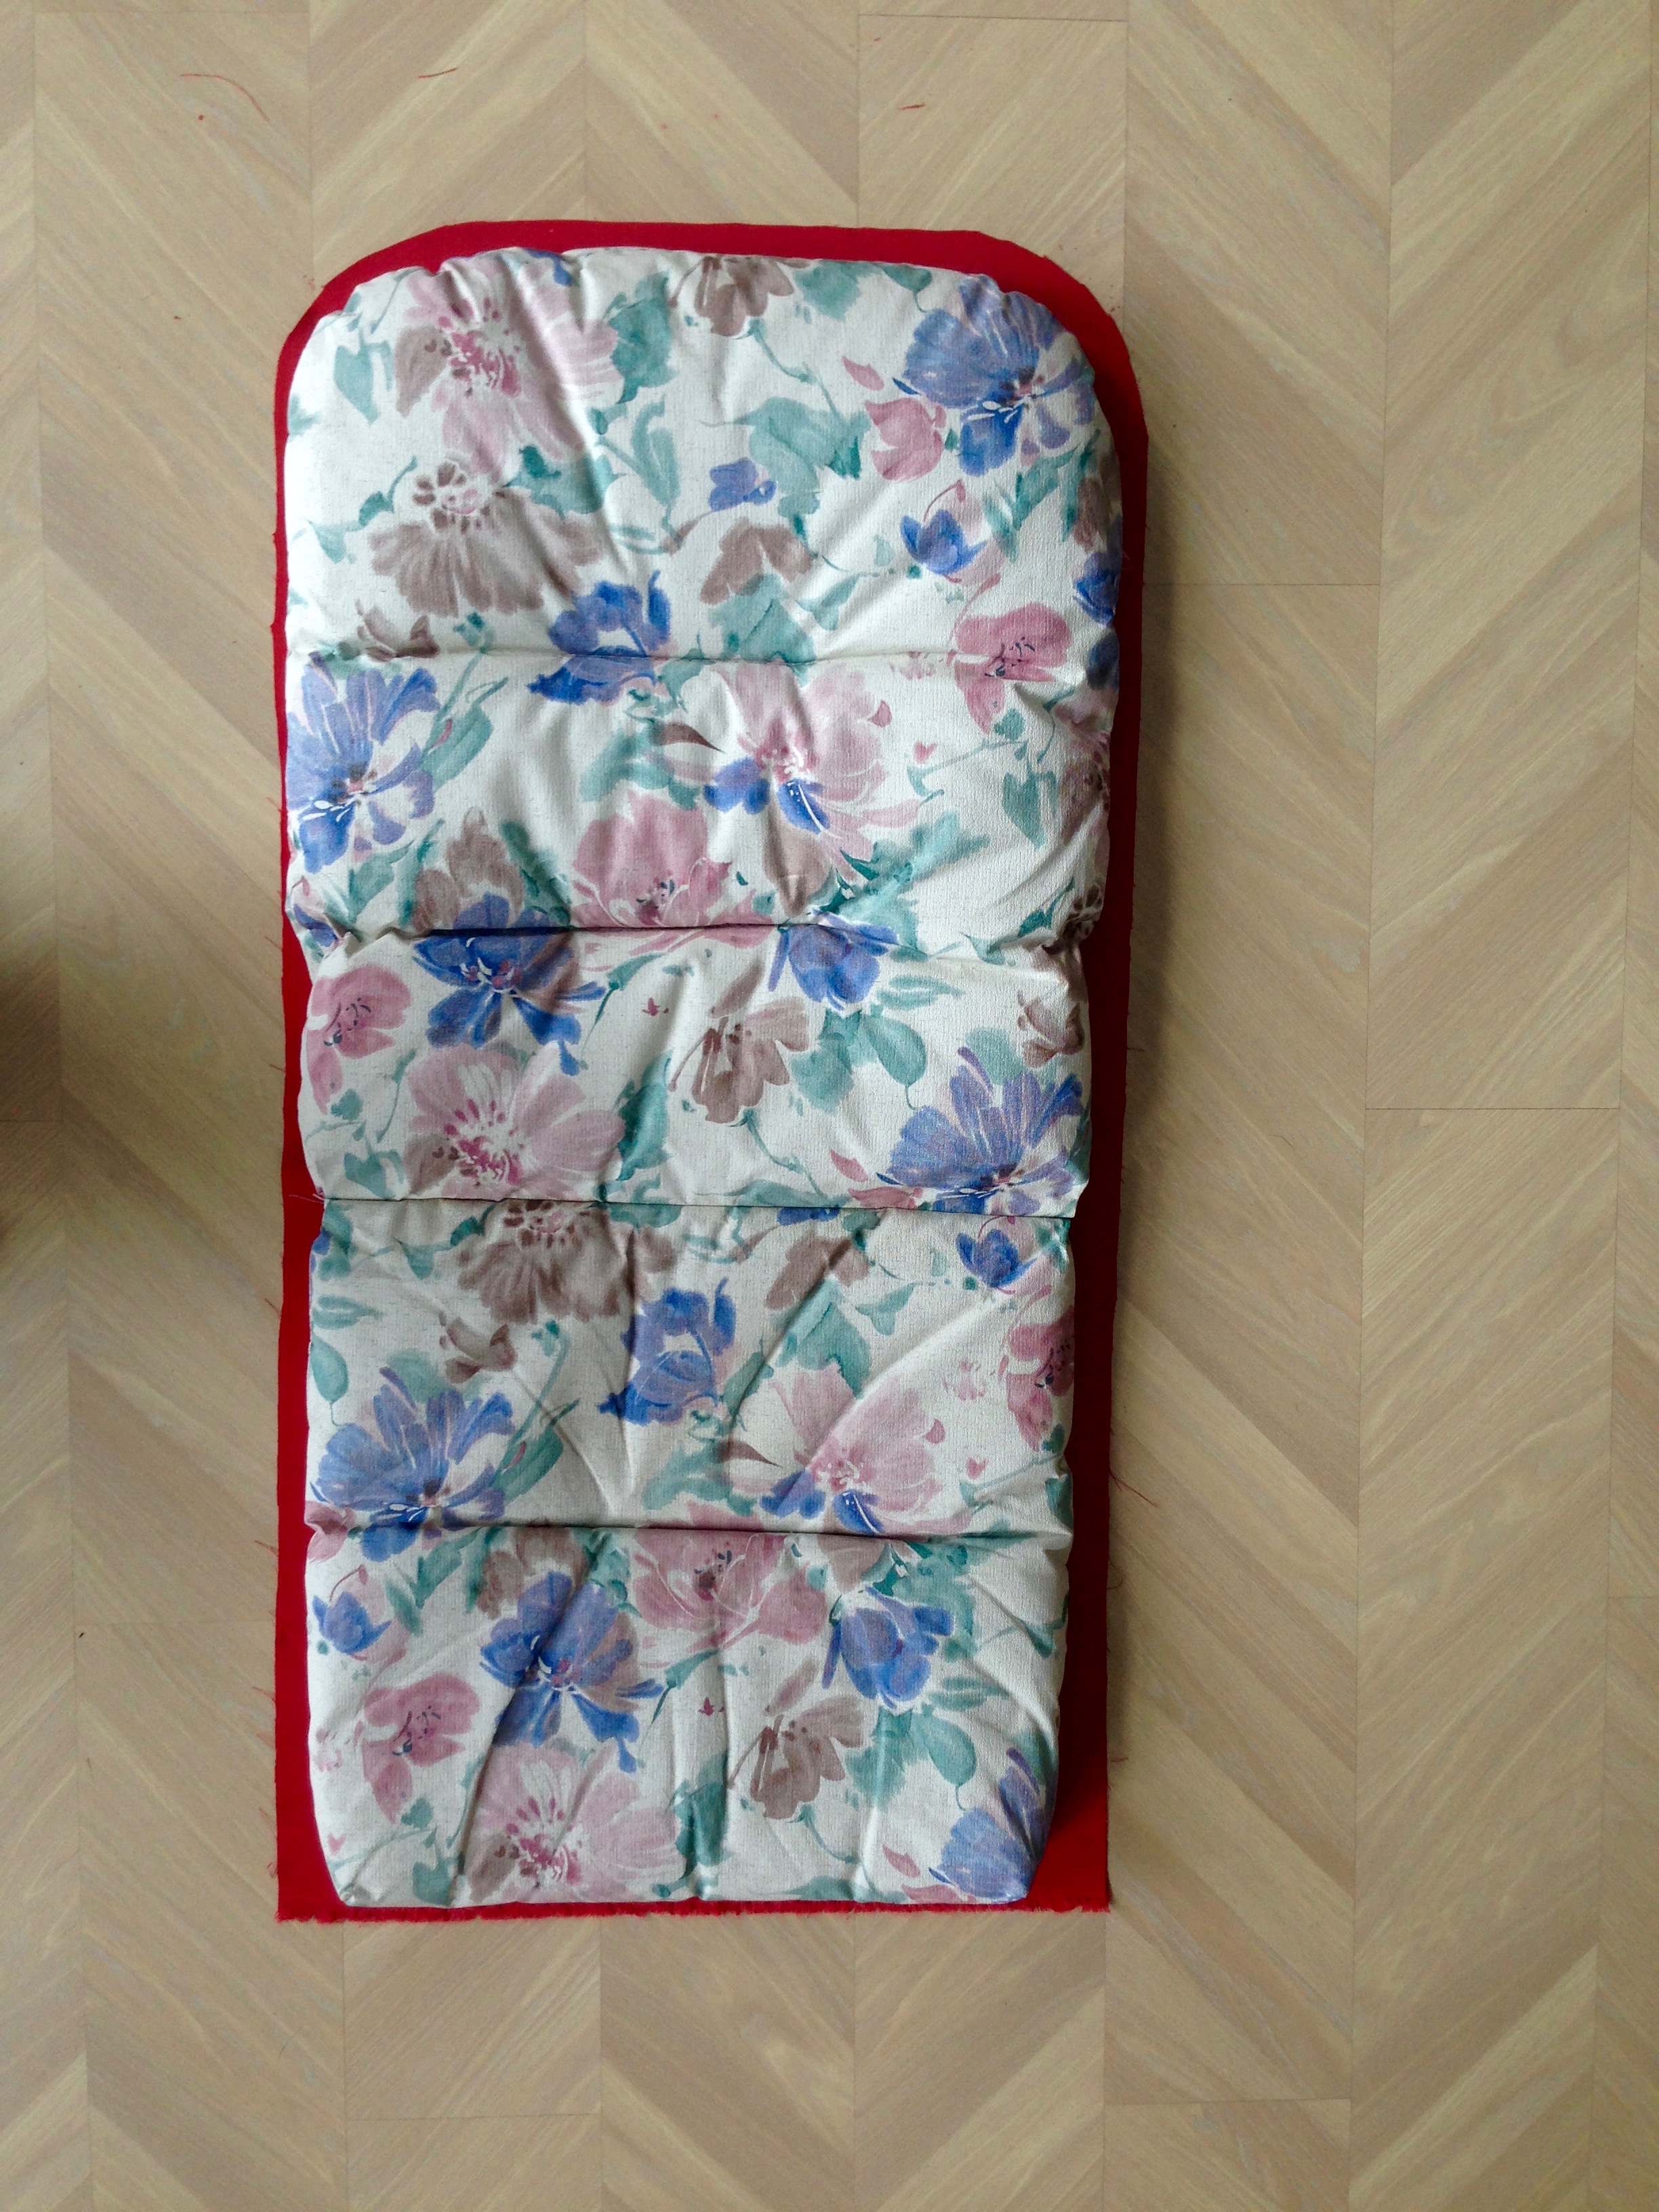
SEWING THE CUSHIONS:

I'm not much of a sewing pro. I know how to swap out thread colors, thread my machine, and sew in a straight line. Luckily, that's all I had to do for these cushions.
Originally, I bought some cushions at Ollie's, but once I got them home, I sadly realized that they were too short :( So it was either pay $250 for "tall" chair cushions, or pay $100 for enough outdoor fabric to cover my existing cushions (and throw in lots of elbow grease). Since I'm a do-it-yourself-er, I opted for the second route.
I followed this tutorial from Make It & Love It, but mine are not reversible (I wanted both sides to be red), and they don't have ties (they stay upright without them!).
And I won't lie to you... during the process, there were several times when I said to myself "WHY didn't you just buy the damn cushions!?!?"
Now that they are done, I'm just glad they are done :) They certainly aren't perfect, but they look nice, and I saved some cash money! I wish I had put some zippers in, so I could take them off and wash them! But I've never sewn in a zipper and I was 1/ in a rush and 2/ intimidated! But if I were to make them again (which I will never do, BTW), I would put in zippers.
PAINTING THE FLOOR:

- Prepping the floor was kind of a pain, because there was a huge crack in it, and there was also carpet glue around the edges... YUCK.
- I filled the cracks with liquid cement crack filler. Not sure how this is going to hold up, but we'll see! The cracks were deeeeep and I had to fill them in several different steps/coats. We ended up using two bottles.
- I scraped the carpet glue off using Goof Off and a razor scraper. I read online that you could use boiling water, but that didn't do ANYTHING, so I had to resort to chemical alternatives.
- Since the paint we got was porch and floor paint, we didn't prime the floor. I cut in along the edges and then filled in the center using a roller which went pretty fast!
- After drying for 24 hours, on went coat two. ZB helped me with this part so I could handle the "sprinkles." These flecks are technically meant for use with an epoxy garage floor (I think), but we decided to just sprinkle them on over the paint then seal them in! It worked out great.
- After the paint (with sprinkles on top) had dried, we applied one coat of sealer, and the floor was done!


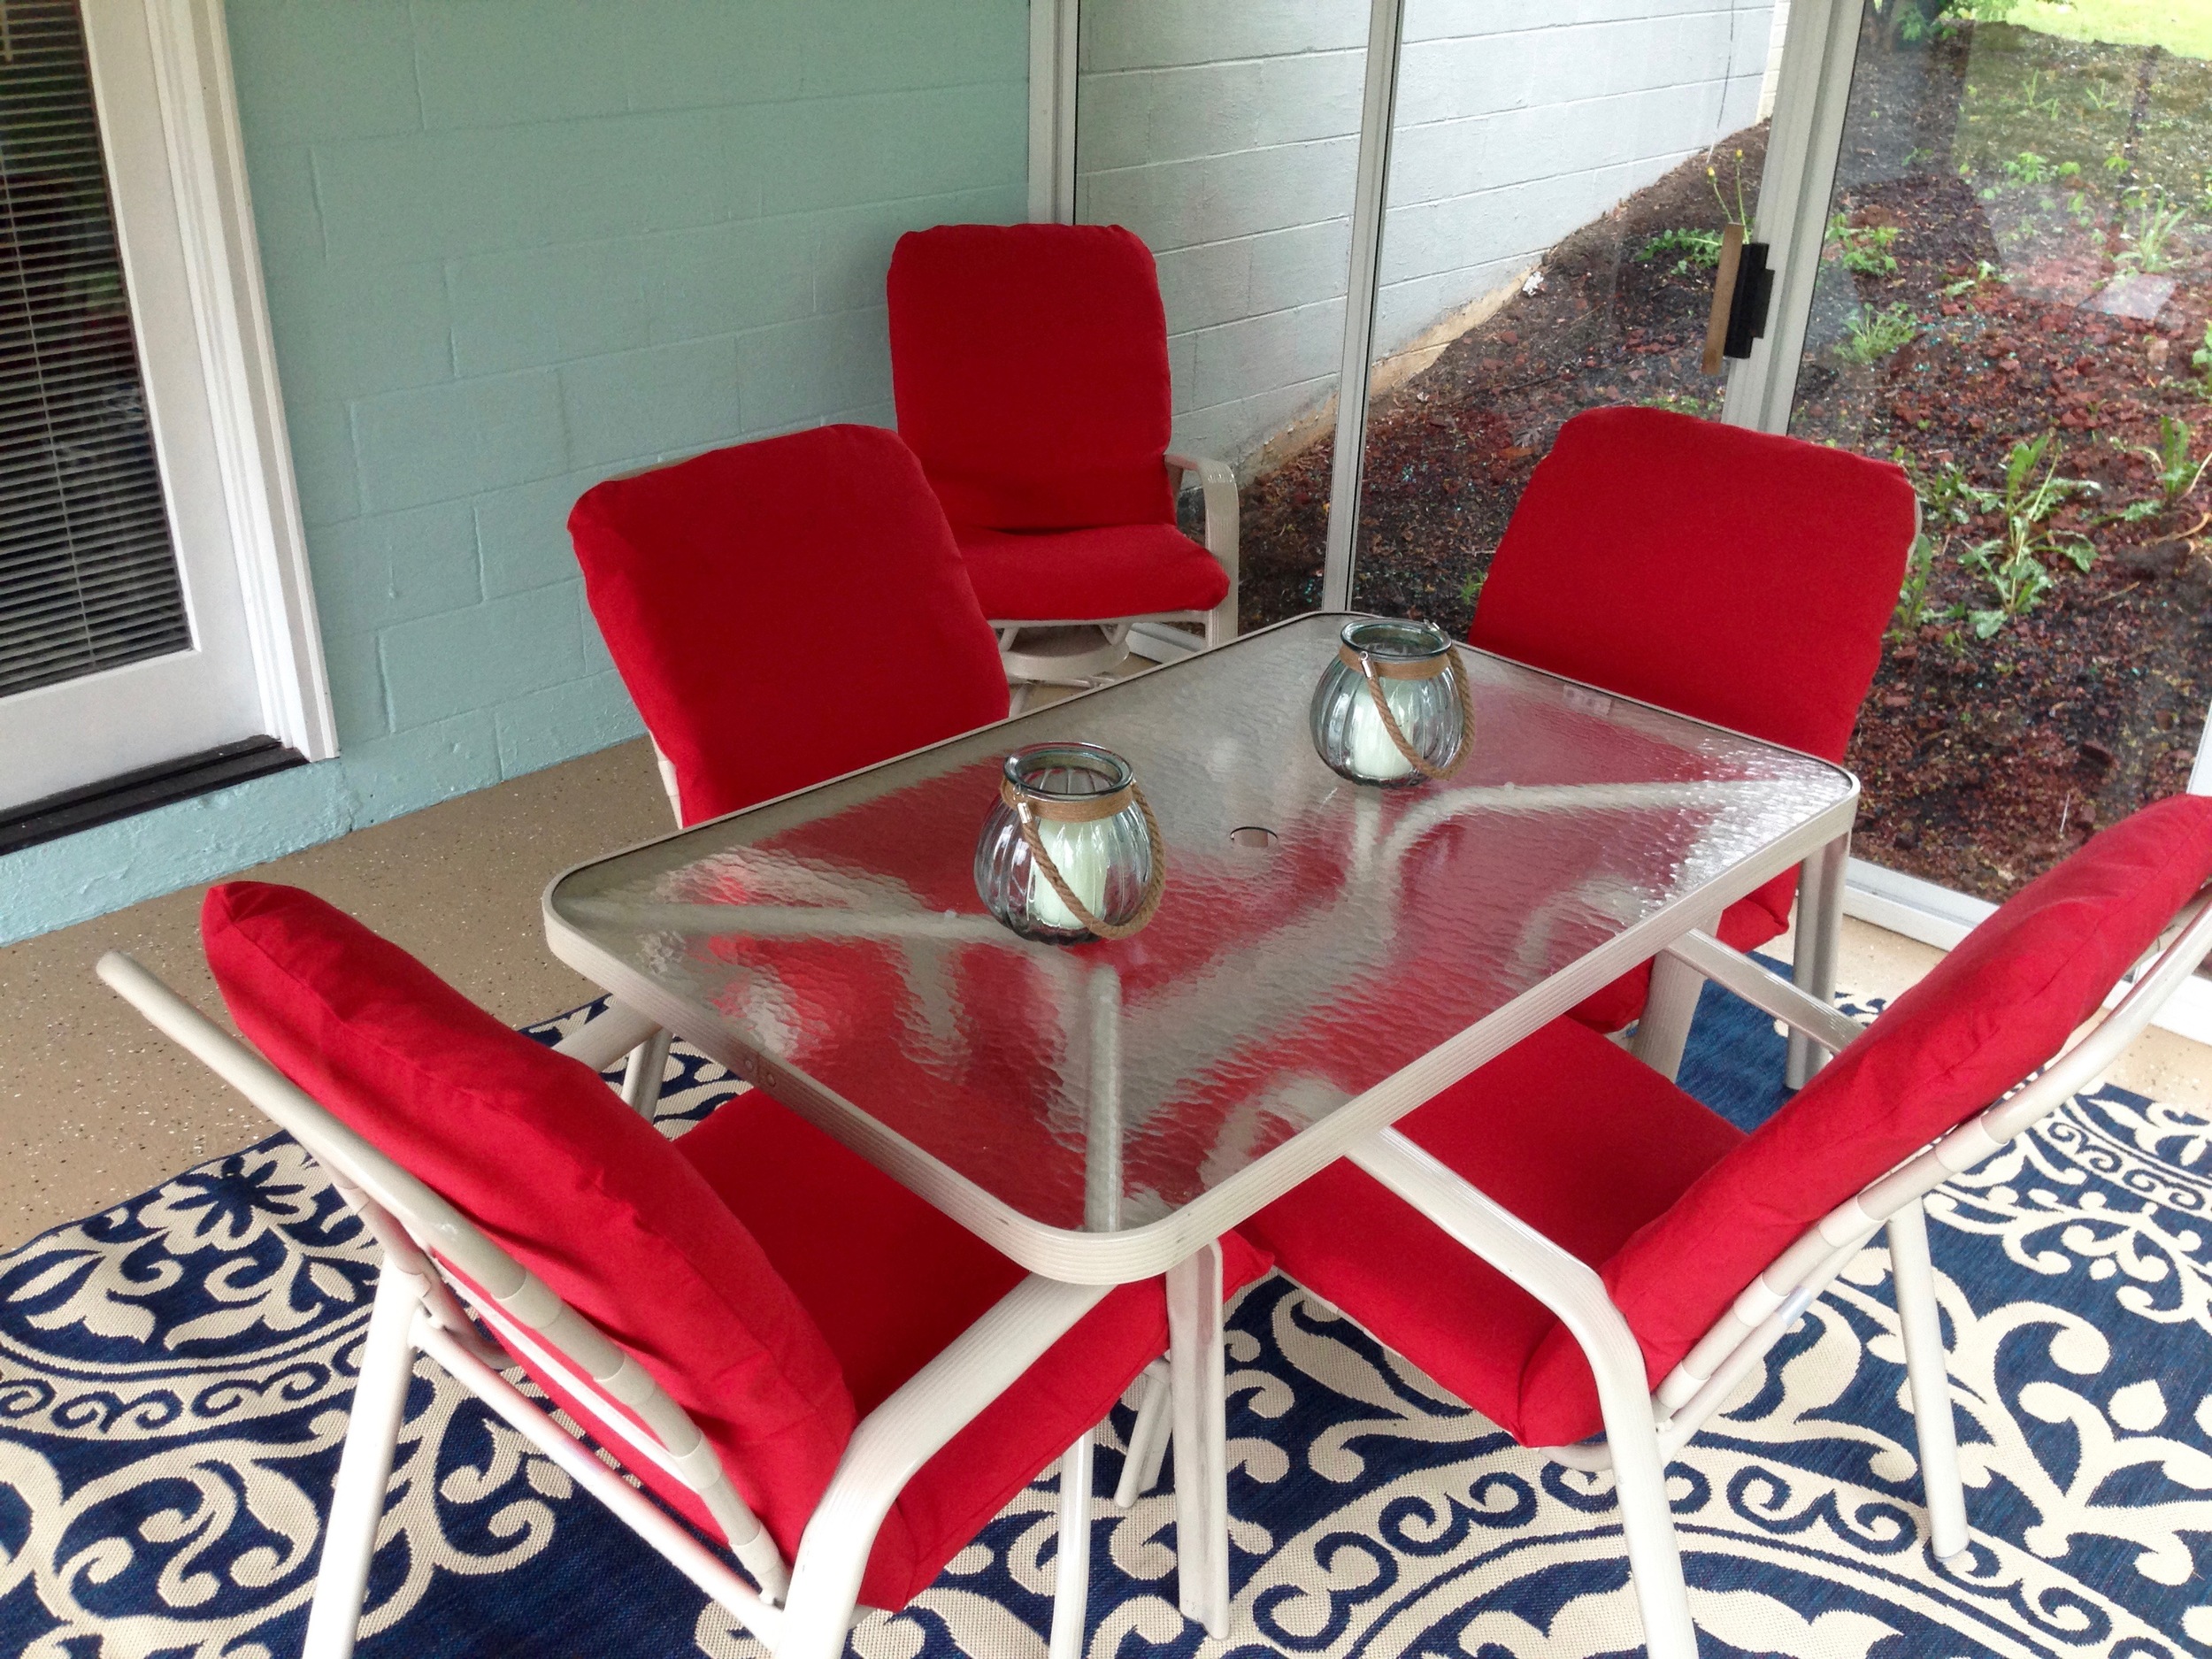
FINISHING TOUCHES:

- I found an outdoor rug at Sam's Club that I absolutely LOVE - and it was way cheaper than outdoor rugs I found elsewhere.
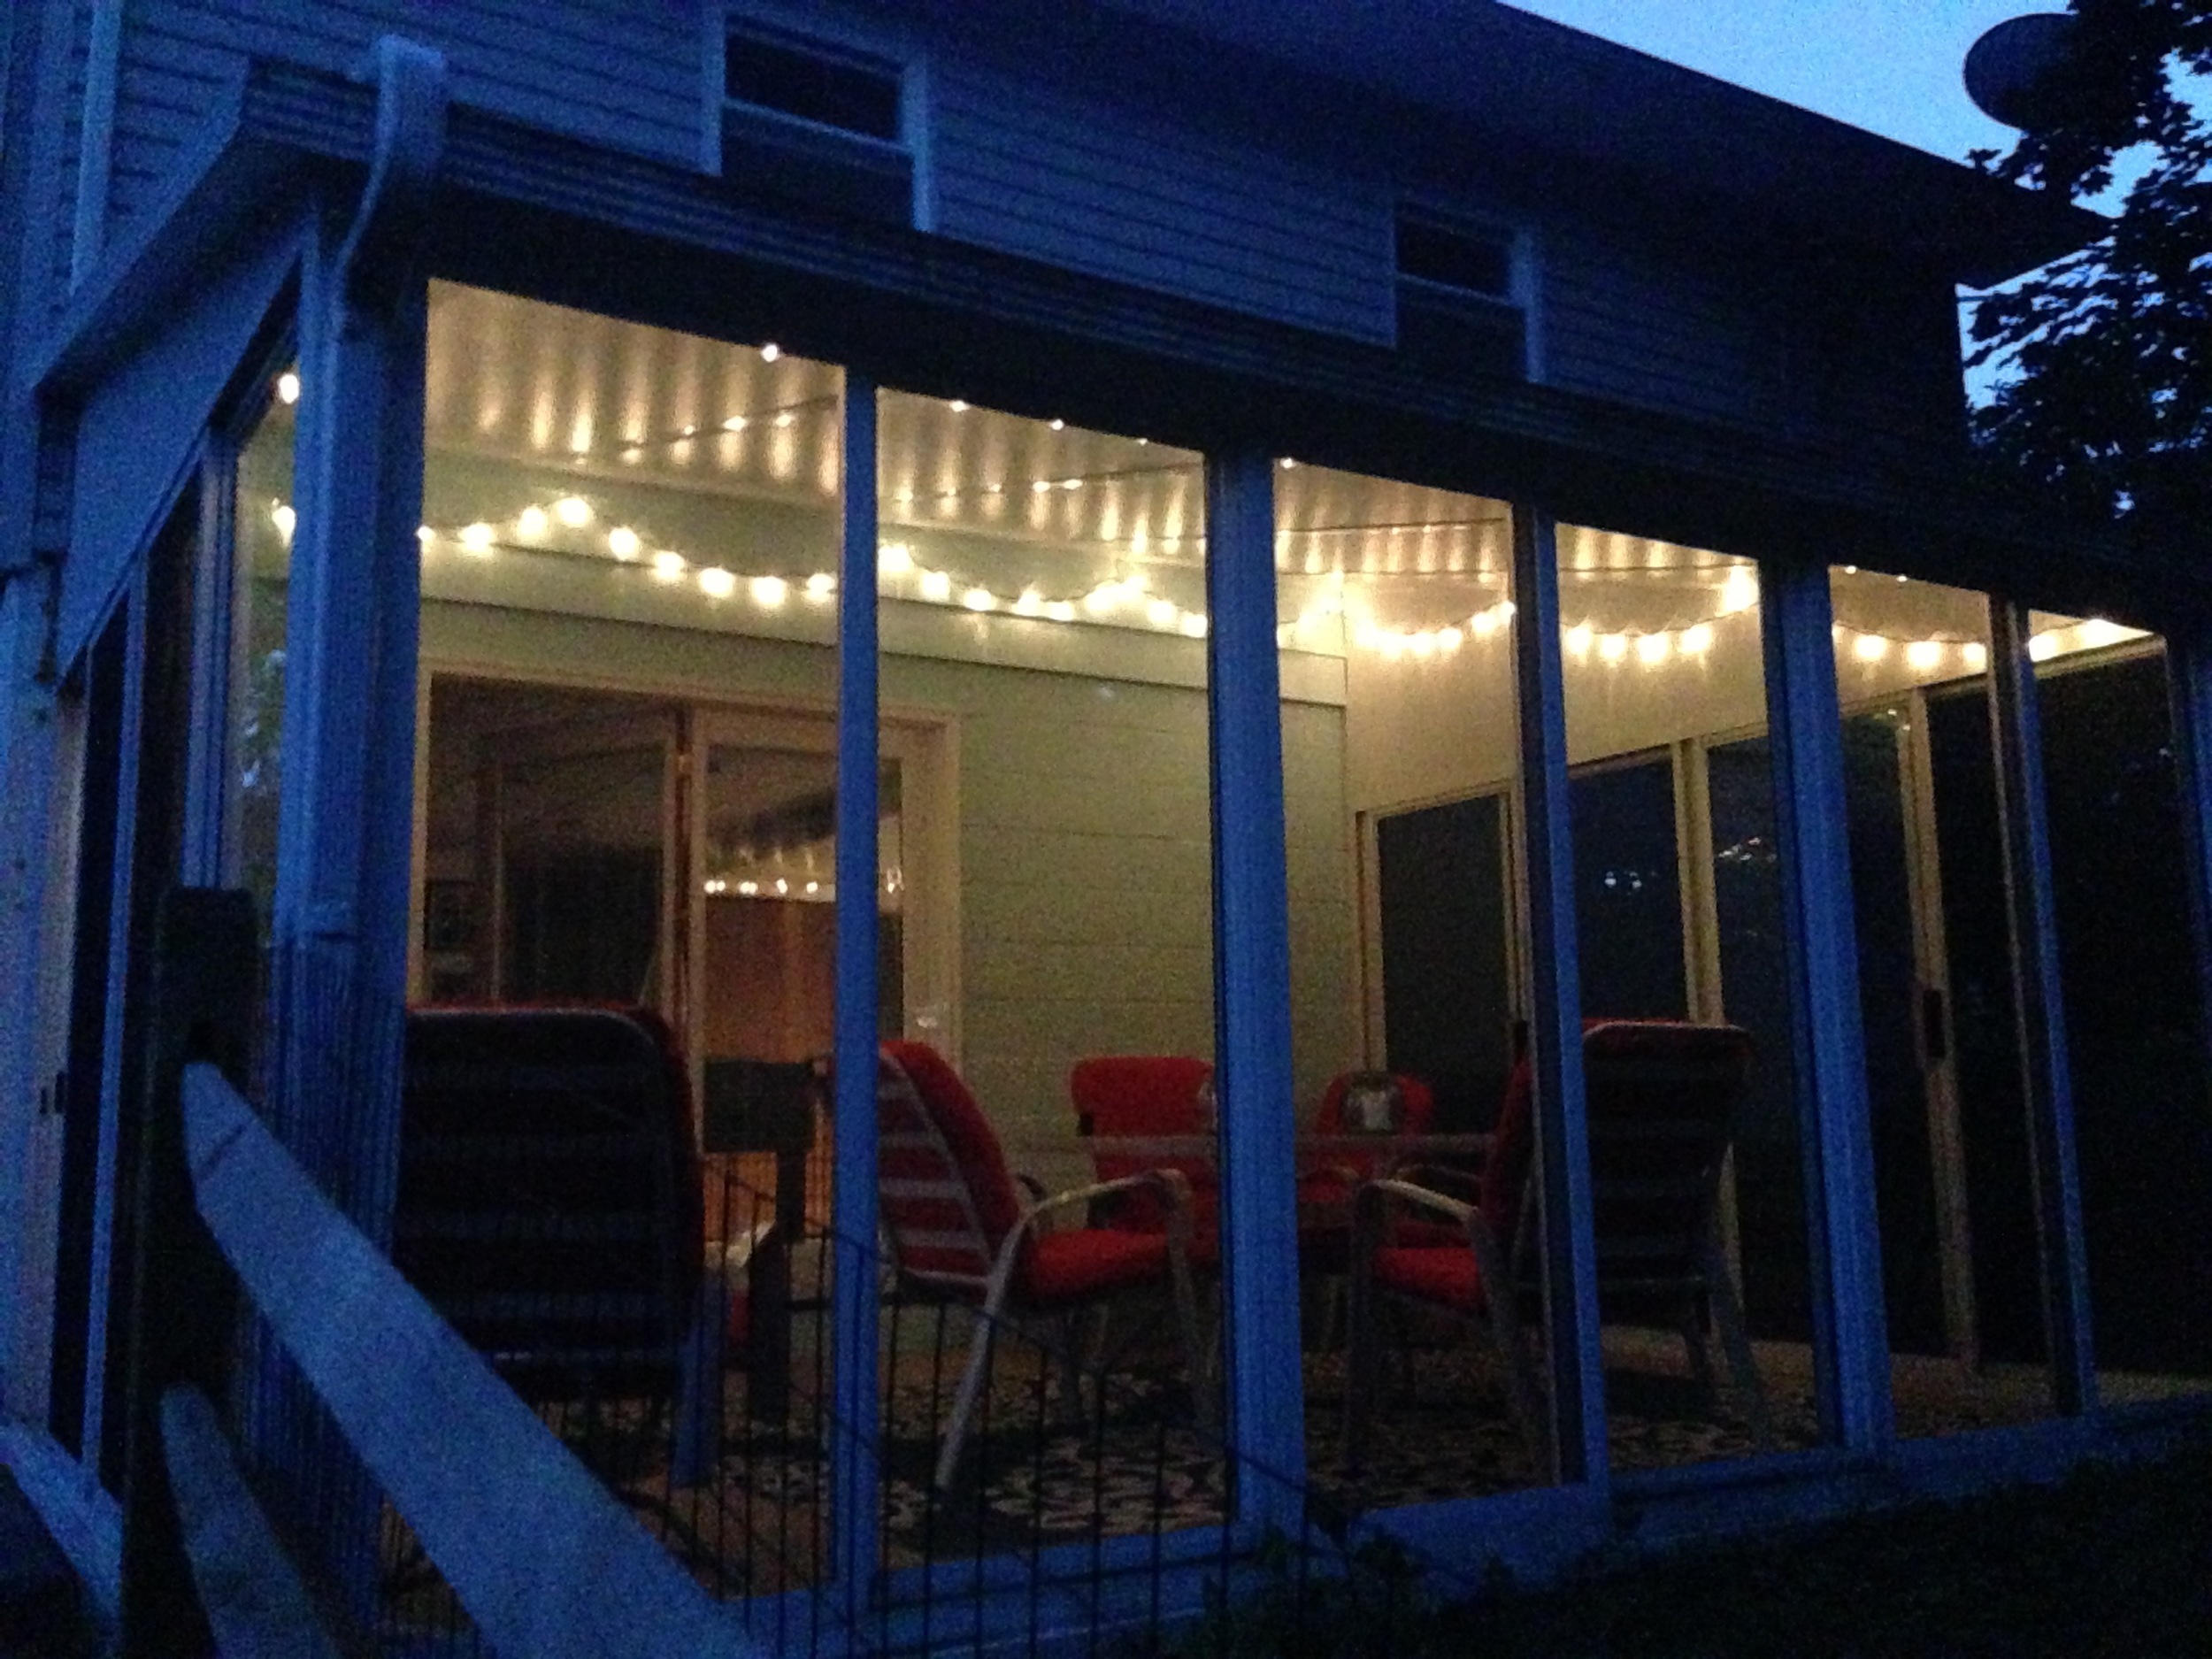
- We used little white hooks to hang up string lights that we bought at big lots.
- I bought two lanterns at Joann's, and put citronella candles in each.
- I'd still like to find a little end table or something, along with a skinny shelf to hang on the wall to keep dog supplies on (leash, towel, etc.) since this room is Sam's main entrance point to the house!
And that's it! All in all, pretty simple updates (all cosmetic, nothing major), but it made such a huge difference in this space! We are so thrilled with the end result and I'm pumped for the first thunder storm!