
To get Maria Makes updates delivered to your inbox, subscribe via email here.
It's hard to believe that we have been in our house for 9 months already! Now that we are pretty well settled, I decided it's time to split the bunk bed room in the basement into HALF a drunk friend bunk bed room and HALF my craft room! Right now, all of my crafting supplies are shoved in the closet in that room, some in bins, some in plastic shopping bags, some sitting on shelves. It's a mess! So, this desk is step 1. It has drawers for me to keep supplies in, and I can use it for my sewing machine!
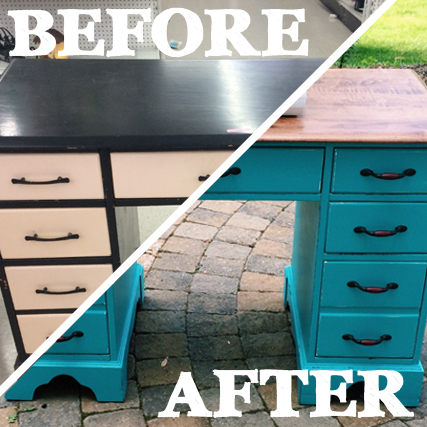
Some of my coworkers and I have started an impromptu "Goodwill Club" -- meaning that once every other week or so, over our lunch break, we go to Goodwill in search of treasure! On our latest trip, I spotted this old painted wooden desk for only $14.99! I didn't buy it that day, but I did keep thinking about it. Though I hated the paint, I have been wanting to try my hand at refinishing a furniture piece, and I had a vision. I went back the next day and YAY it was still there! So I paid, put a tag on it, and my husband and I picked it up in the truck the next day.

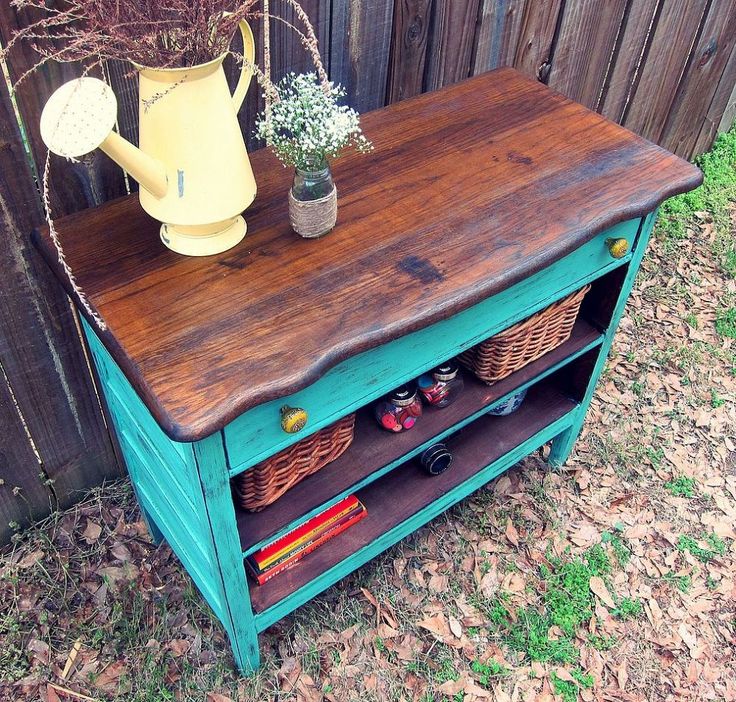
I wanted to repaint the desk to match the guest room in the basement... so, enter my inspiration piece. I pinned this old dresser from Spoonful of Imagination ages ago and have been thinking about it ever since! I LOVE the wood finish on top with the painted bottom.
So, I bought and gathered all of my supplies with this piece in mind, then got to work! I should probably give a few warnings at this point:
- This is my very first refinished furniture piece. I may not have done everything by the books, and I really don't care! I love how it turned out. The below is a description of what I did (not necessarily what you should do).
- This is going to be a LONG post because there were a lot of materials, and lot of time, and a lot of love put into this baby!
- I completed this project over the course of about a week. Maybe a week and a few days. It wasn't quite so overwhelming because I split it up into more manageable chunks.
HERE WE GO!
DIY Refinished Desk (Stained Top, Painted Bottom)
Materials: (I'll split them up into the different steps!)
An old desk, duh. Solid wood is best!
If you need to strip paint from the top:
Chemical Paint Stripper (if the desk is painted) - I used Citristrip
Cheap paint brush
Safety Goggles
Safety Gloves
Metal scraper
Sand paper (medium, fine, super fine)
For finishing the top:
Finishing Sander (My dad has a Mikita)
Sand paper
Stain, color of your choosing (I used Minwax Special Walnut)
Polyurethane
Foam brushes
Prep bottom for painting:
Liquid Sander Deglosser - I used Jasco
Safety Gloves
T-shirt cut into rags or some other lint-free rags
For painting the bottom:
Latex paint, color of your choosing (I used Valspar Turquoise Tint from Lowes)
Stirring stick
New hardware/handles/pulls if you plan to replace them
Paint brush(es)
Painter's tape
Other Misc. Materials:
Screwdriver
Bucket/soapy water
Rags
Drop cloth
Paper towels
Zip lock bags
Instructions:
DAY 1 // Since I knew I wanted to do a stained wood finish for the top, first I had to strip that black paint! I used Citristrip paint stripper (purchased at Wal Mart). Put on some safety goggles and gloves and get to work. Using an old or cheap paint brush, brush a thick layer of the gel over the surface of the painted wood. Let it sit for 30 min or longer until the paint is all bubbled up, then use a metal or plastic scraper to it to scrape off as much paint as possible.
TIP: If you use a metal scraper, make sure it is a flexible one, otherwise, it is more likely to scratch/ding the wood. Make sure you leave the stripper on for long enough! I don't think I did, which meant I had more sanding to do in the next step!


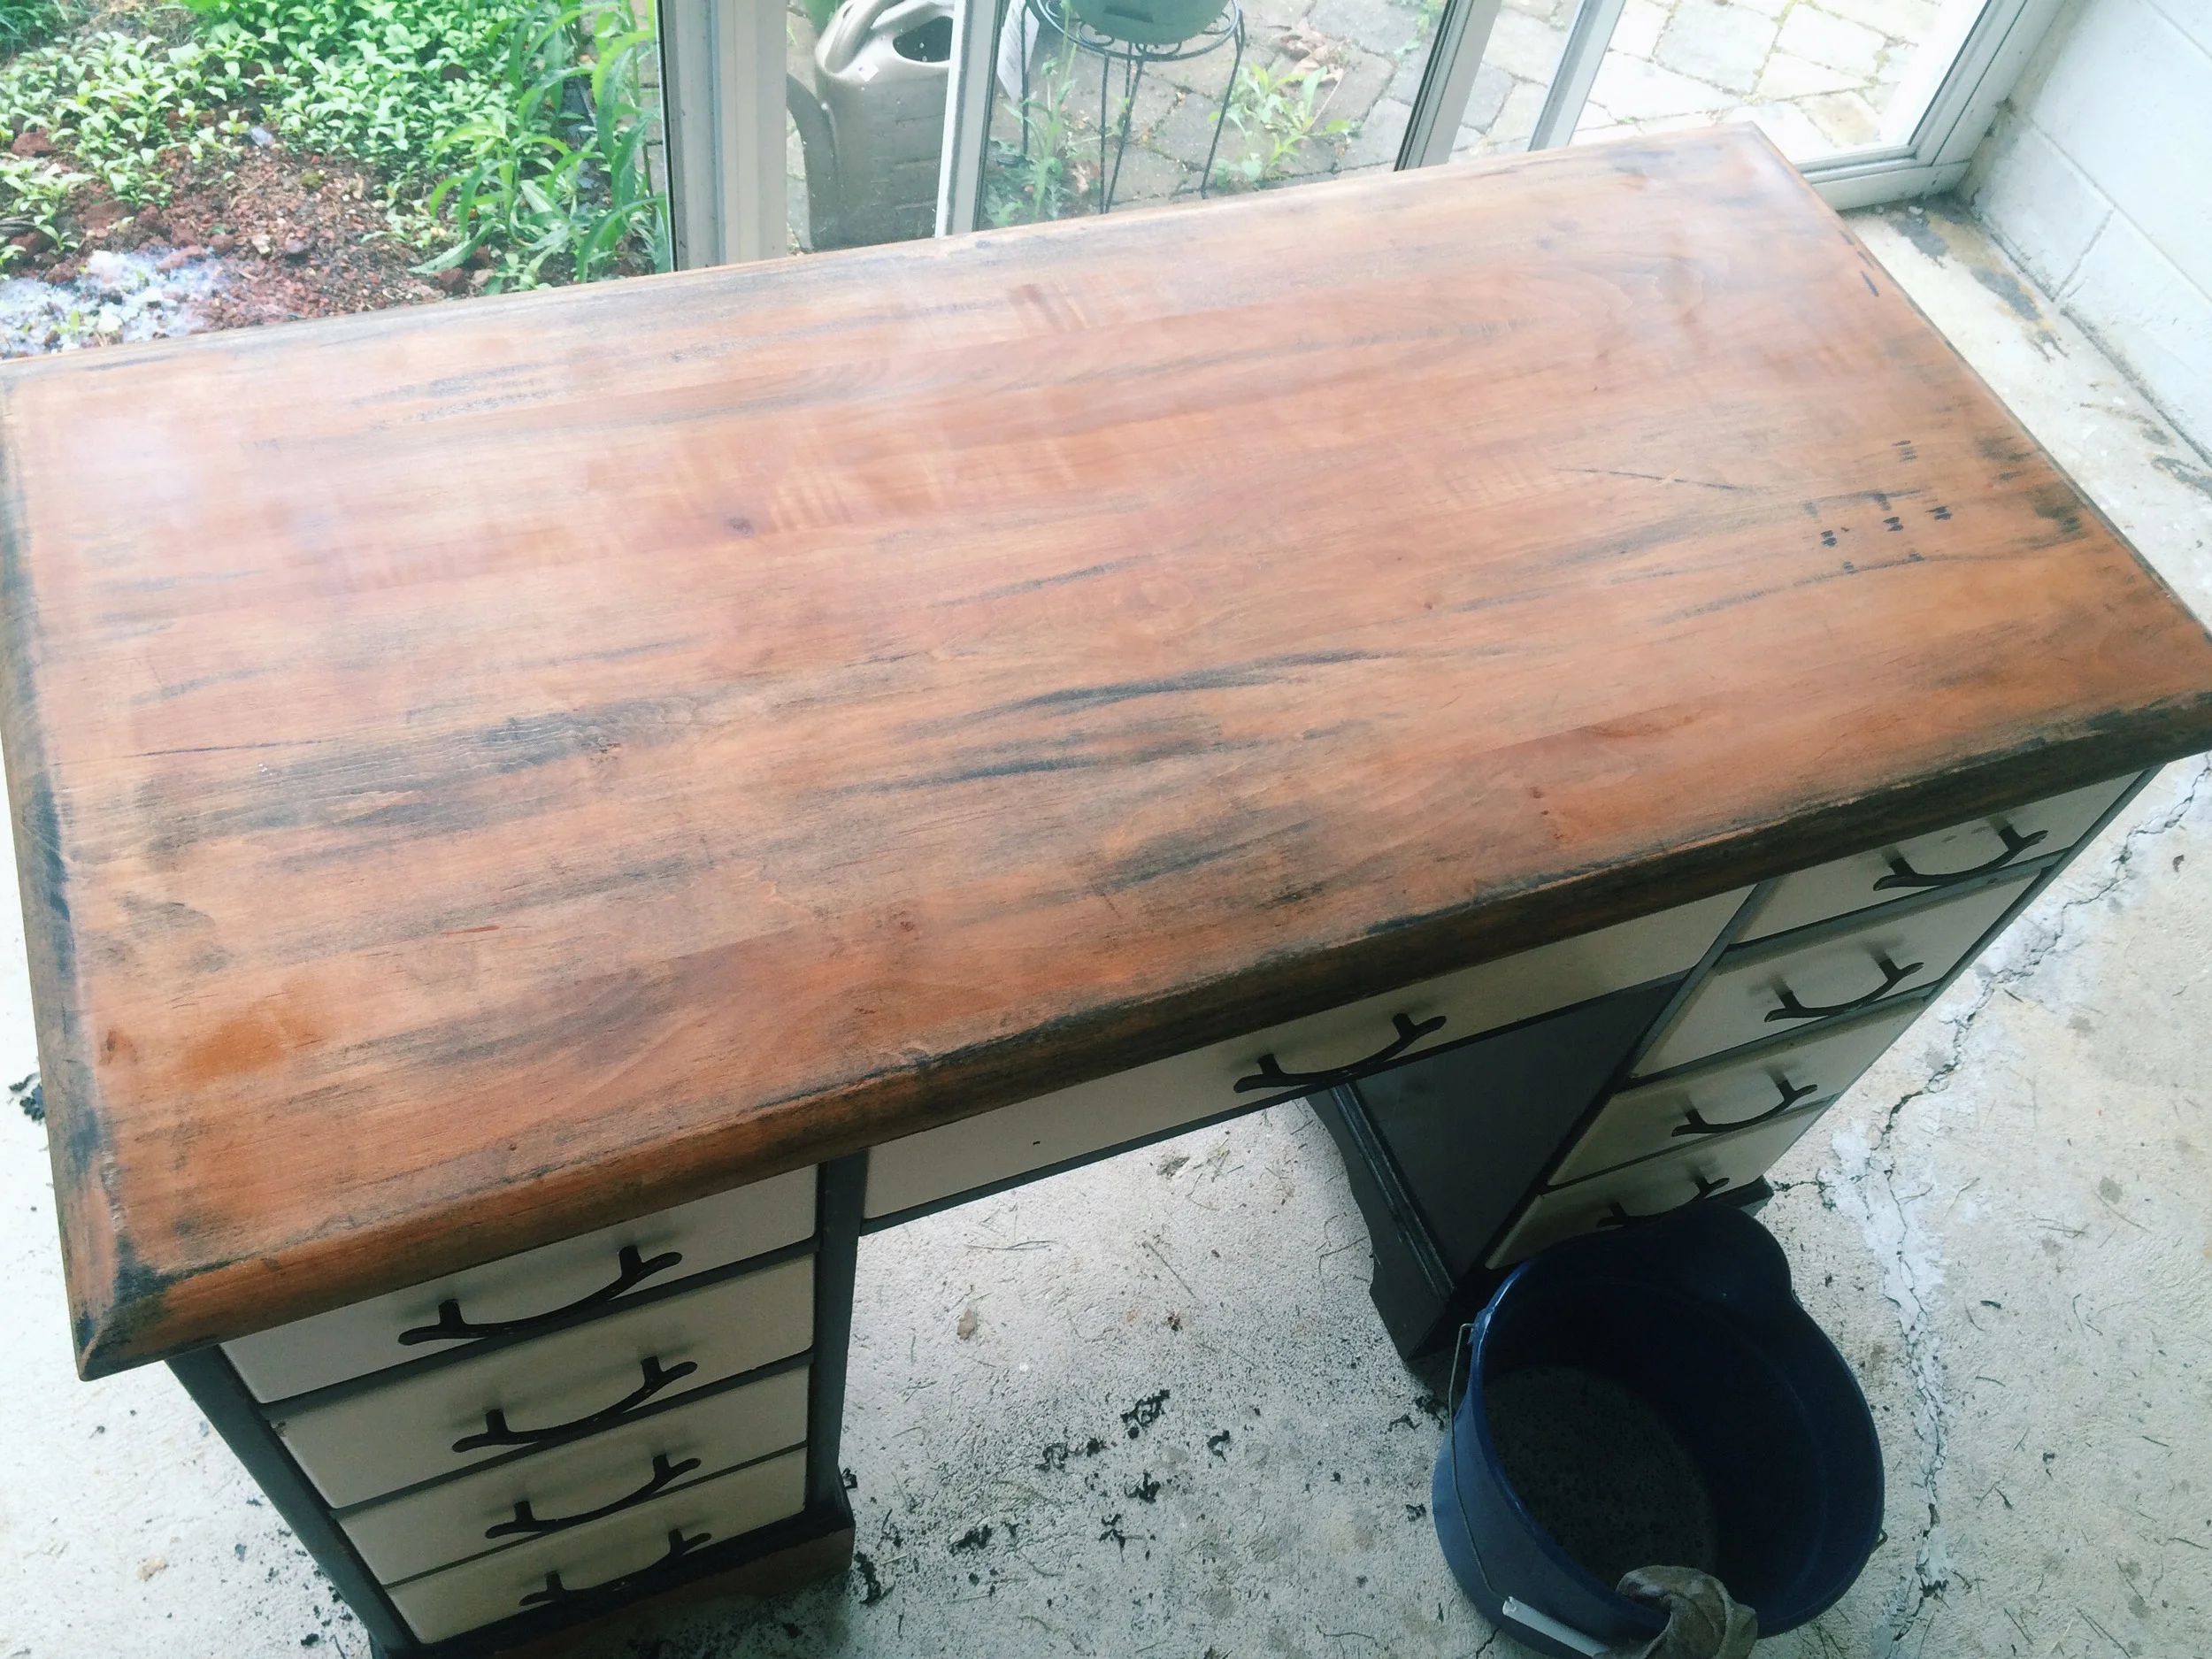
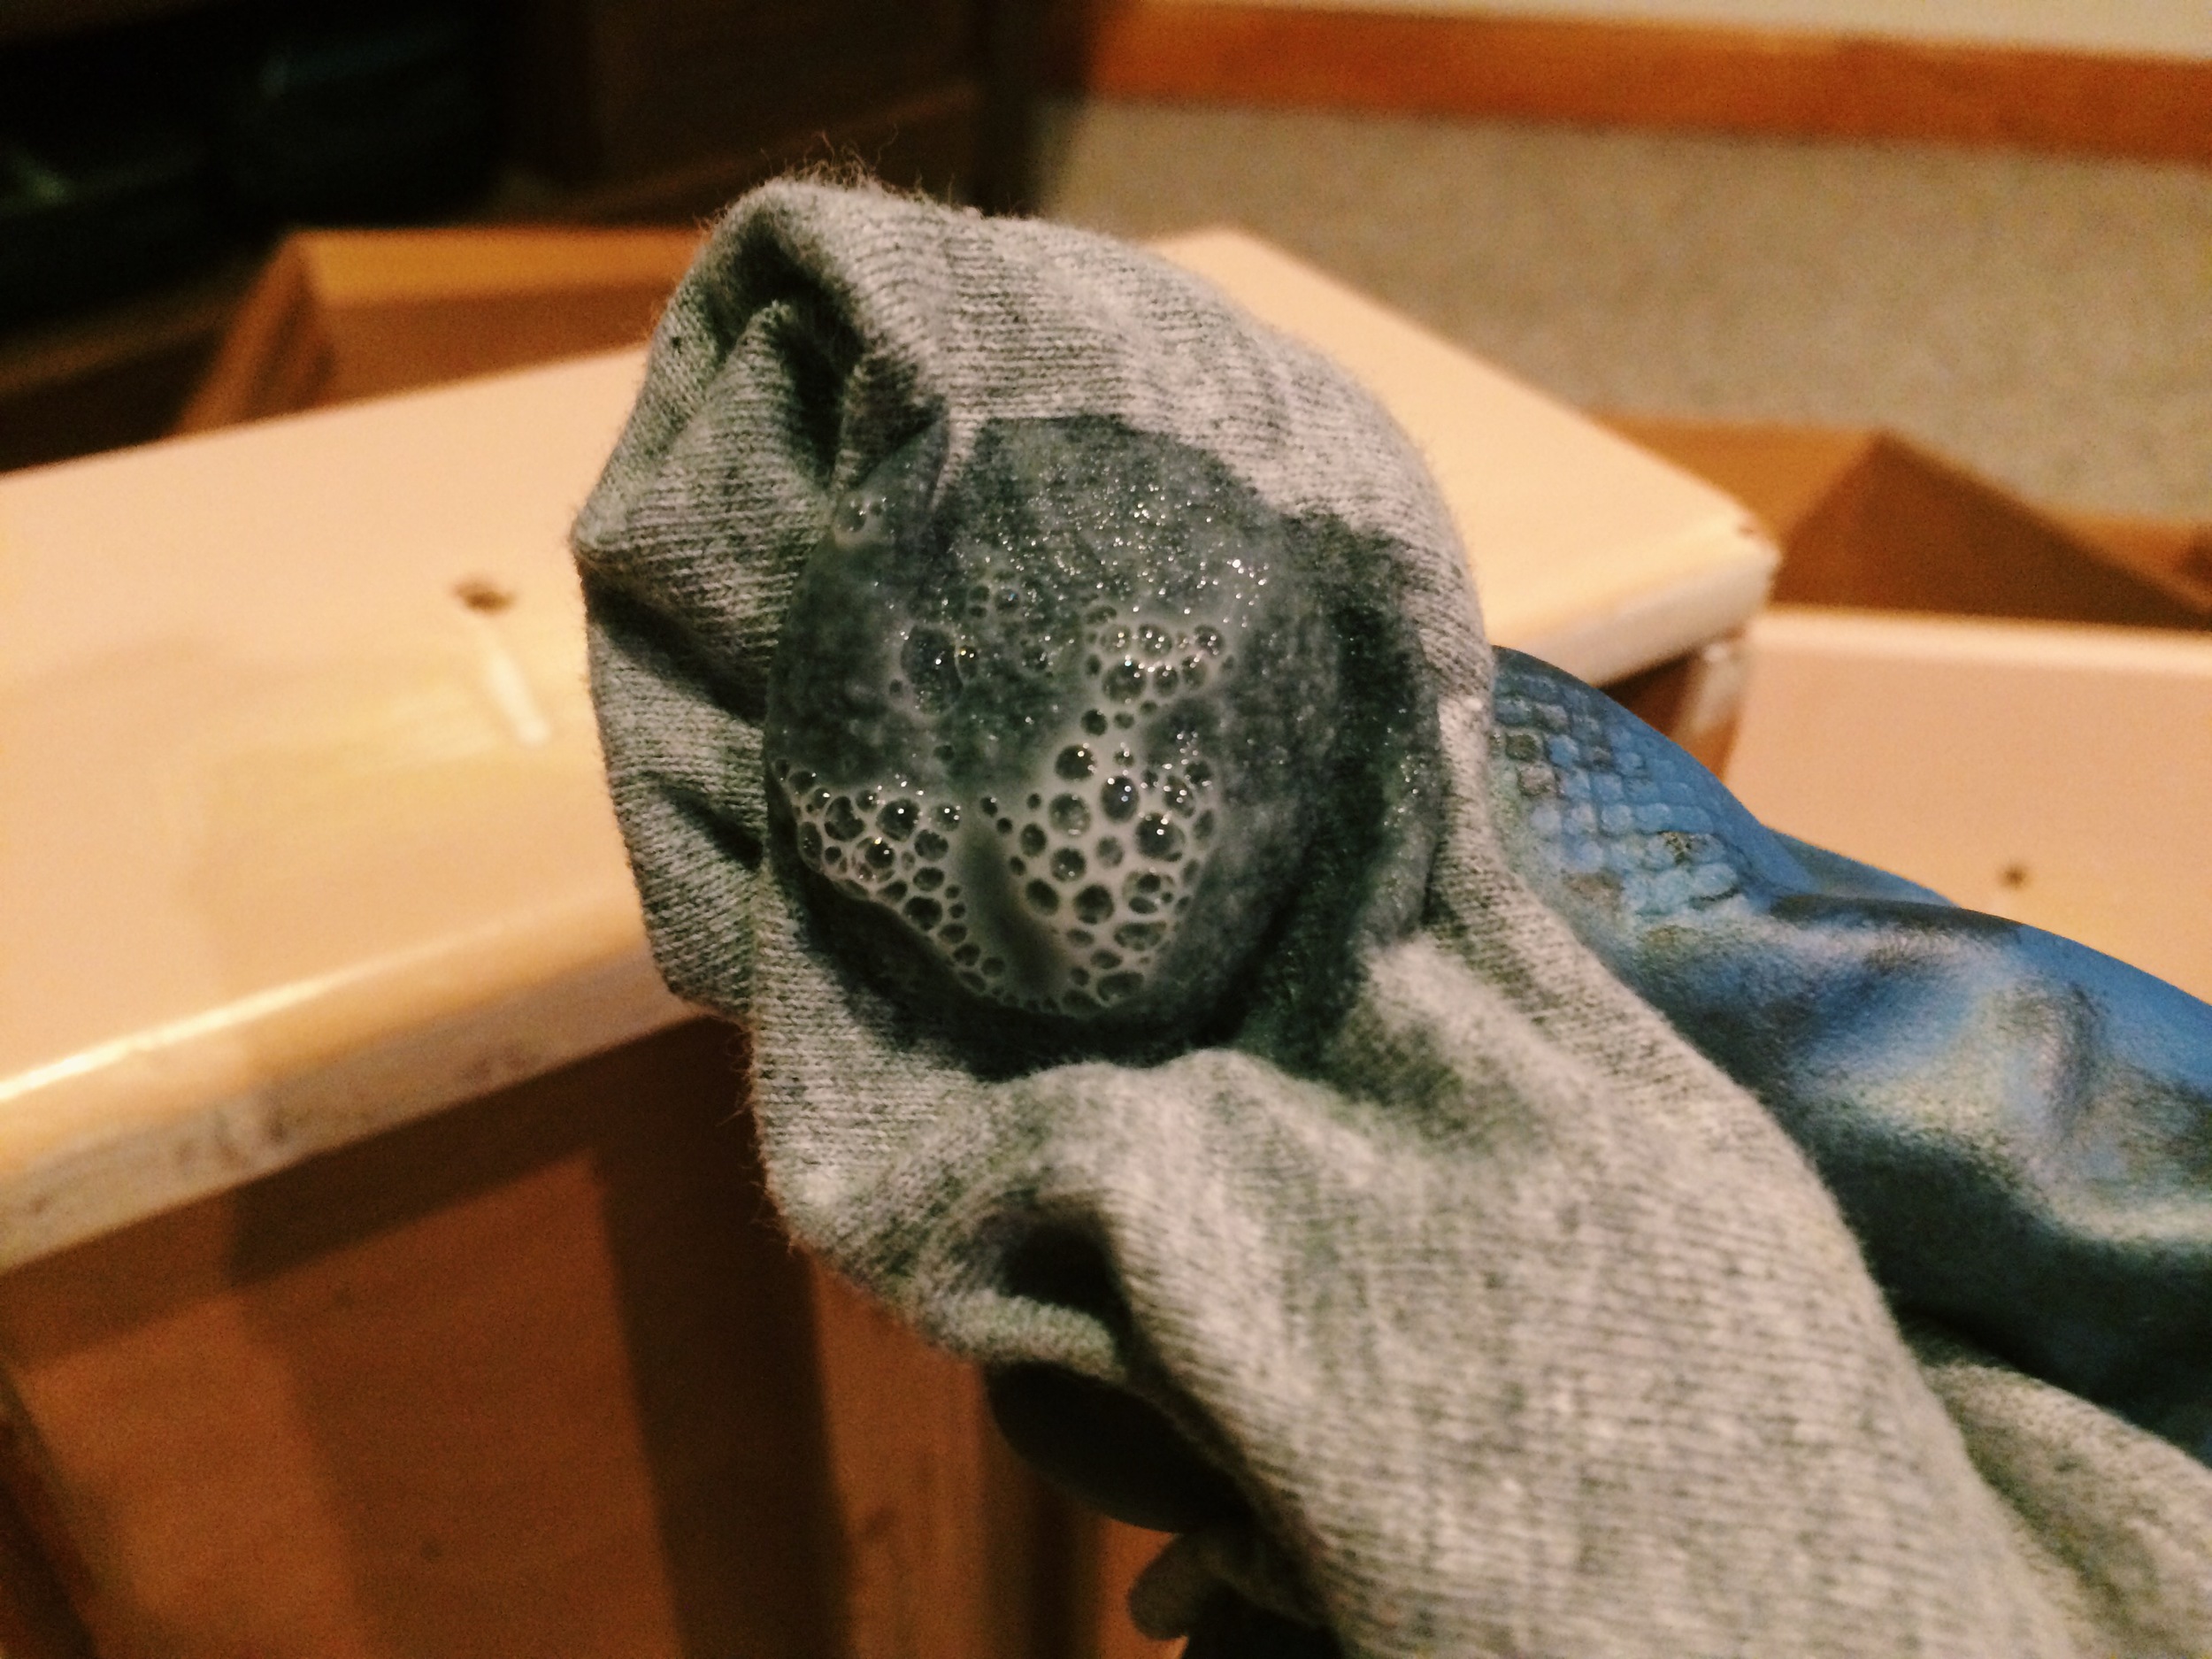
After using the paint stripper, I sanded as much as I could, then wiped the top down with soapy water (just a little dish soap in warm water). Then I wiped it down with straight water to get the soap off. As you can see from the picture below, there was still some paint and stain left on there.
Day 2 // My dad came to the rescue with his finishing sander and got that thing as smooth as a baby's bottom! Can you believe this beautiful wood top!?
Time to stain! I dipped a t-shirt rag into the stain and wiped it over the surface of the wood. You can kind of just slop it on there, then once the entire surface has been covered, wipe the stain off with a clean t-shirt rag. Let it dry overnight, then time to seal it with polyurethane!


Day 3 // I used a foam brush to apply one thin layer of polyurethane. Make sure you brush in the same direction of the wood grain. The foam brush allows for a nice smooth finish and they are like 80 cents a pop so just pitch them when you are done (no cleaning brushes, yay!). Let the poly dry completely (overnight is best).
Day 4 // The next morning, sand with a super fine grit sand paper (220). Wipe with a lint free cloth, then repeat. Layer of poly, dry, sand, wipe. That night, I put on the last layer of poly - and DONE! This same day, I worked on the drawers!


Remove all drawers from the desk, and using a screwdriver, take all hardware off. Since I wanted to avoid sanding and priming, I used a liquid sander deglosser. This is meant to take any shine off of the surface to allow the new paint to stick (without sanding). Saturate a rag with the deglosser liquid and rub it in a circular motion over the paint. Move to a clean spot on the rag when it starts to get gummy. (For best results, follow the instructions on the bottle for this step).


TIP: It's a good idea to wear gloves, just in case (who knows what's in this stuff). Looking back at this step, I wish I had sanded and primed the desk instead of using this deglosser. It was kind of a short-cut step, but I worry about the durability of the paint with no primer underneath!
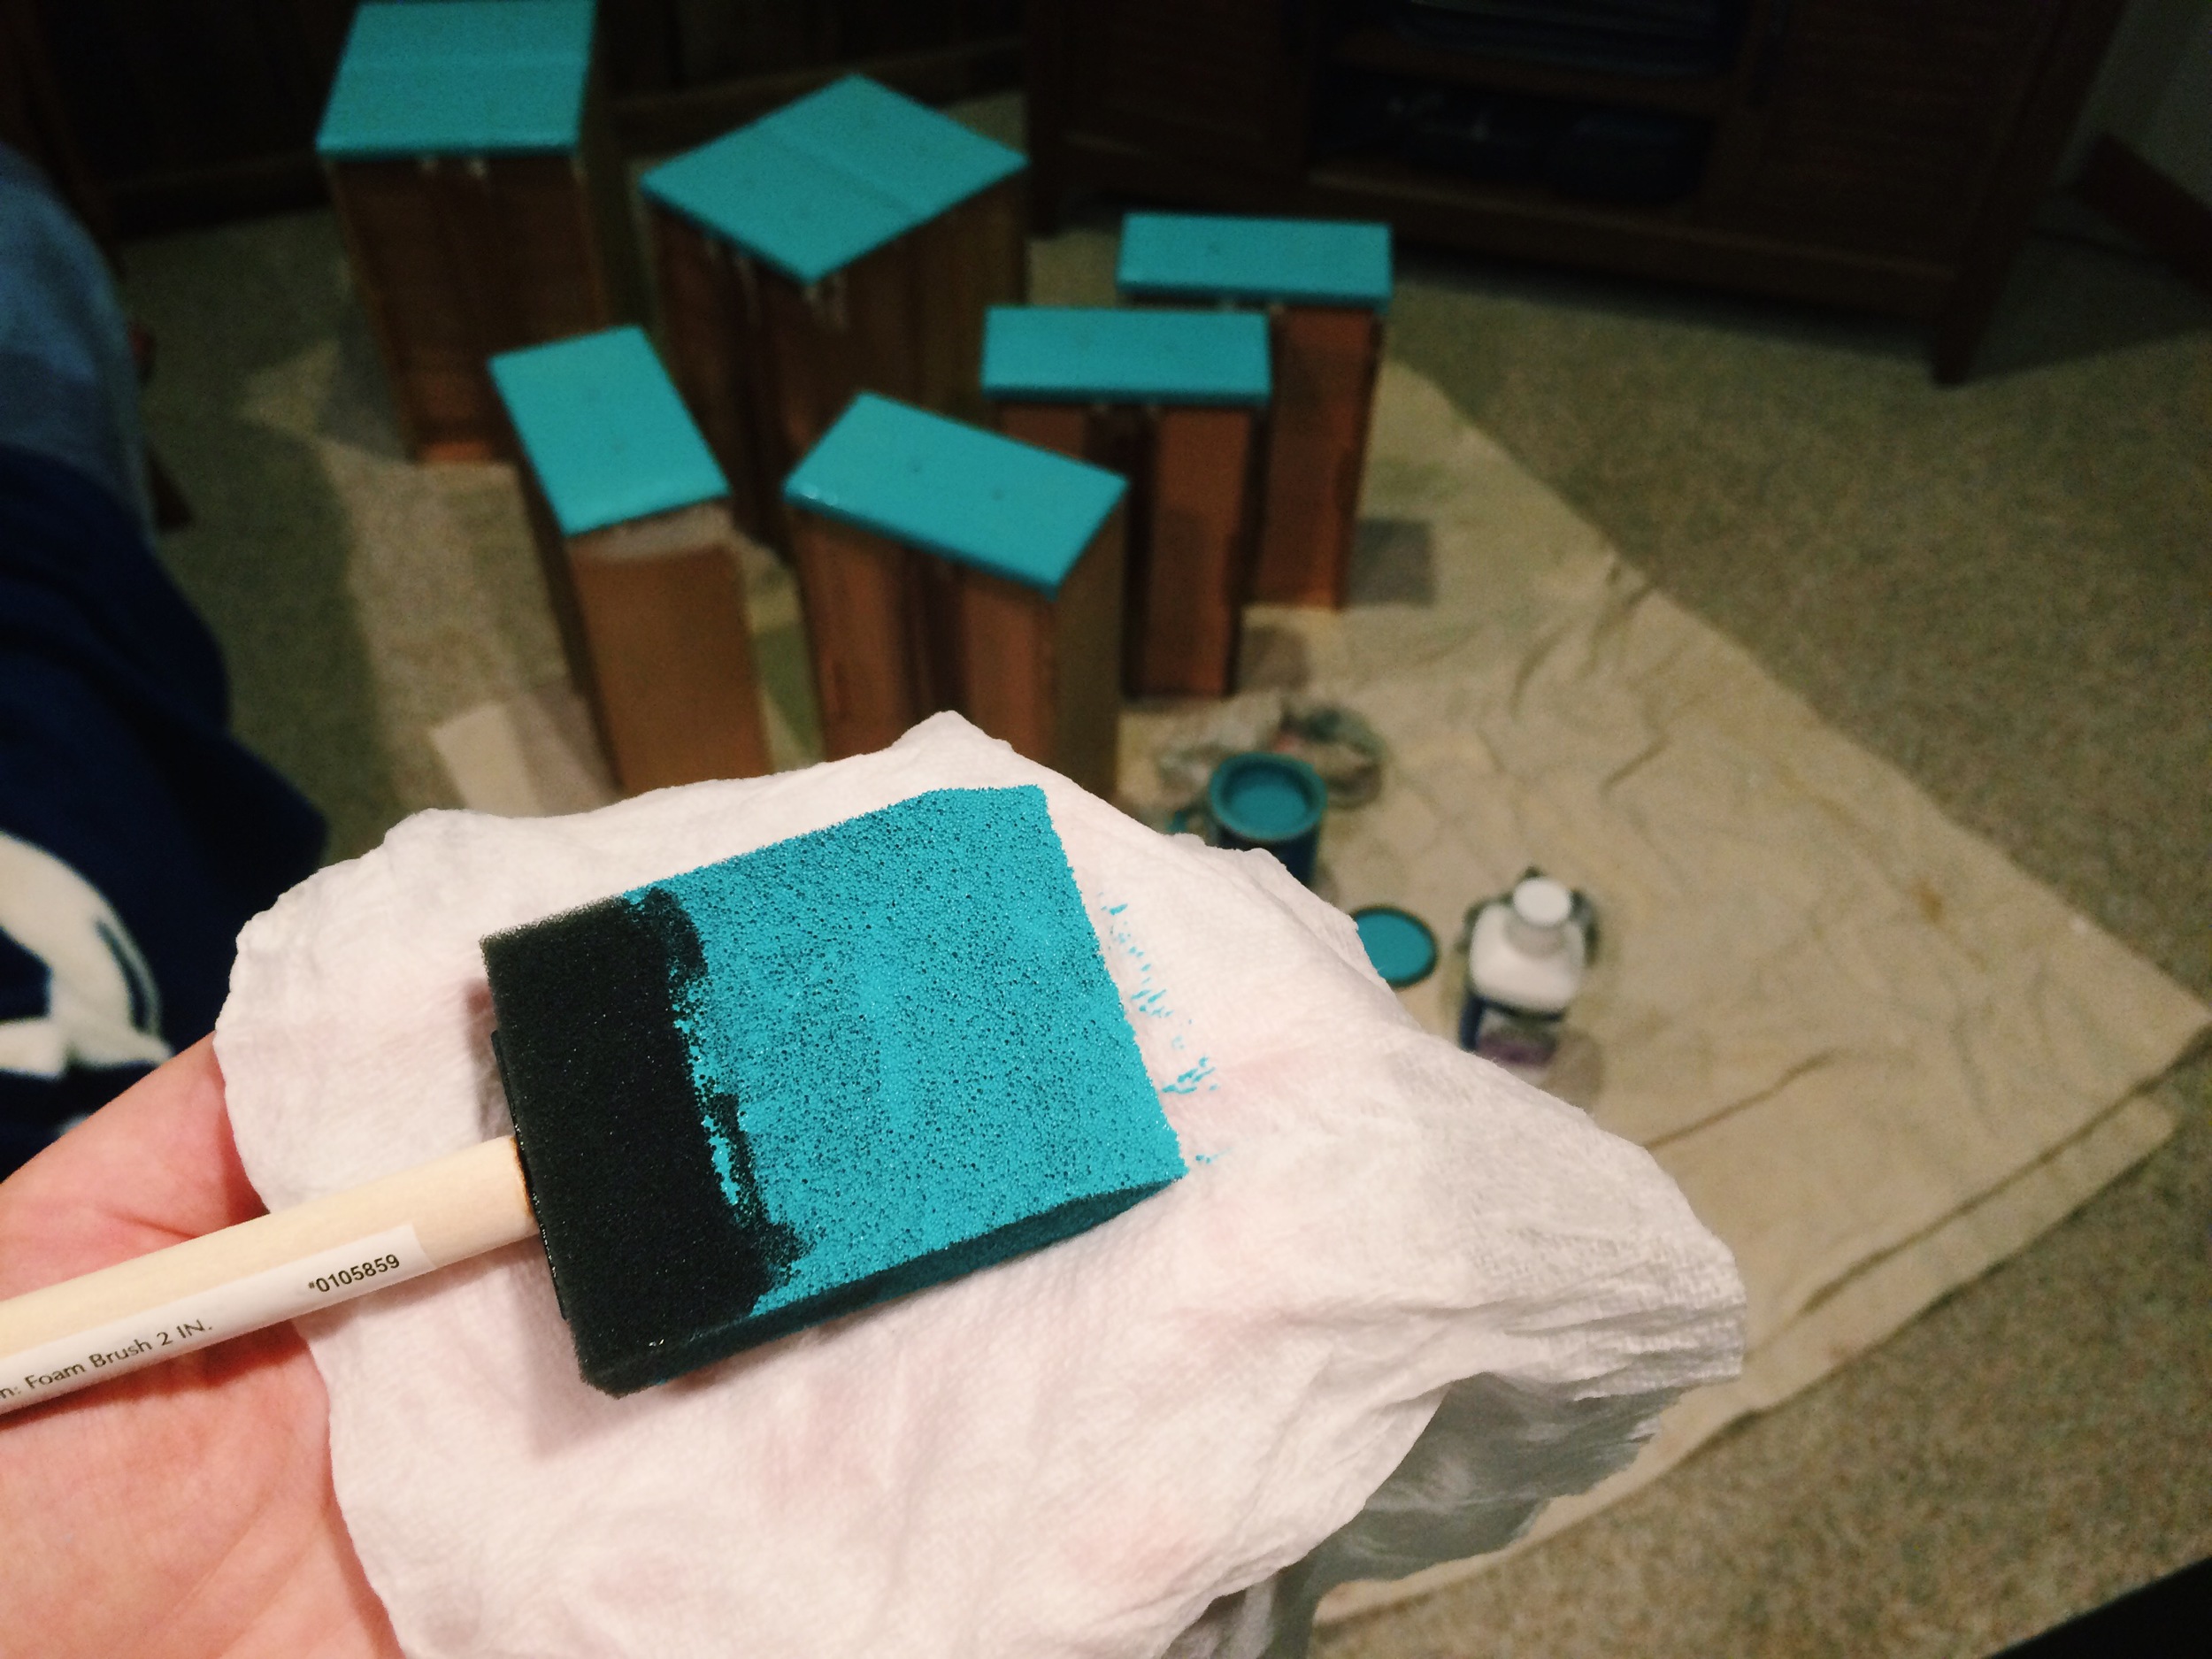
I used foam brushes to paint the drawer fronts, applying one thin coat on the first night.
TIP: If you need to take a break from painting, or let paint dry overnight, you can wrap your foam brush in a damp paper towel, then put it in a zip lock bag. Store it in the refrigerator and when you're ready to paint again, it will be good to go!
Day 5 // I put the second and final coat of paint on the drawer fronts, and also painted the first coat on the desk itself.
Comparison of 1 coat vs 2
Before painting, I deglossed the desk, all sides, in the same manner I did the drawers. To avoid getting any paint on the underside of the desktop, I taped it of with painter's tape. Then, I put on the first coat of paint using a foam brush.
TIP: You could use a normal paint brush for this step. I had a foam one handy so gave it a try. It worked fine.


Day 6 // Now, time for the second coat of paint! You need to be much more careful with the 2nd coat, making sure brush strokes are in the same direction, and doing everything you can get end up with a nice smooth finish.

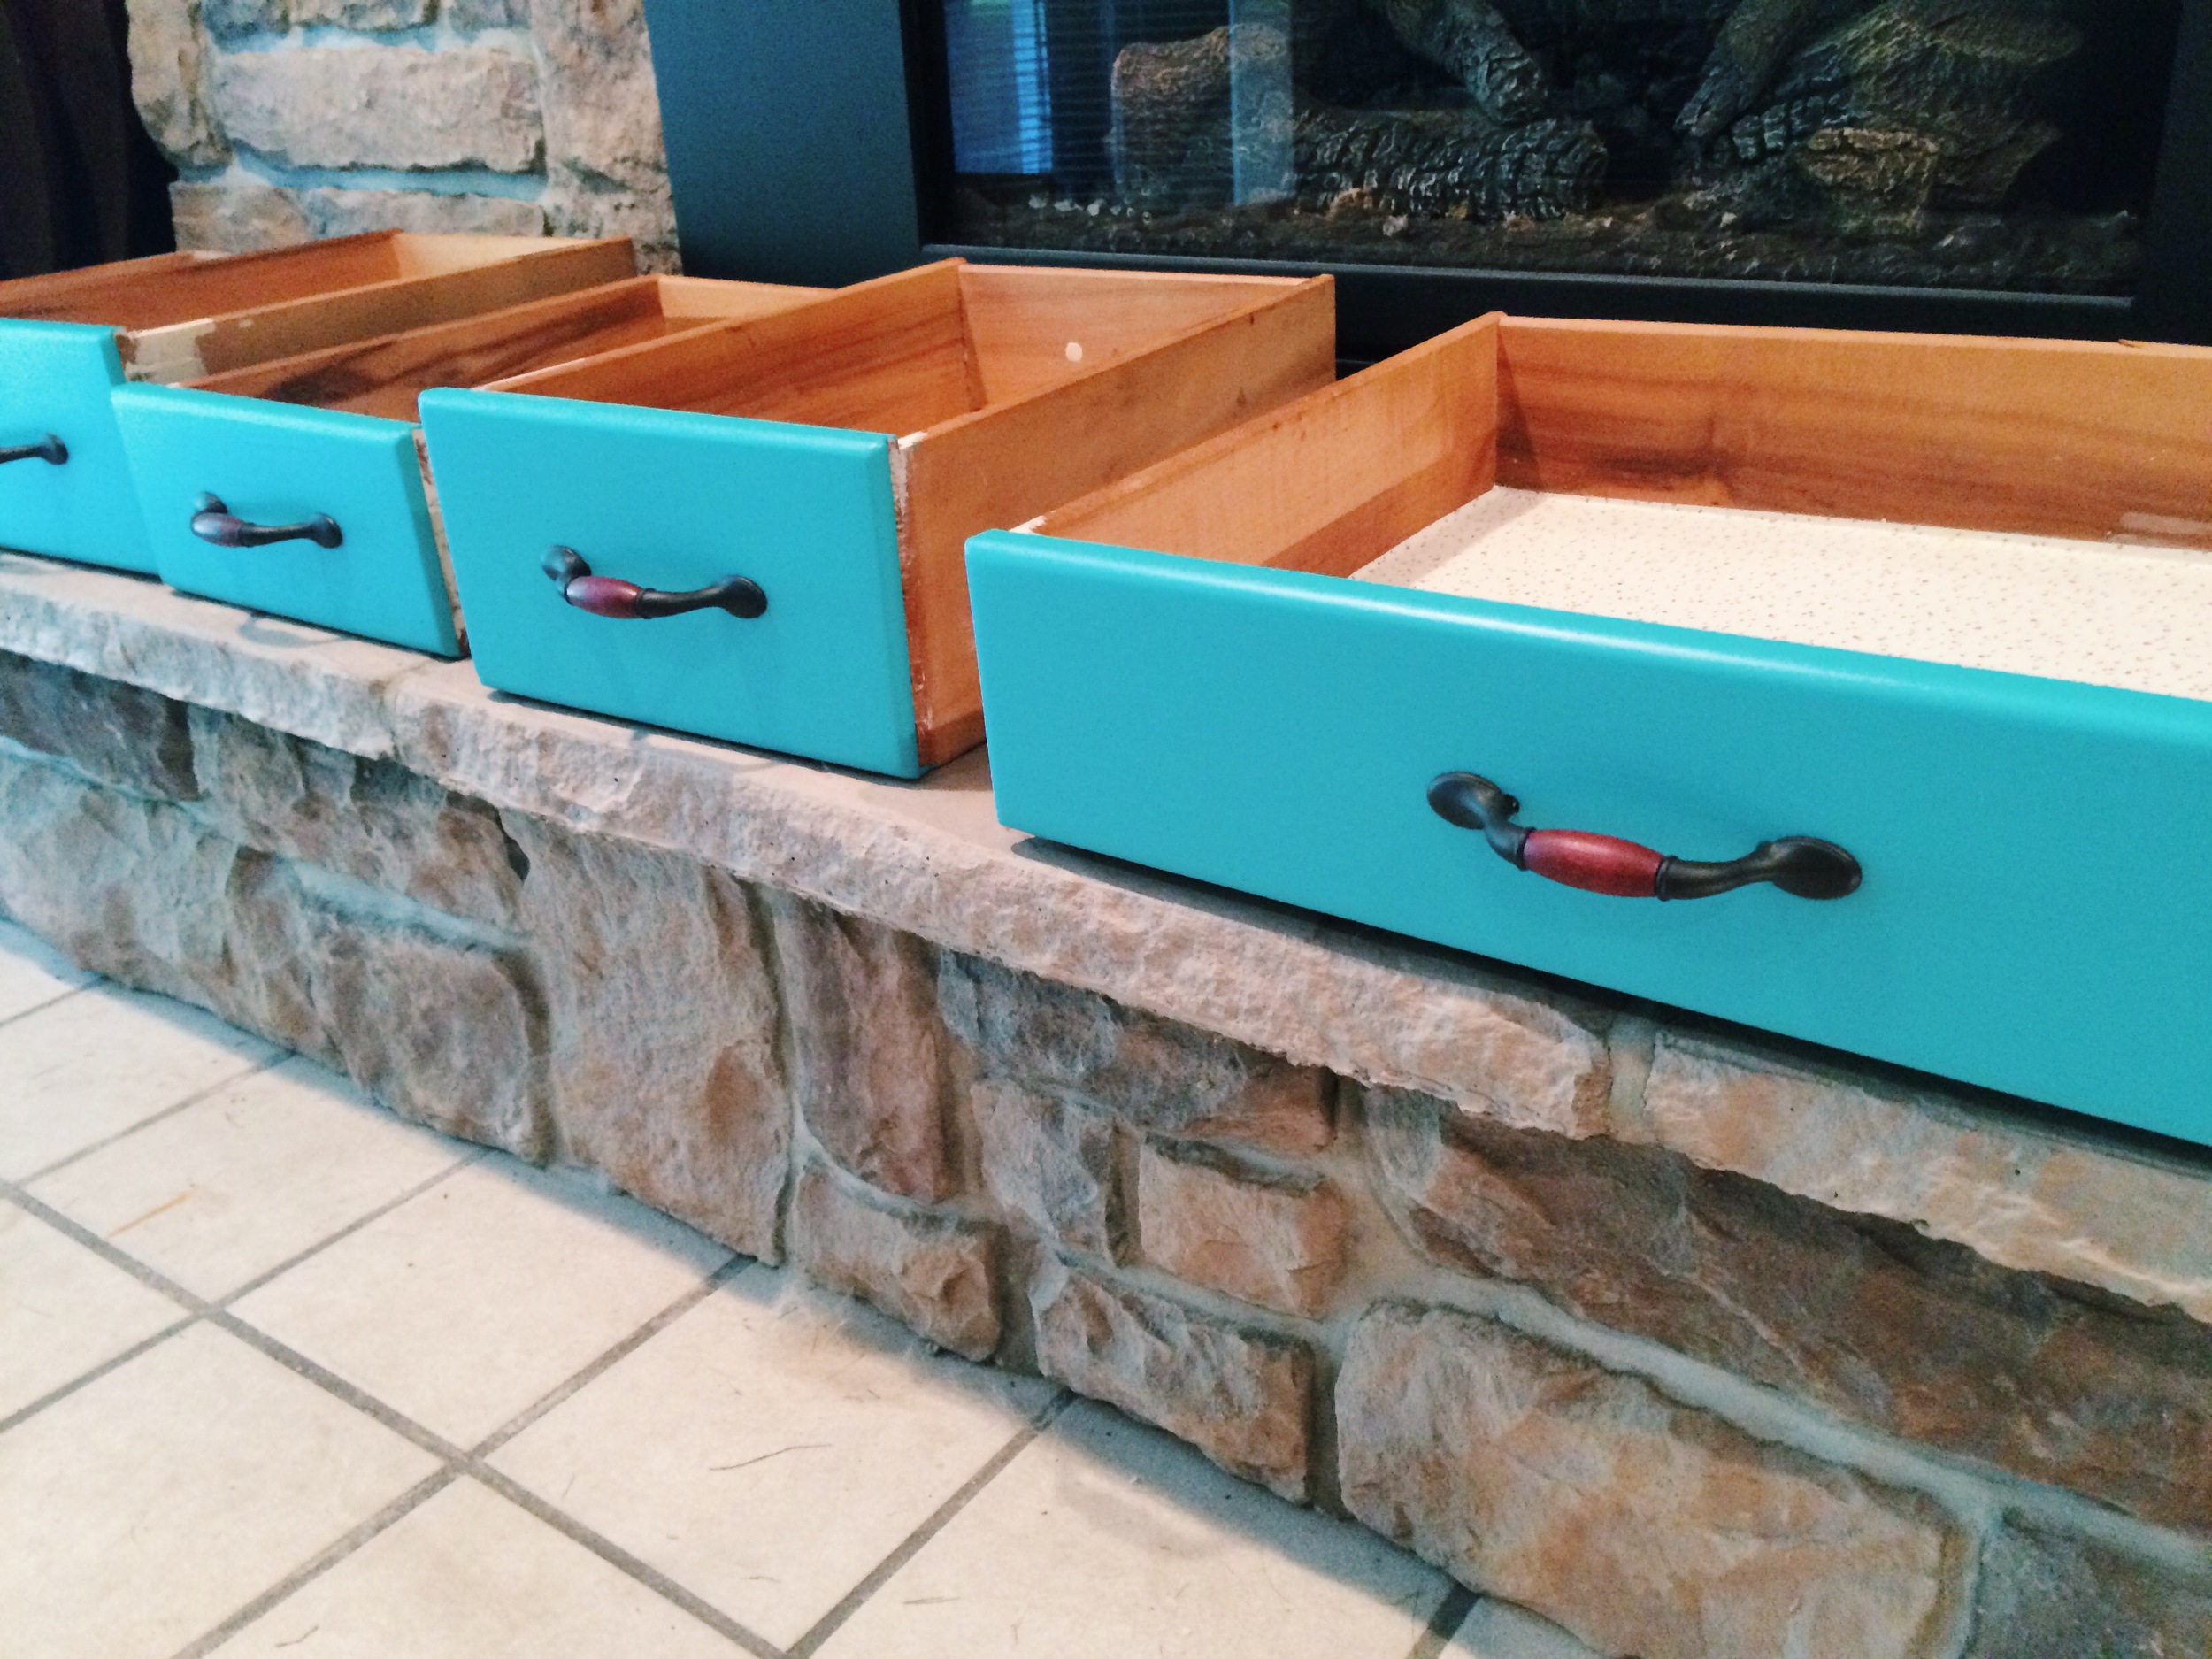
Day 7 // Once the paint had dried, I put the new handles on the drawers. Since the screws that came with the new pulls were slightly too long (and wouldn't screw in the whole way), I got tiny washers to put on the inside of the drawers.
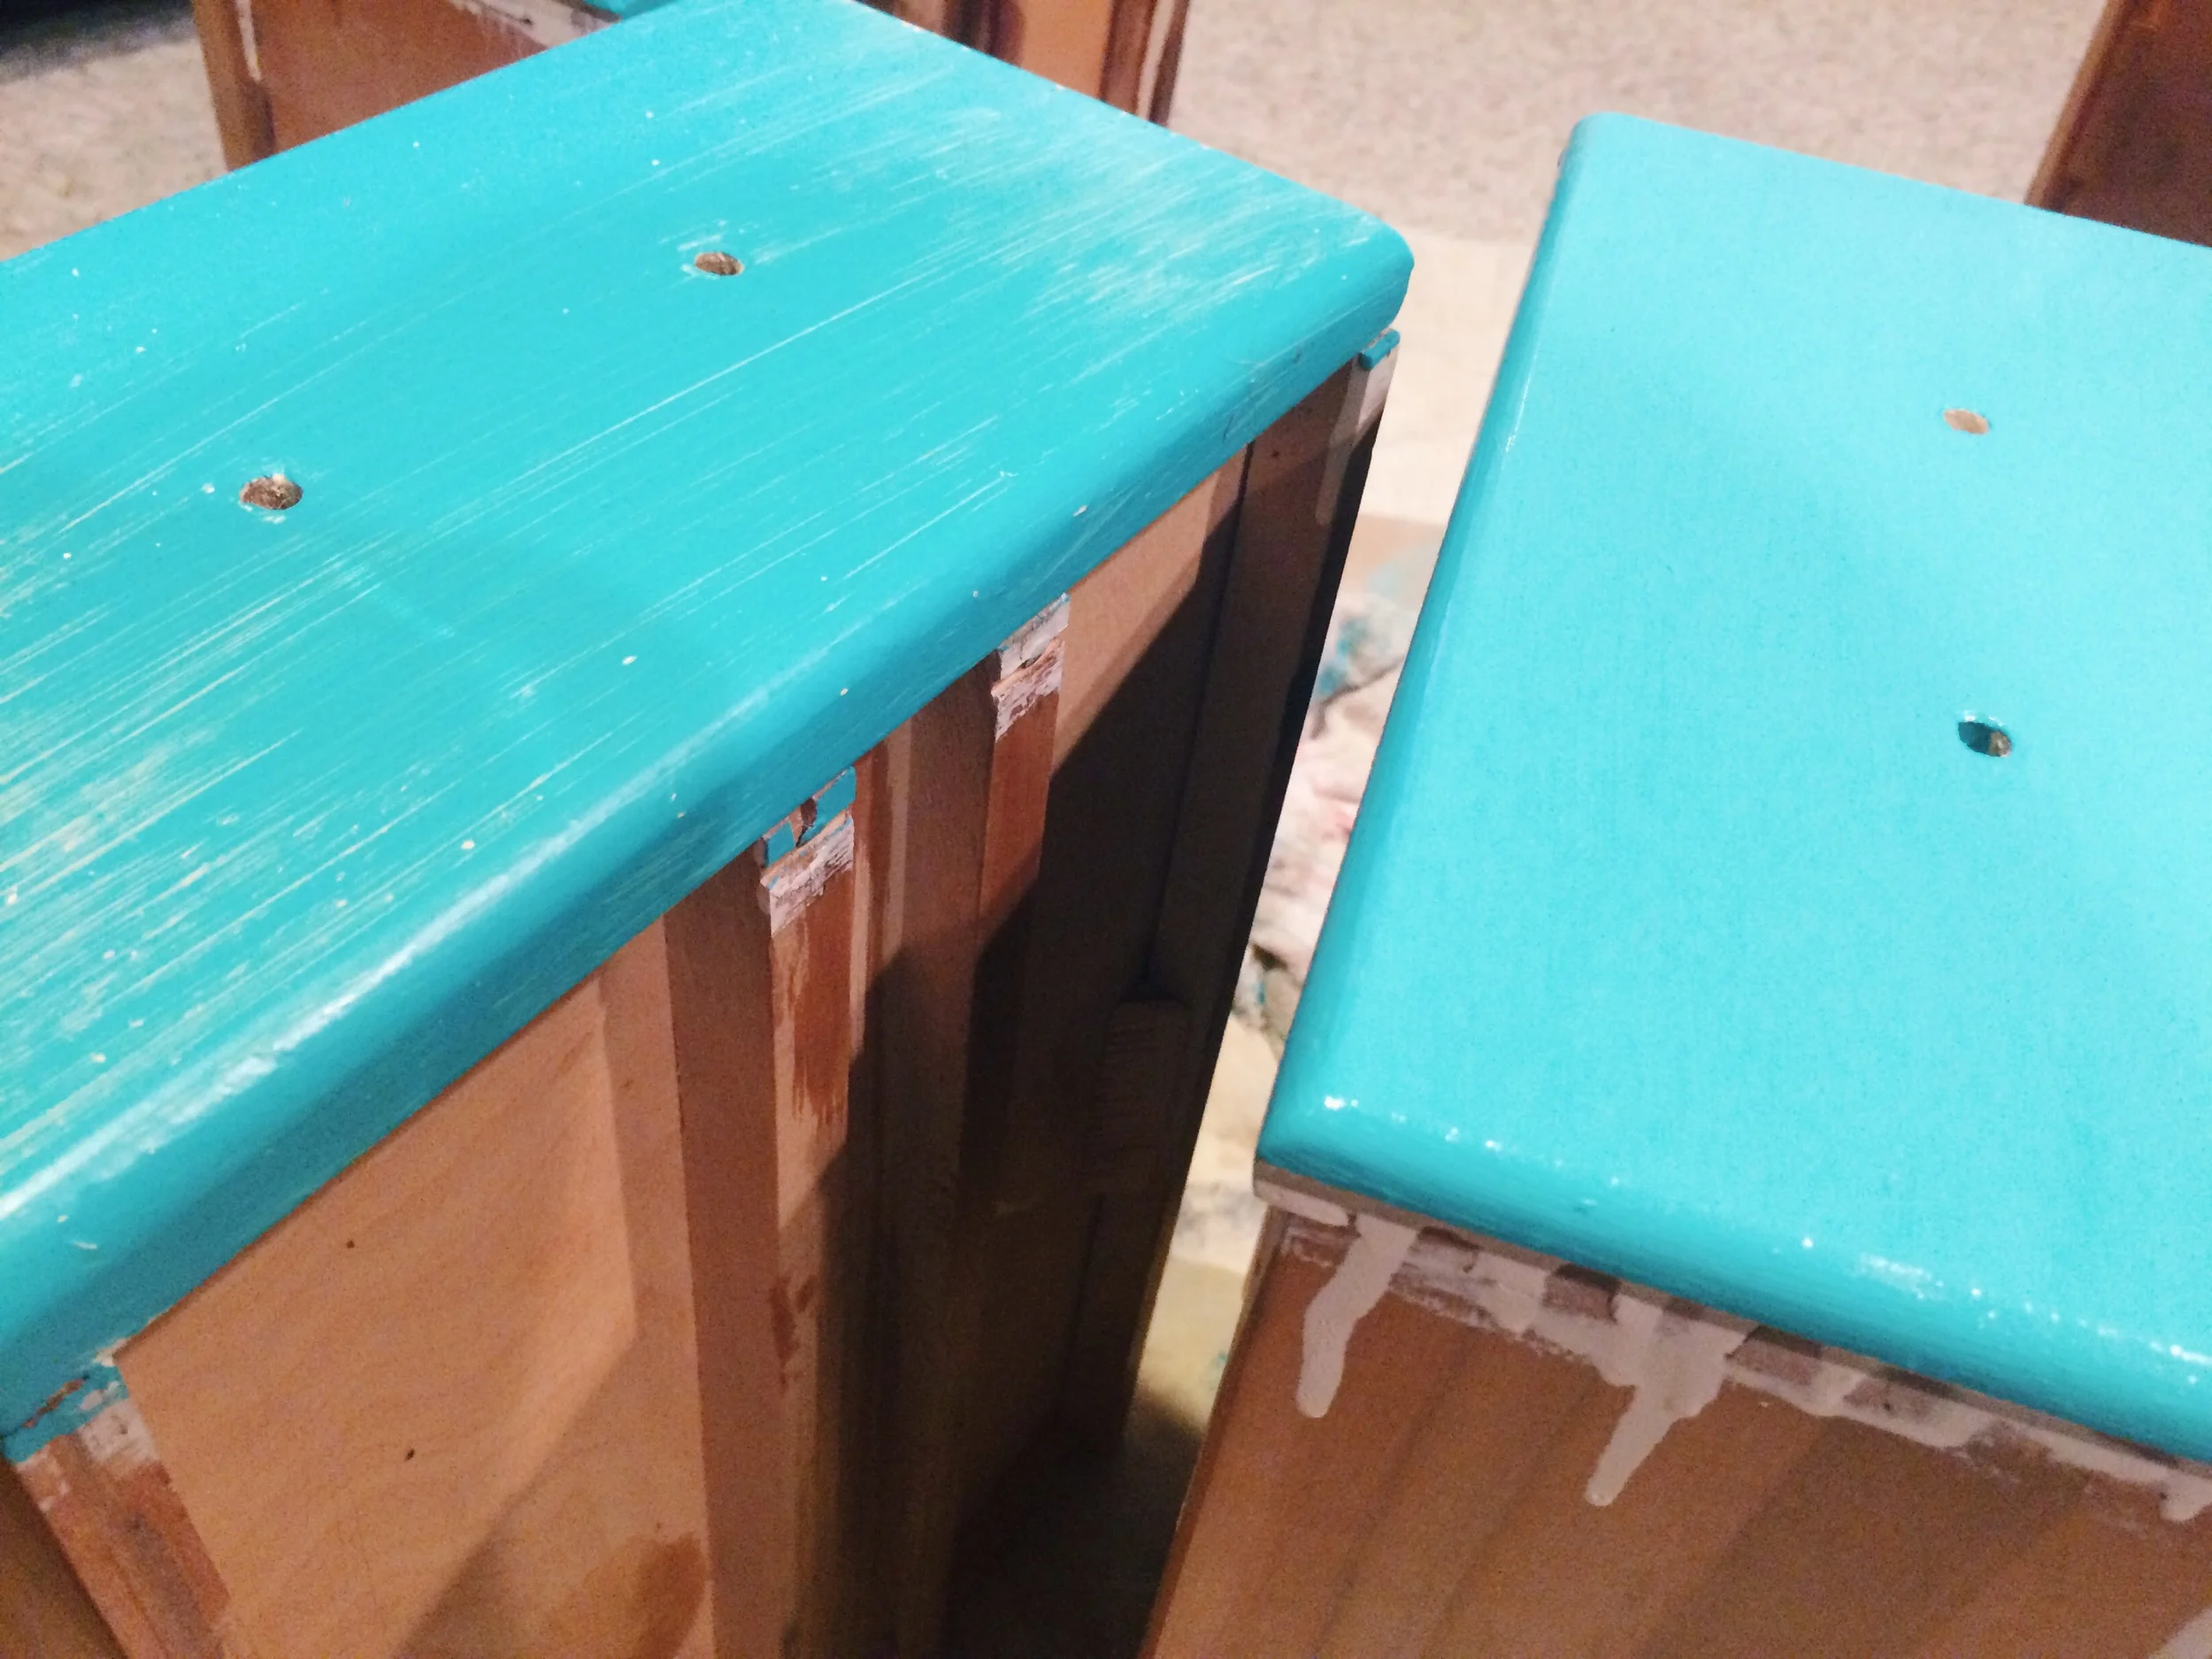
I didn't want a crazy worn look, but I did want it to be a little distressed/antiqued, so I sanded the edges of the desk and the drawers where "natural" wear and tear might occur. The original paint colors show through some which I ended up loving!


Time to put it all together! I put the drawers back in, and it was time for the final reveal..... drumroll please!


Now that I have one refinished piece under my belt, I have the itch! Heading to the flea market this weekend in search of an entryway table to refinish.