
To get Maria Makes updates delivered to your inbox, subscribe via email here.

I've been doing a "Healthy Challenge" with my in-laws for the past week, and today, I was in search of a "healthy" dessert-y snack to satisfy my sweet tooth and keep me from opening the bag of chocolate chips in the pantry!
This recipe from The Comfort of Cooking was the perfect sweet treat. If you can get past the weird factor of a dessert recipe with a bean as a main ingredient, you will realize that these are (surprisingly) reminiscent of peanut butter cookie dough. I'll be honest, they were good, but not so good that I felt I must eat the entire pan -- the ideal yum-factor for a "healthy" dessert. My husband even blind-taste-tested them and gave the thumbs up without knowing that they were made from garbanzo beans!
Healthy bonus -- they are also gluten free and vegan! And thanks to the chickpeas and peanut butter, they have a decent amount of protein.
Flourless Peanut Butter Chickpea Blondies
Makes:
8 blondies - 240 calories each
or 16 blondies - 120 calories each
Ingredients
1 15oz can chickpeas, drained
1/2 cup natural peanut butter
1/3 cup pure maple syrup (may substitute honey or agave)
2 tsp vanilla extract
1/2 tsp kosher salt
1/4 tsp baking powder
1/4 tsp baking soda
Instructions
Preheat your oven to 350 degrees. Add all ingredients to your food processor (or in my case, a food processor/blender hybrid), blending until smooth and creamy. Scrape down the sides and blend some more just to make sure there are no chickpea bits sticking to the sides.

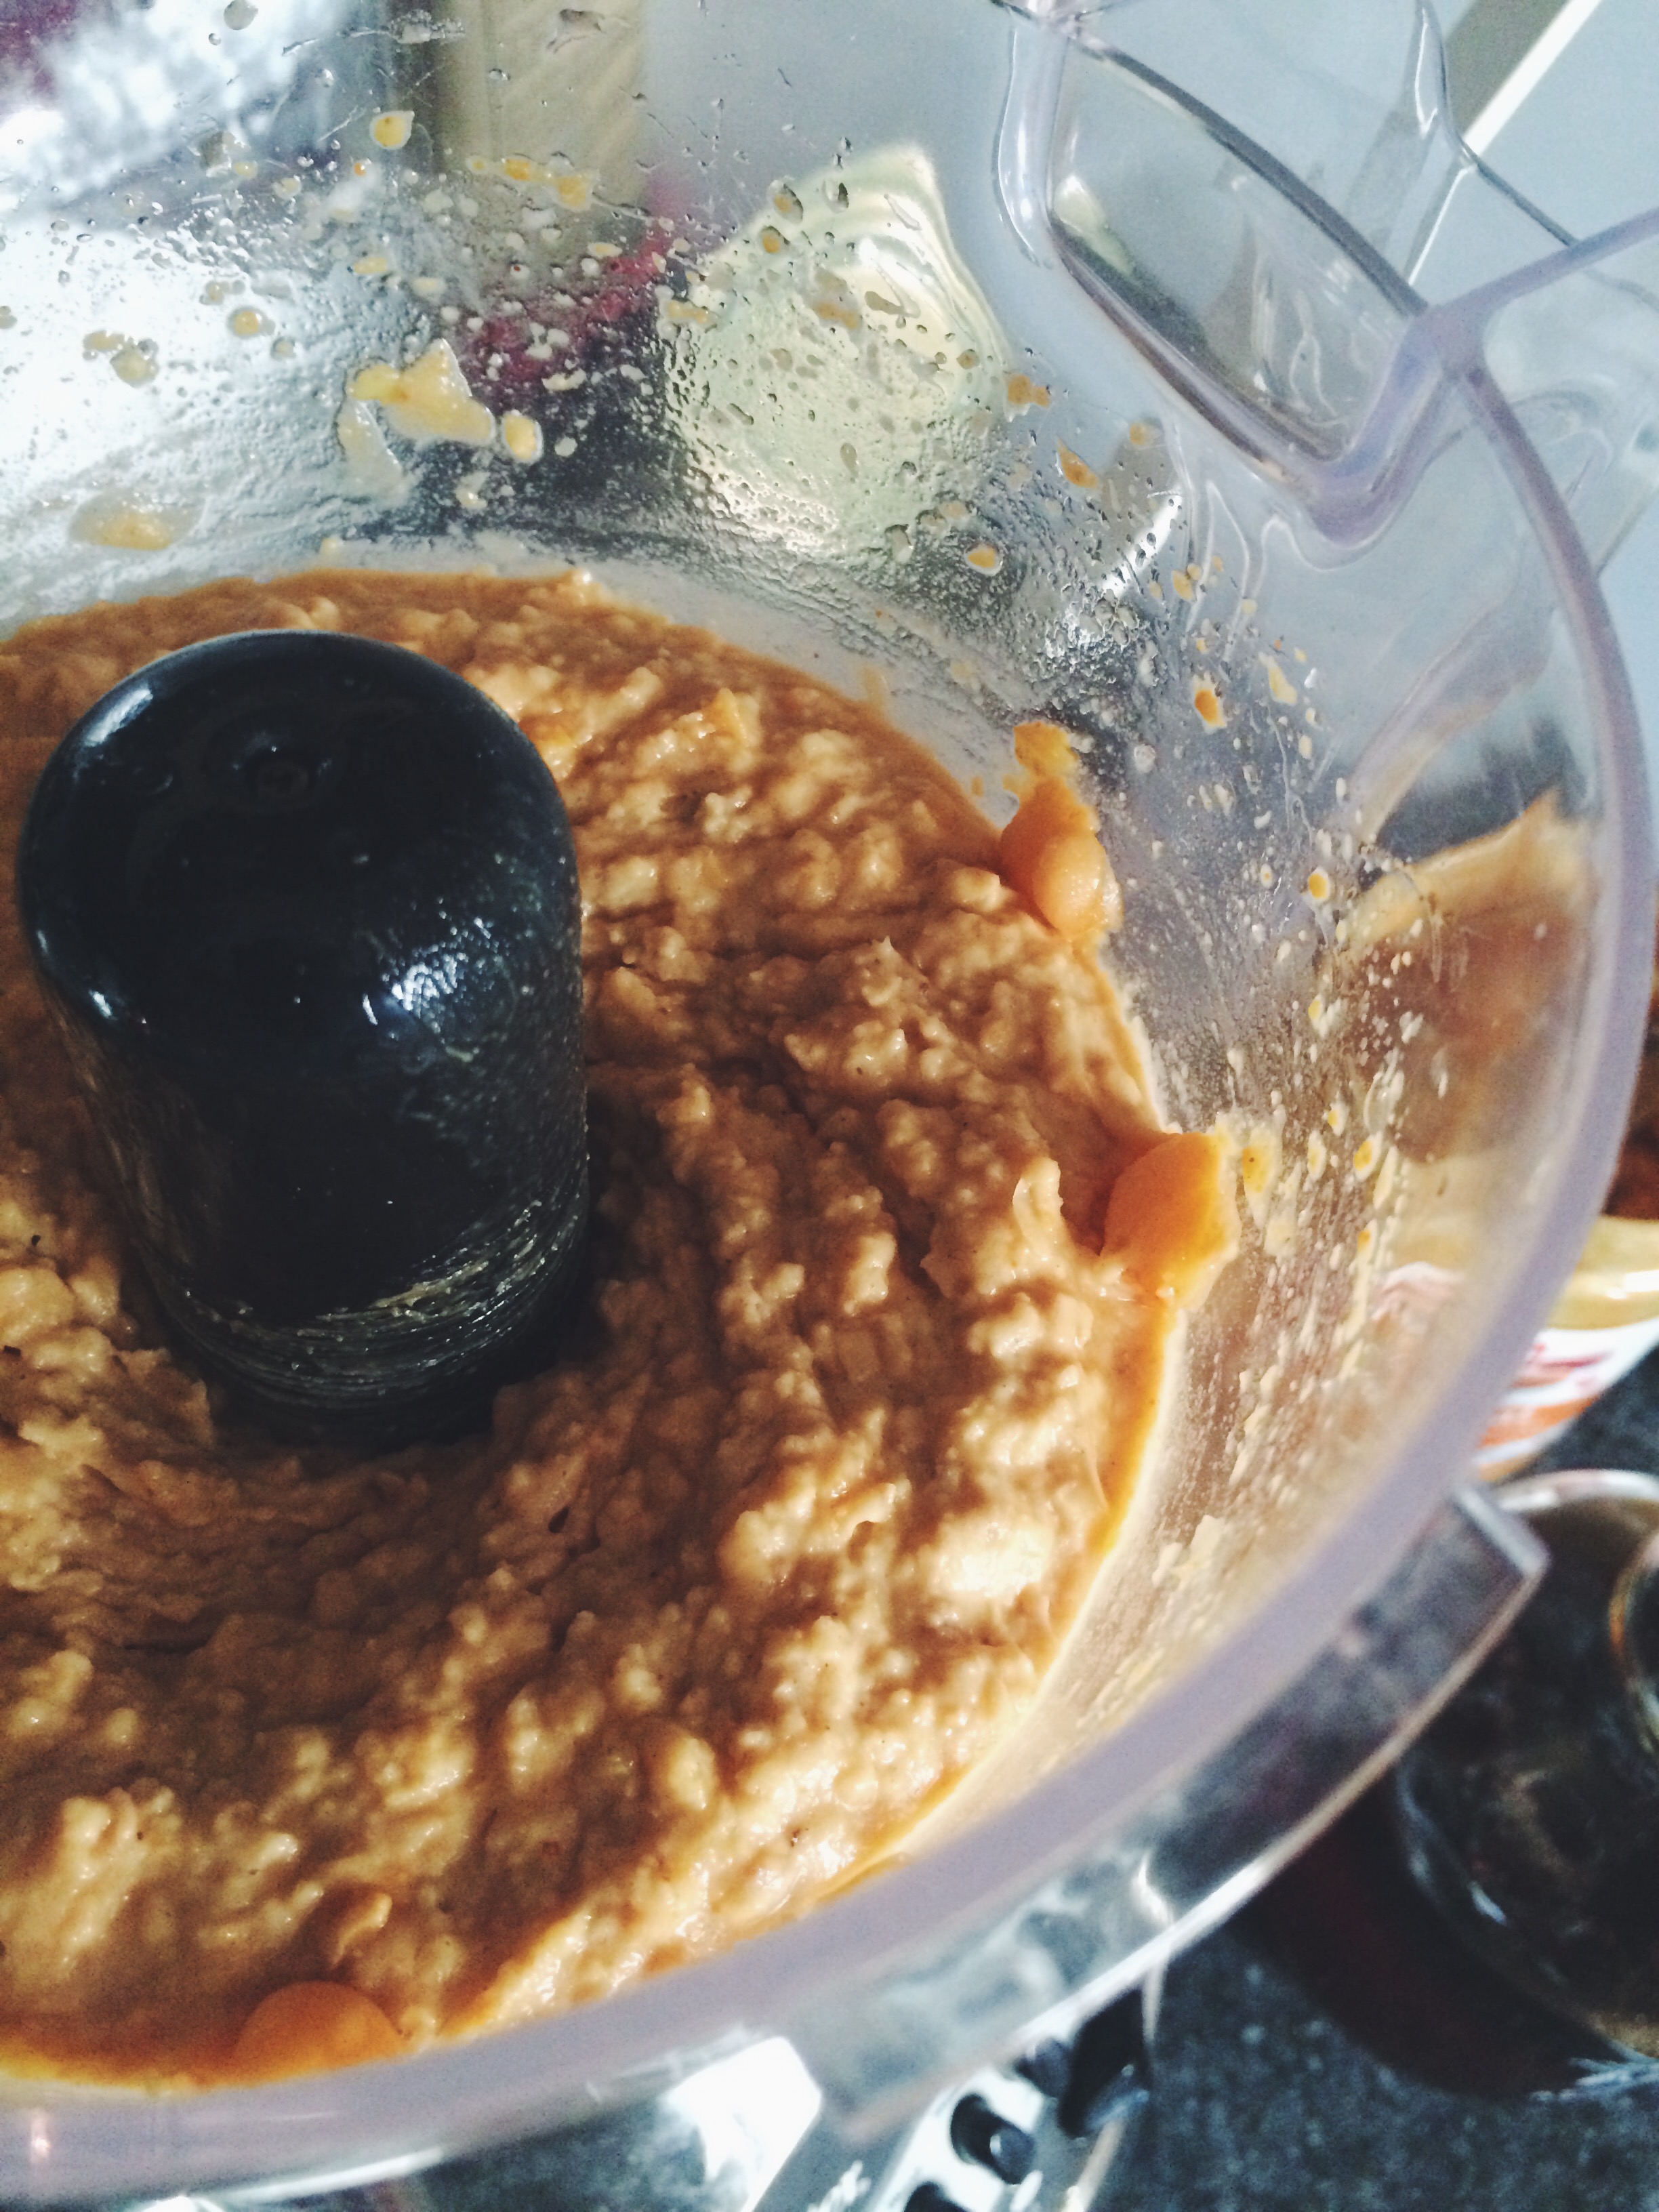
You essentially end up with a peanut butter hummus -- not the worst idea I have ever heard! Coat a pie pan or 8x8 pan with non-stick cooking spray and spread the chickpea mixture evenly to the edges of the pan. The original recipe called for a sprinkling of chocolate chips at this point, but I left them out.


Bake for 20-25 minutes or until the mixture starts to pull away from the edges of the pan and a toothpick inserted in the center comes out clean.
TIP: I actually baked mine in my toaster oven! I hate waiting for my big oven to pre-heat when I am just using a small pan.
As difficult as it may be with the smell of peanut butter deliciousness wafting through your house, wait until they are mostly cooled before digging in! They will hold their shape better and have more of a "blondie" texture.