
To get Maria Makes updates delivered to your inbox, subscribe via email here.
Scrolling through Instagram and Pinterest for #Whole30 recipes can be intimidating. What if you work 40+ hours a week and don’t have time to cook up elaborate recipes multiple times a day? What if you have little ones to look after and limited time to cook? Or what if you just don’t want to spend much time in the kitchen because you have better things to do or (gasp) hate cooking!? Fear not, faithful Whole30-ers. Freezer cooking to the rescue!
If you’re wondering what freezer cooking is – it’s basically preparing food in advance, often in mass quantities, which you place in the freezer for future meals. There are several ways to do this, and there are many blogs and websites devoted to it. Because it’s awesome!

When you load your freezer full of tasty Whole30 approved goodness by spending just one day in the kitchen, you are truly setting yourself up for success. And giving yourself more time to do the things you actually want to do (instead of cooking and cleaning up the kitchen). In most cases, you can throw in a side salad or a microwave-steam bag of veggies to a previously prepared freezer meal and you are SET.
For the next 4 days, I’ll be sharing freezer recipes that you can make in advance, so you can have fresh, healthy, delicious meals READY TO GO with minimal prep AND clean-up.

Today, I’m going to share the tips and tricks you will need to get prepared for your big cooking day. This is the process that works for me, but once you get going, you will figure out what works best for you!
My general process:
- Recipe and shopping list organization
- Shopping (for food and supplies)
- Food prep
- Cooking day!
- Preparing for the Freezer
Recipe and Shopping List Organization:
Before a big cooking day, I like to compile a list of all of the recipes I will cook, pull together my shopping list, identify the items I already have on hand, and figure out what supplies I will need to purchase.
When considering what recipes to make, you should keep in mind that some things freeze extremely well, others, not so much. Soups, stews, and meals in sauces generally freeze very well. You’ll want to avoid vegetables with high water content. In my experience, things like raw zucchini do not freeze very well. In general, it’s a good idea to blanch veggies before freezing so they don’t turn into a watery, mushy mess. For meats – I have had success with freezing both raw ground meat (burgers) and cooked ground meat (meatballs). For larger solid pieces of meat, like chicken breast or salmon, I would recommend freezing them raw, or cooking, then cutting into smaller pieces incorporated as part of a meal, before freezing.
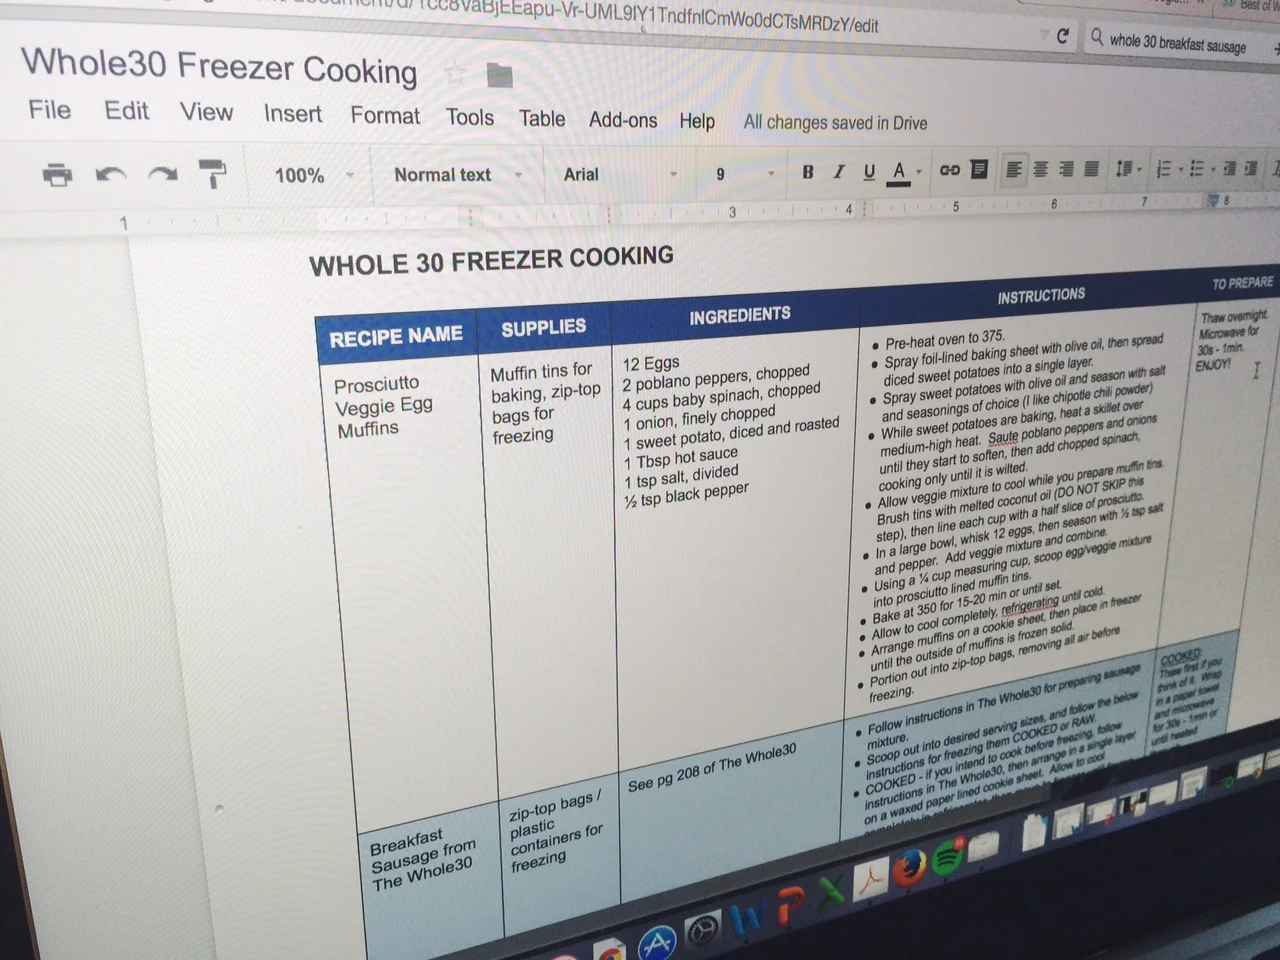
I use a worksheet like this to organize recipes for my cooking day. And if you needed yet another reason to buy The Whole30 – you’ll have to check it out in order to find those recipes! But I will be showing you how to make them freezer-friendly.
Shopping (for food and supplies):
I recommend you do all of your shopping the day before your cooking day. That way you will be all organized and ready to go (and less overwhelmed on the day-of). Check out your local grocery store flyers, hit your favorite spots, and get everything you will need (ingredients and supplies) for your freezer cooking-palooza.
Along with each of the recipes I share over the next few weeks, I will tell you what I consider to be the ideal freezing supplies. Until I finally invest in a vacuum sealer, my favorite supplies for freezing meals are:
- Sandwich, quart, and gallon zip-top bags (or Food Saver and bags)
- Freezer-safe plastic containers
- Waxed paper
- Masking tape / permanent marker for labeling
Food Prep:
There will be some items that you will be able to prep early to make your life easier on your actual cooking day. I usually just do this step first on my actual cooking day so I have everything ready to go for all of my recipes. Do 3 recipes call for minced onions? Chop up the amount you need ahead of time so that when it comes time to pull the recipes together, all you need to do is measure it out and go! This is helpful for for items like peppers, onions, and garlic. You can also pre-measure spices, portioning them out in snack-sized zip lock bags or Dixie cups, to save time later.
Cooking Day:
This is the big day! Get ready. You will have a big mess once all is said and done, but I promise it will be SO WORTH IT. And if its just NOT doable to tackle in one day, you can split it up. To prepare for this series, I cooked EIGHT recipes in one day (and I would strongly urge you against it – by the end, I was BEAT). But I did have a freezer full of Whole30 goodness.
Do yourself a favor and eat breakfast for dinner the night of your cooking day. Or better yet, go out. You won’t want to waste one of your freezer cooking meals on the same day you make it!
Preparing for the Freezer:
So once all of this delicious food is cooked, how do you go about freezing it?
- First and foremost – before deciding which recipes you will make, MAKE SURE you have enough space in your freezer. Clean it out, use up the food you already have in there, and make room for your new healthy freezer bounty. The last thing you want is to spend all day preparing 20 meals before you realize you have nowhere to put them! Once you really get going, you may decide you need to buy a stand-alone freezer… but let’s take this one step at a time.
- When you are portioning out your prepared freezer meals, be it in zip lock bags, plastic containers, or foil pans, keep your end-use in mind. If you’re freezing soup to have ready for at-work lunches, maybe you want to freeze it in small portion-sized containers. For full meals to cook for dinner, a gallon sized zip-top bag or foil pan may make the most sense. Flat things are easier to stack and help you to save space. You should also remove as much air as possible!
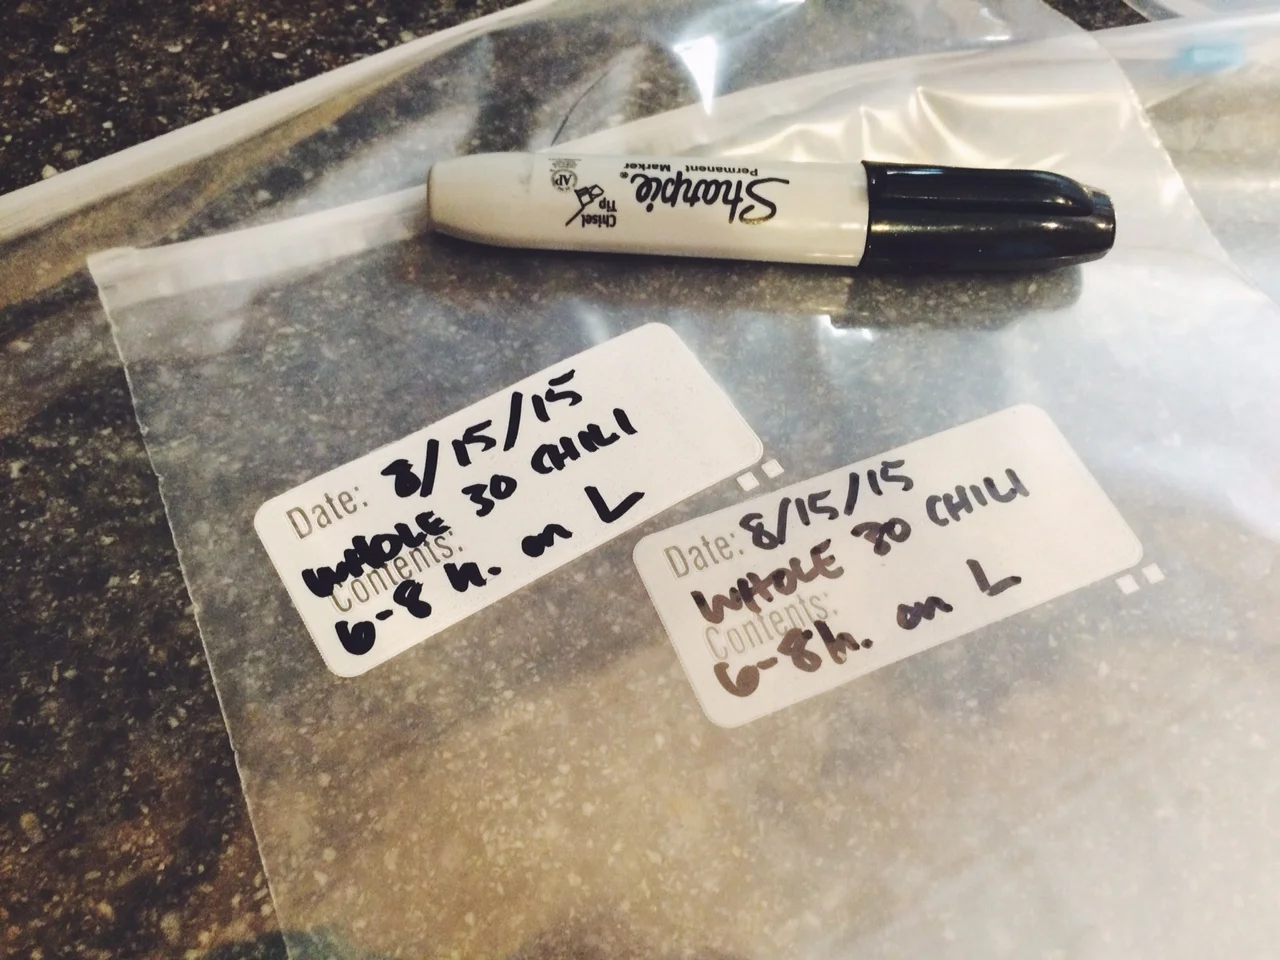
- Using a permanent marker, clearly label your meals so you know what food is in what container and how long it has been in there. I also like to write simple cooking instructions, i.e. “Bake at 350 degrees for 30-45 min.” That way, my husband can easily grab something out and know what it is and exactly how to cook it.
- After everything is portioned out and labeled, cool all of the food in your refrigerator before moving it to the freezer. The colder the food is when it goes into the freezer, the better it will freeze (fewer ice crystals!).
Get ready, freezer-cooking-party-people! This is going to be fun.